Background
These instructions describe how to build a sumo robot with a color sensor for detecting the line and two bumpers with individual touch sensors. These instructions require only parts found in the standard EV3 education core set.
Building Instructions
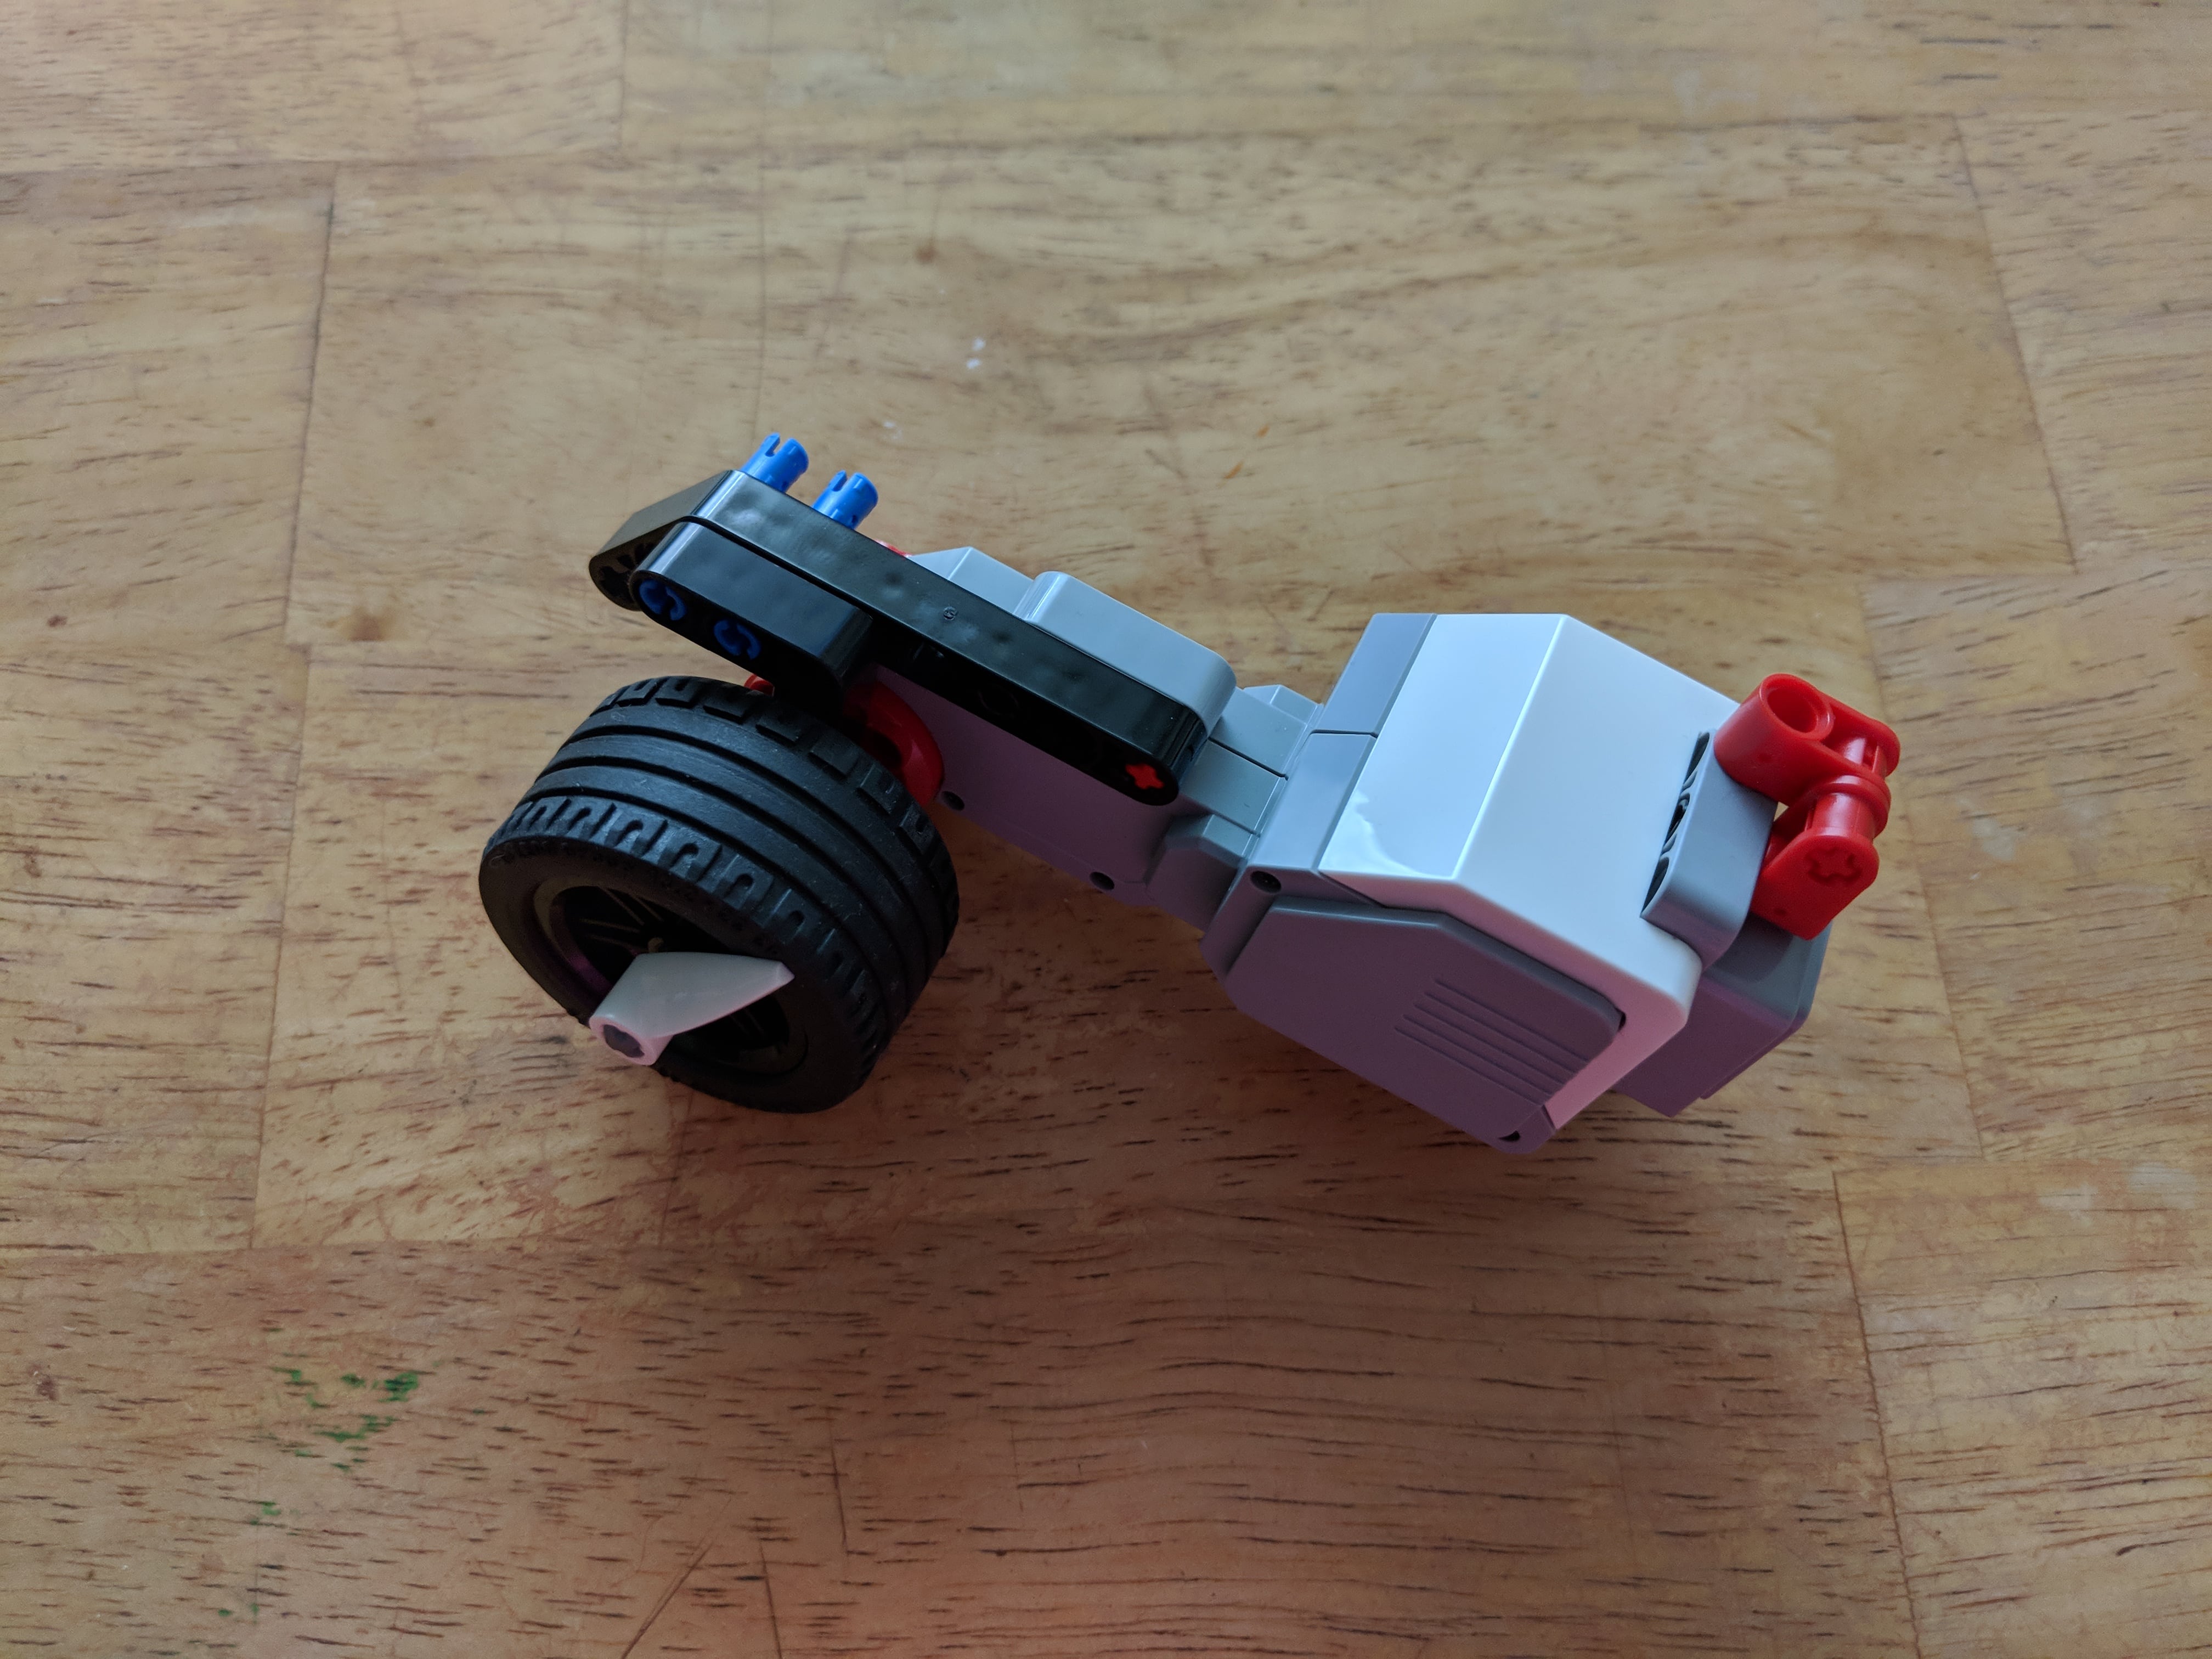
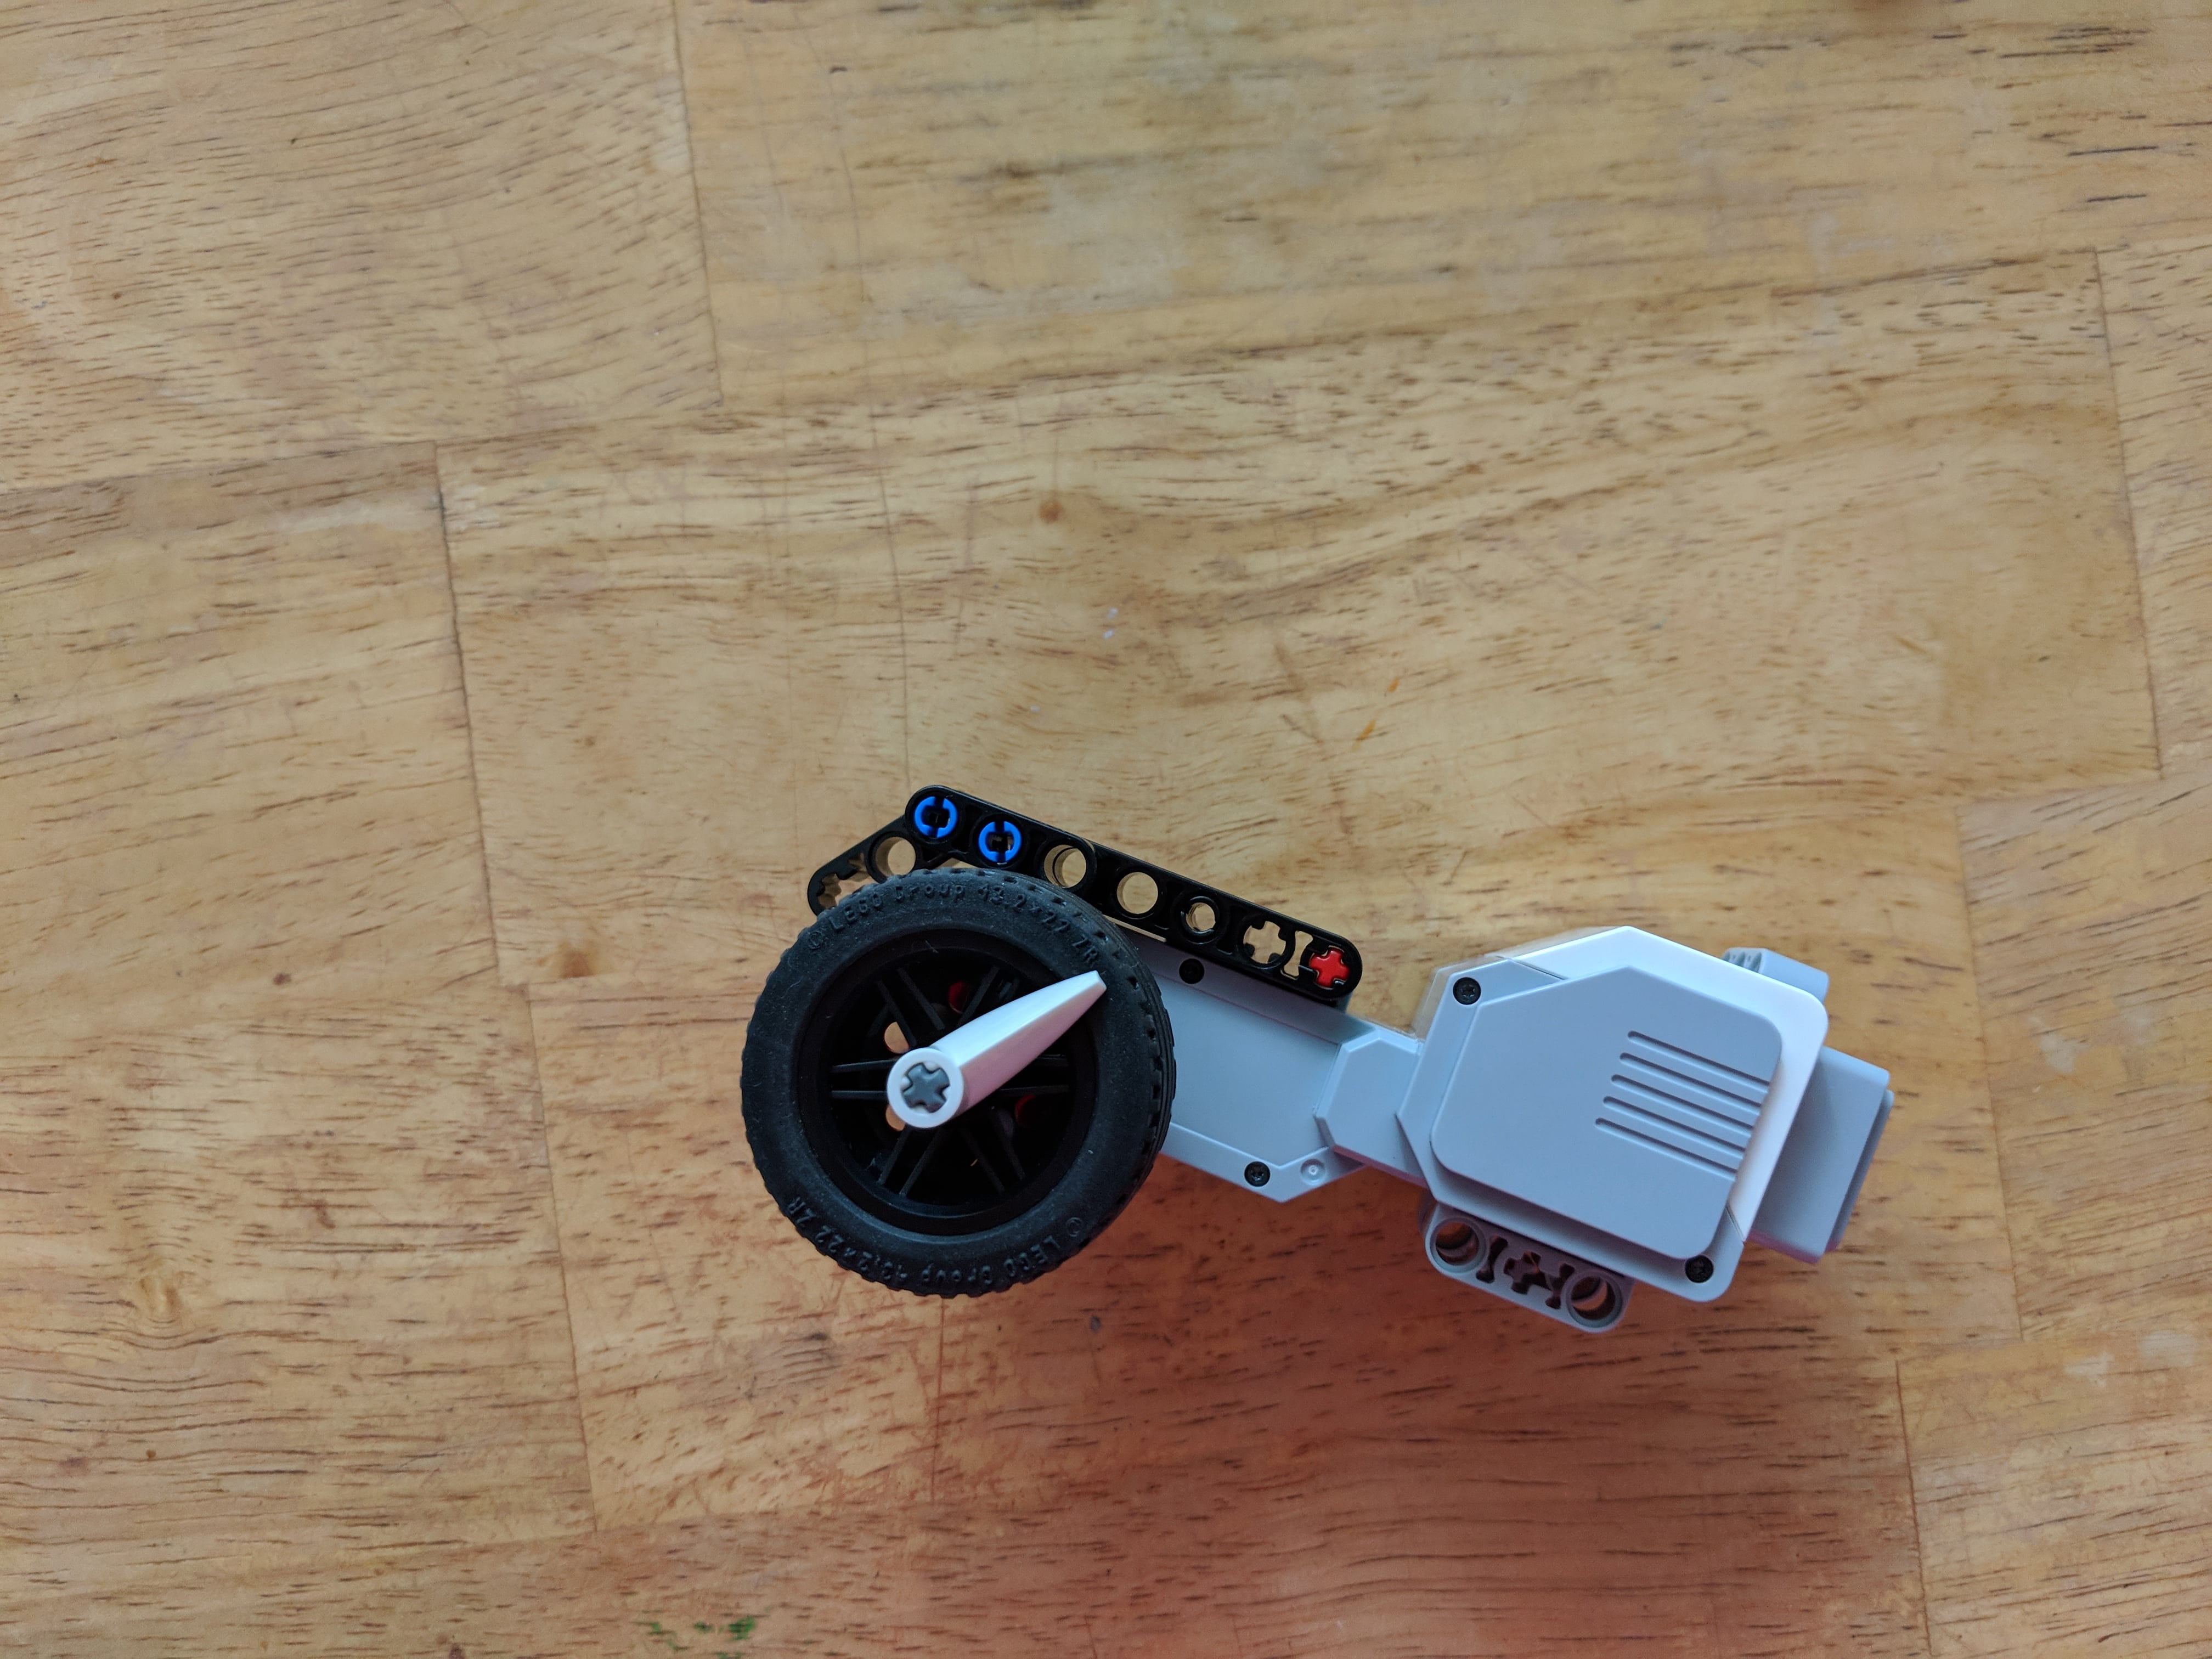
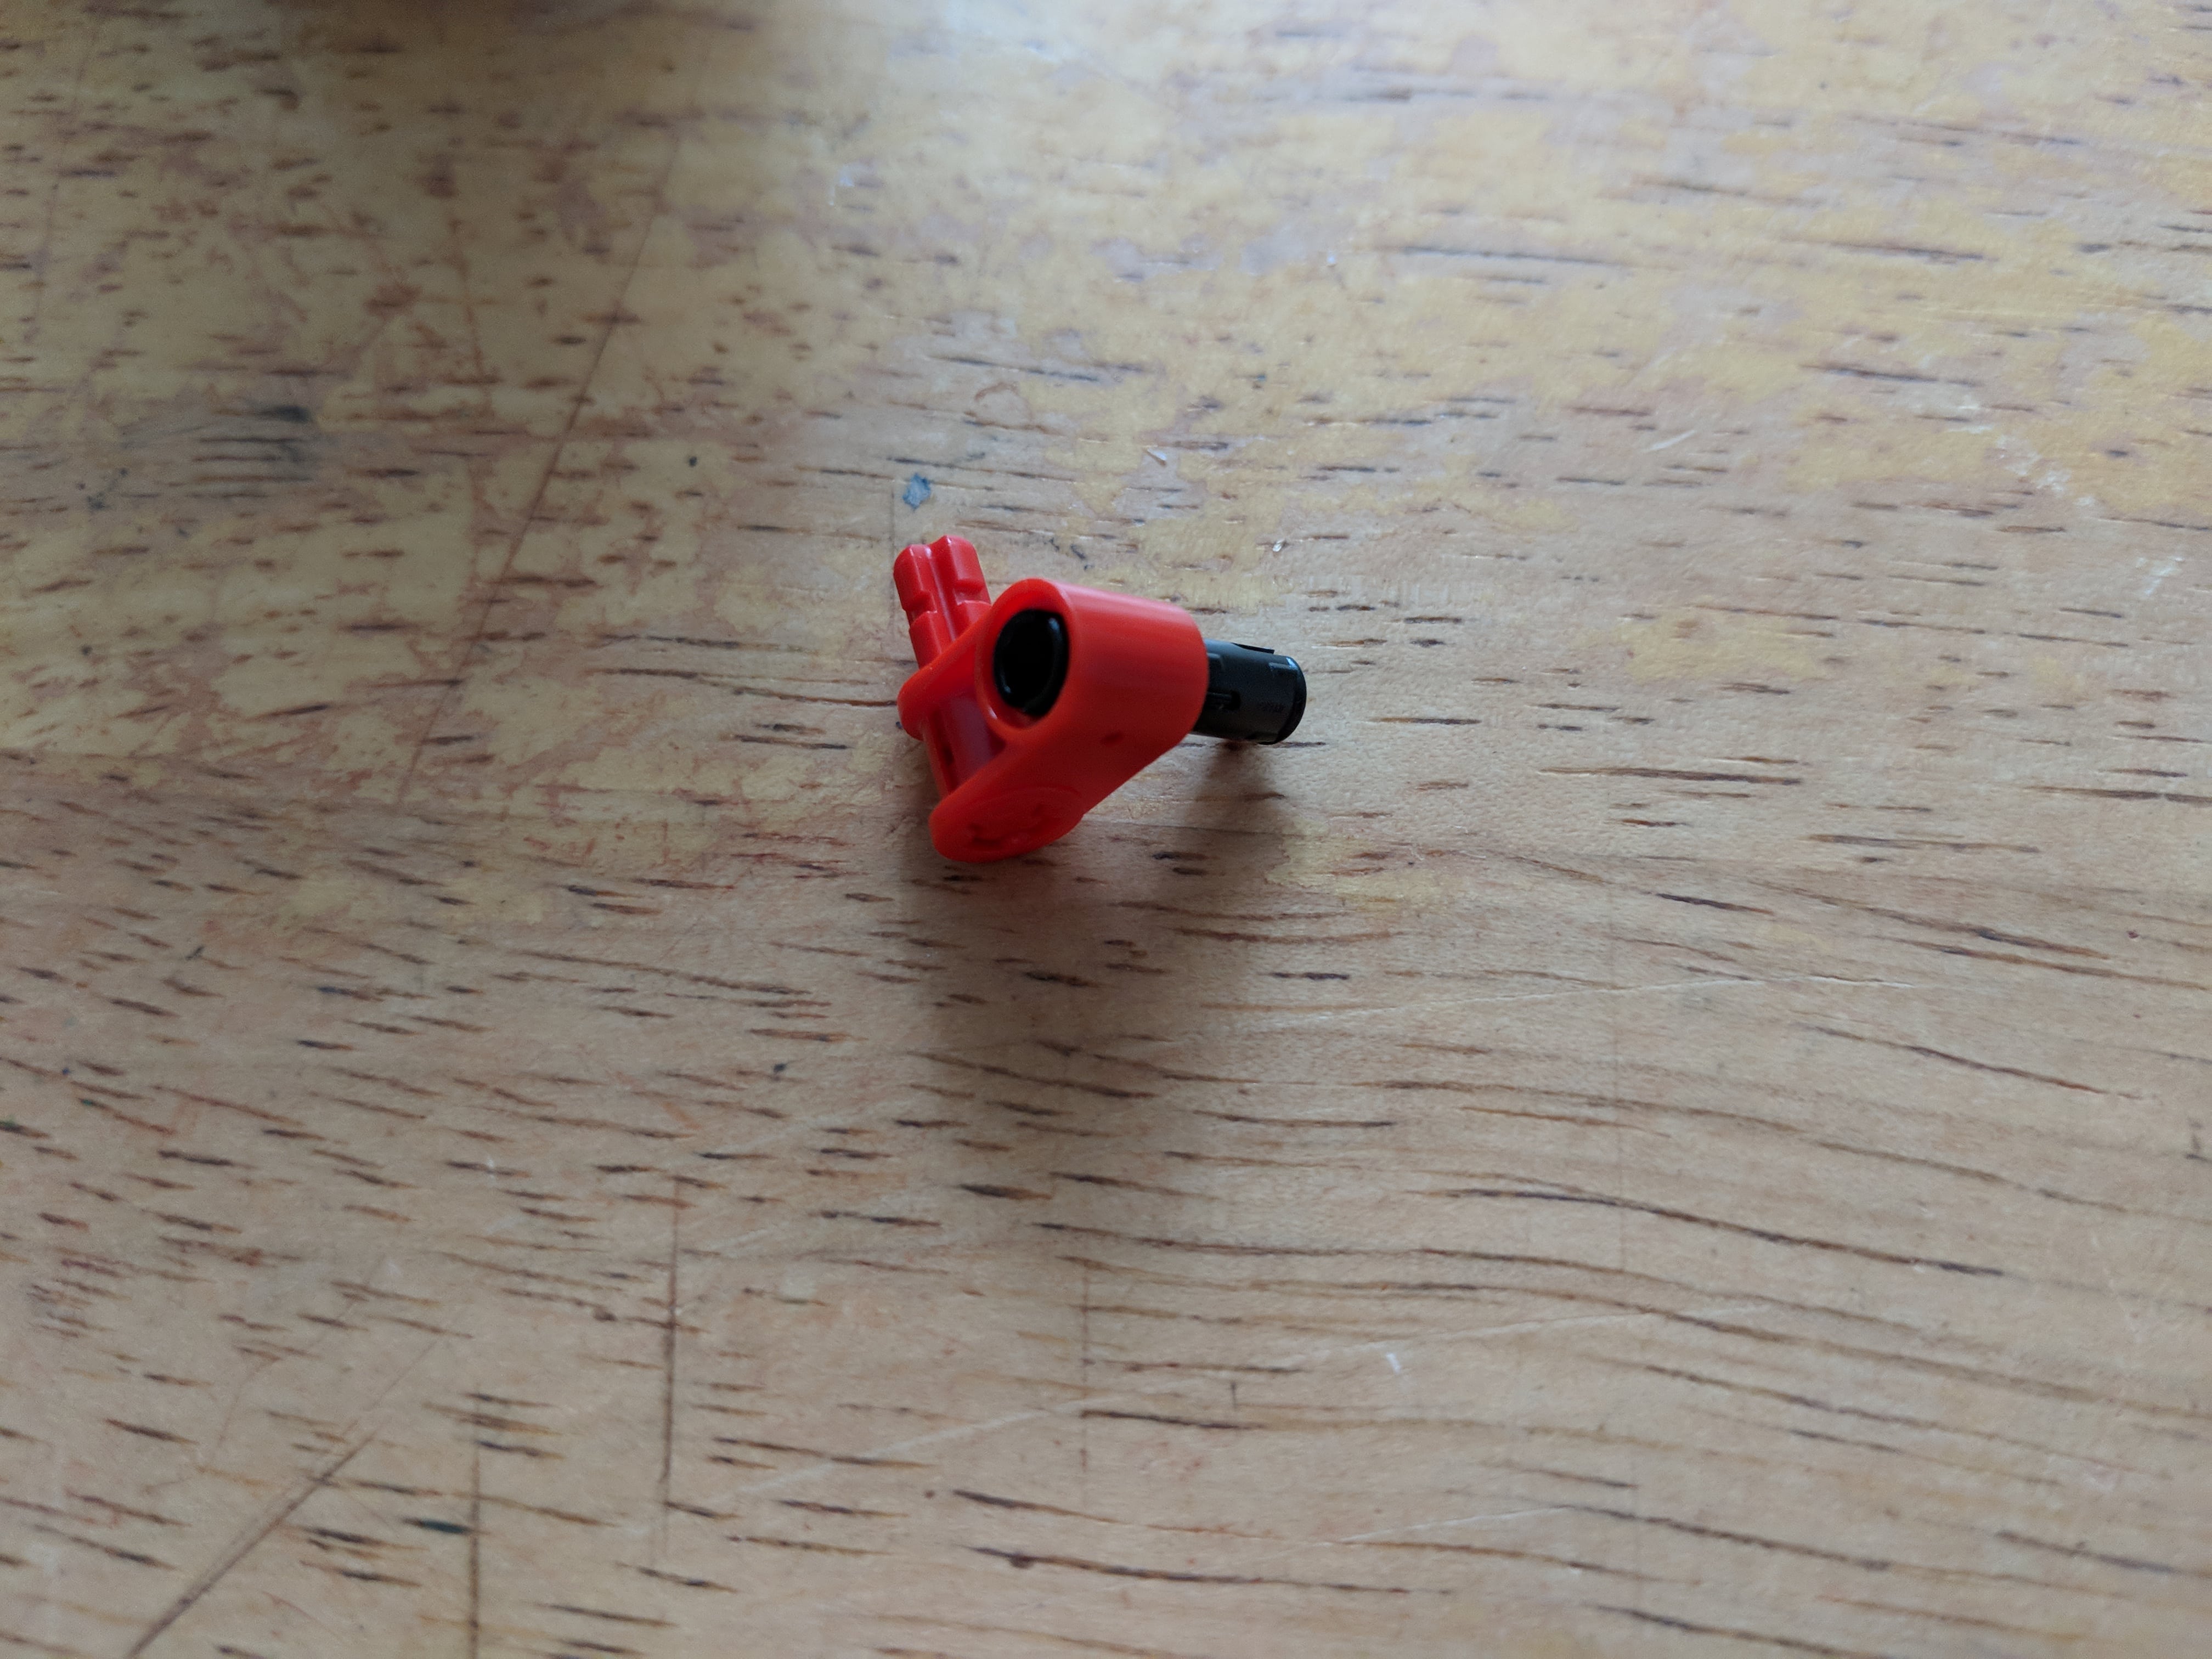
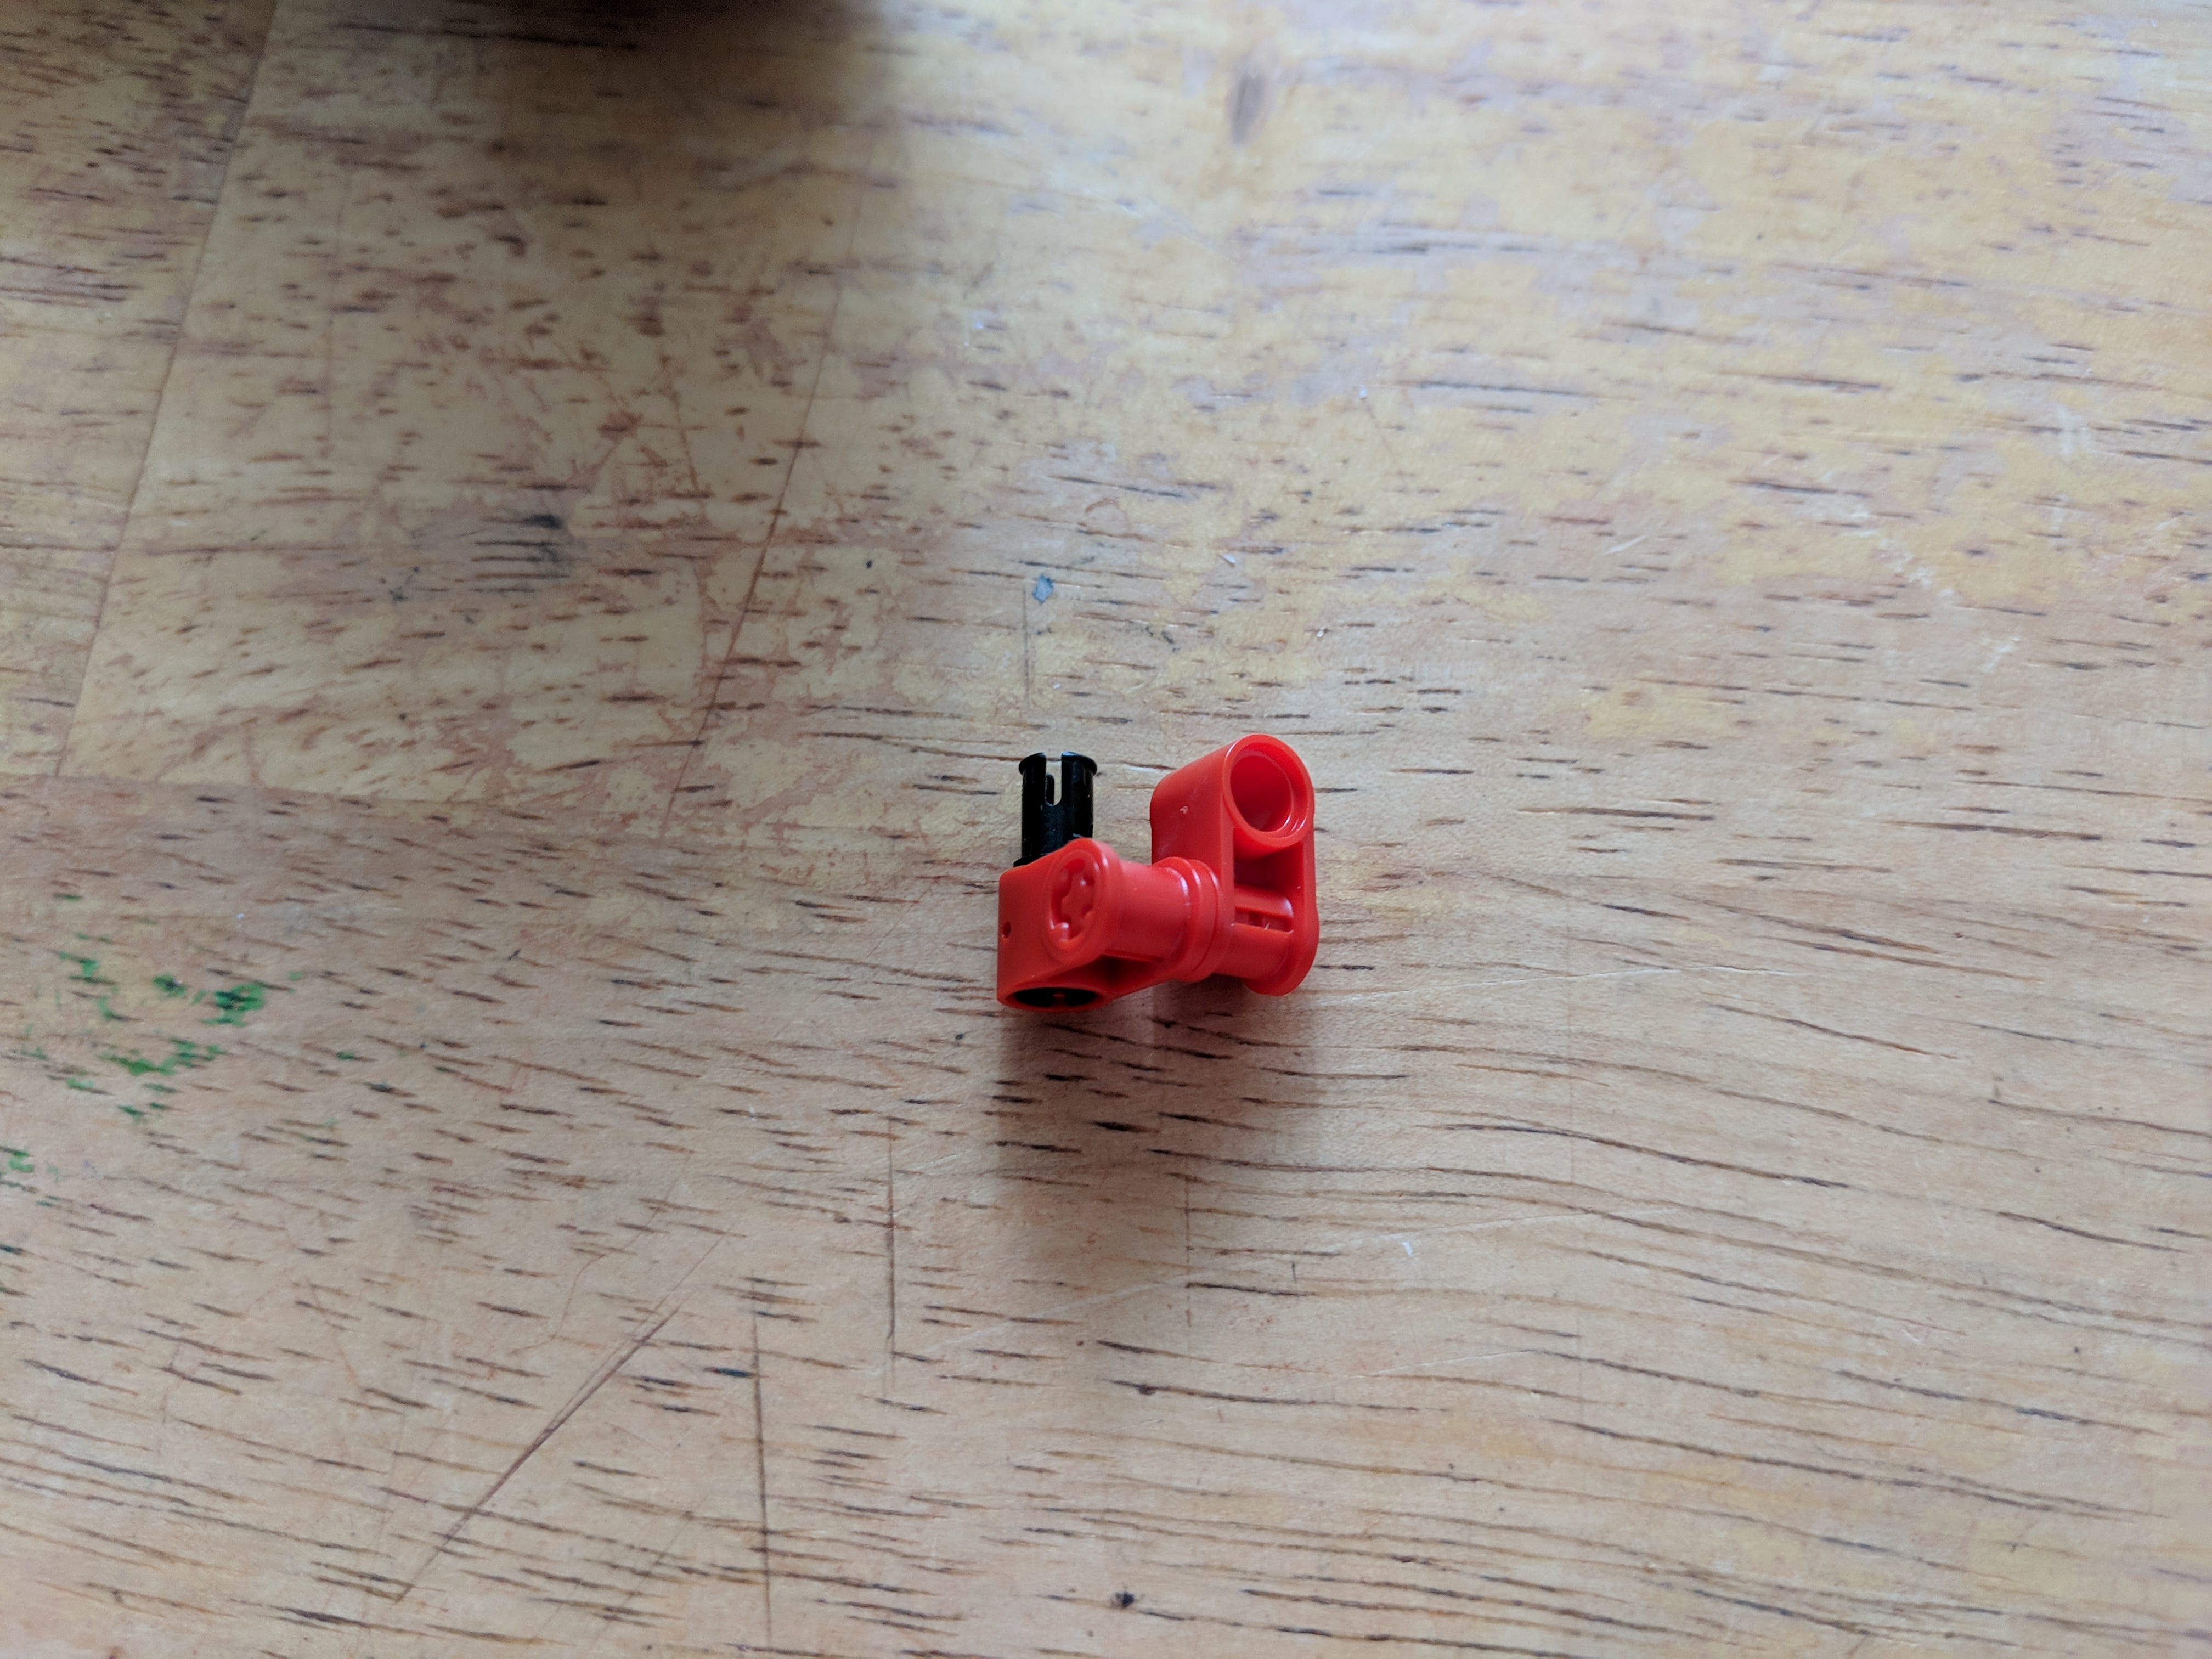
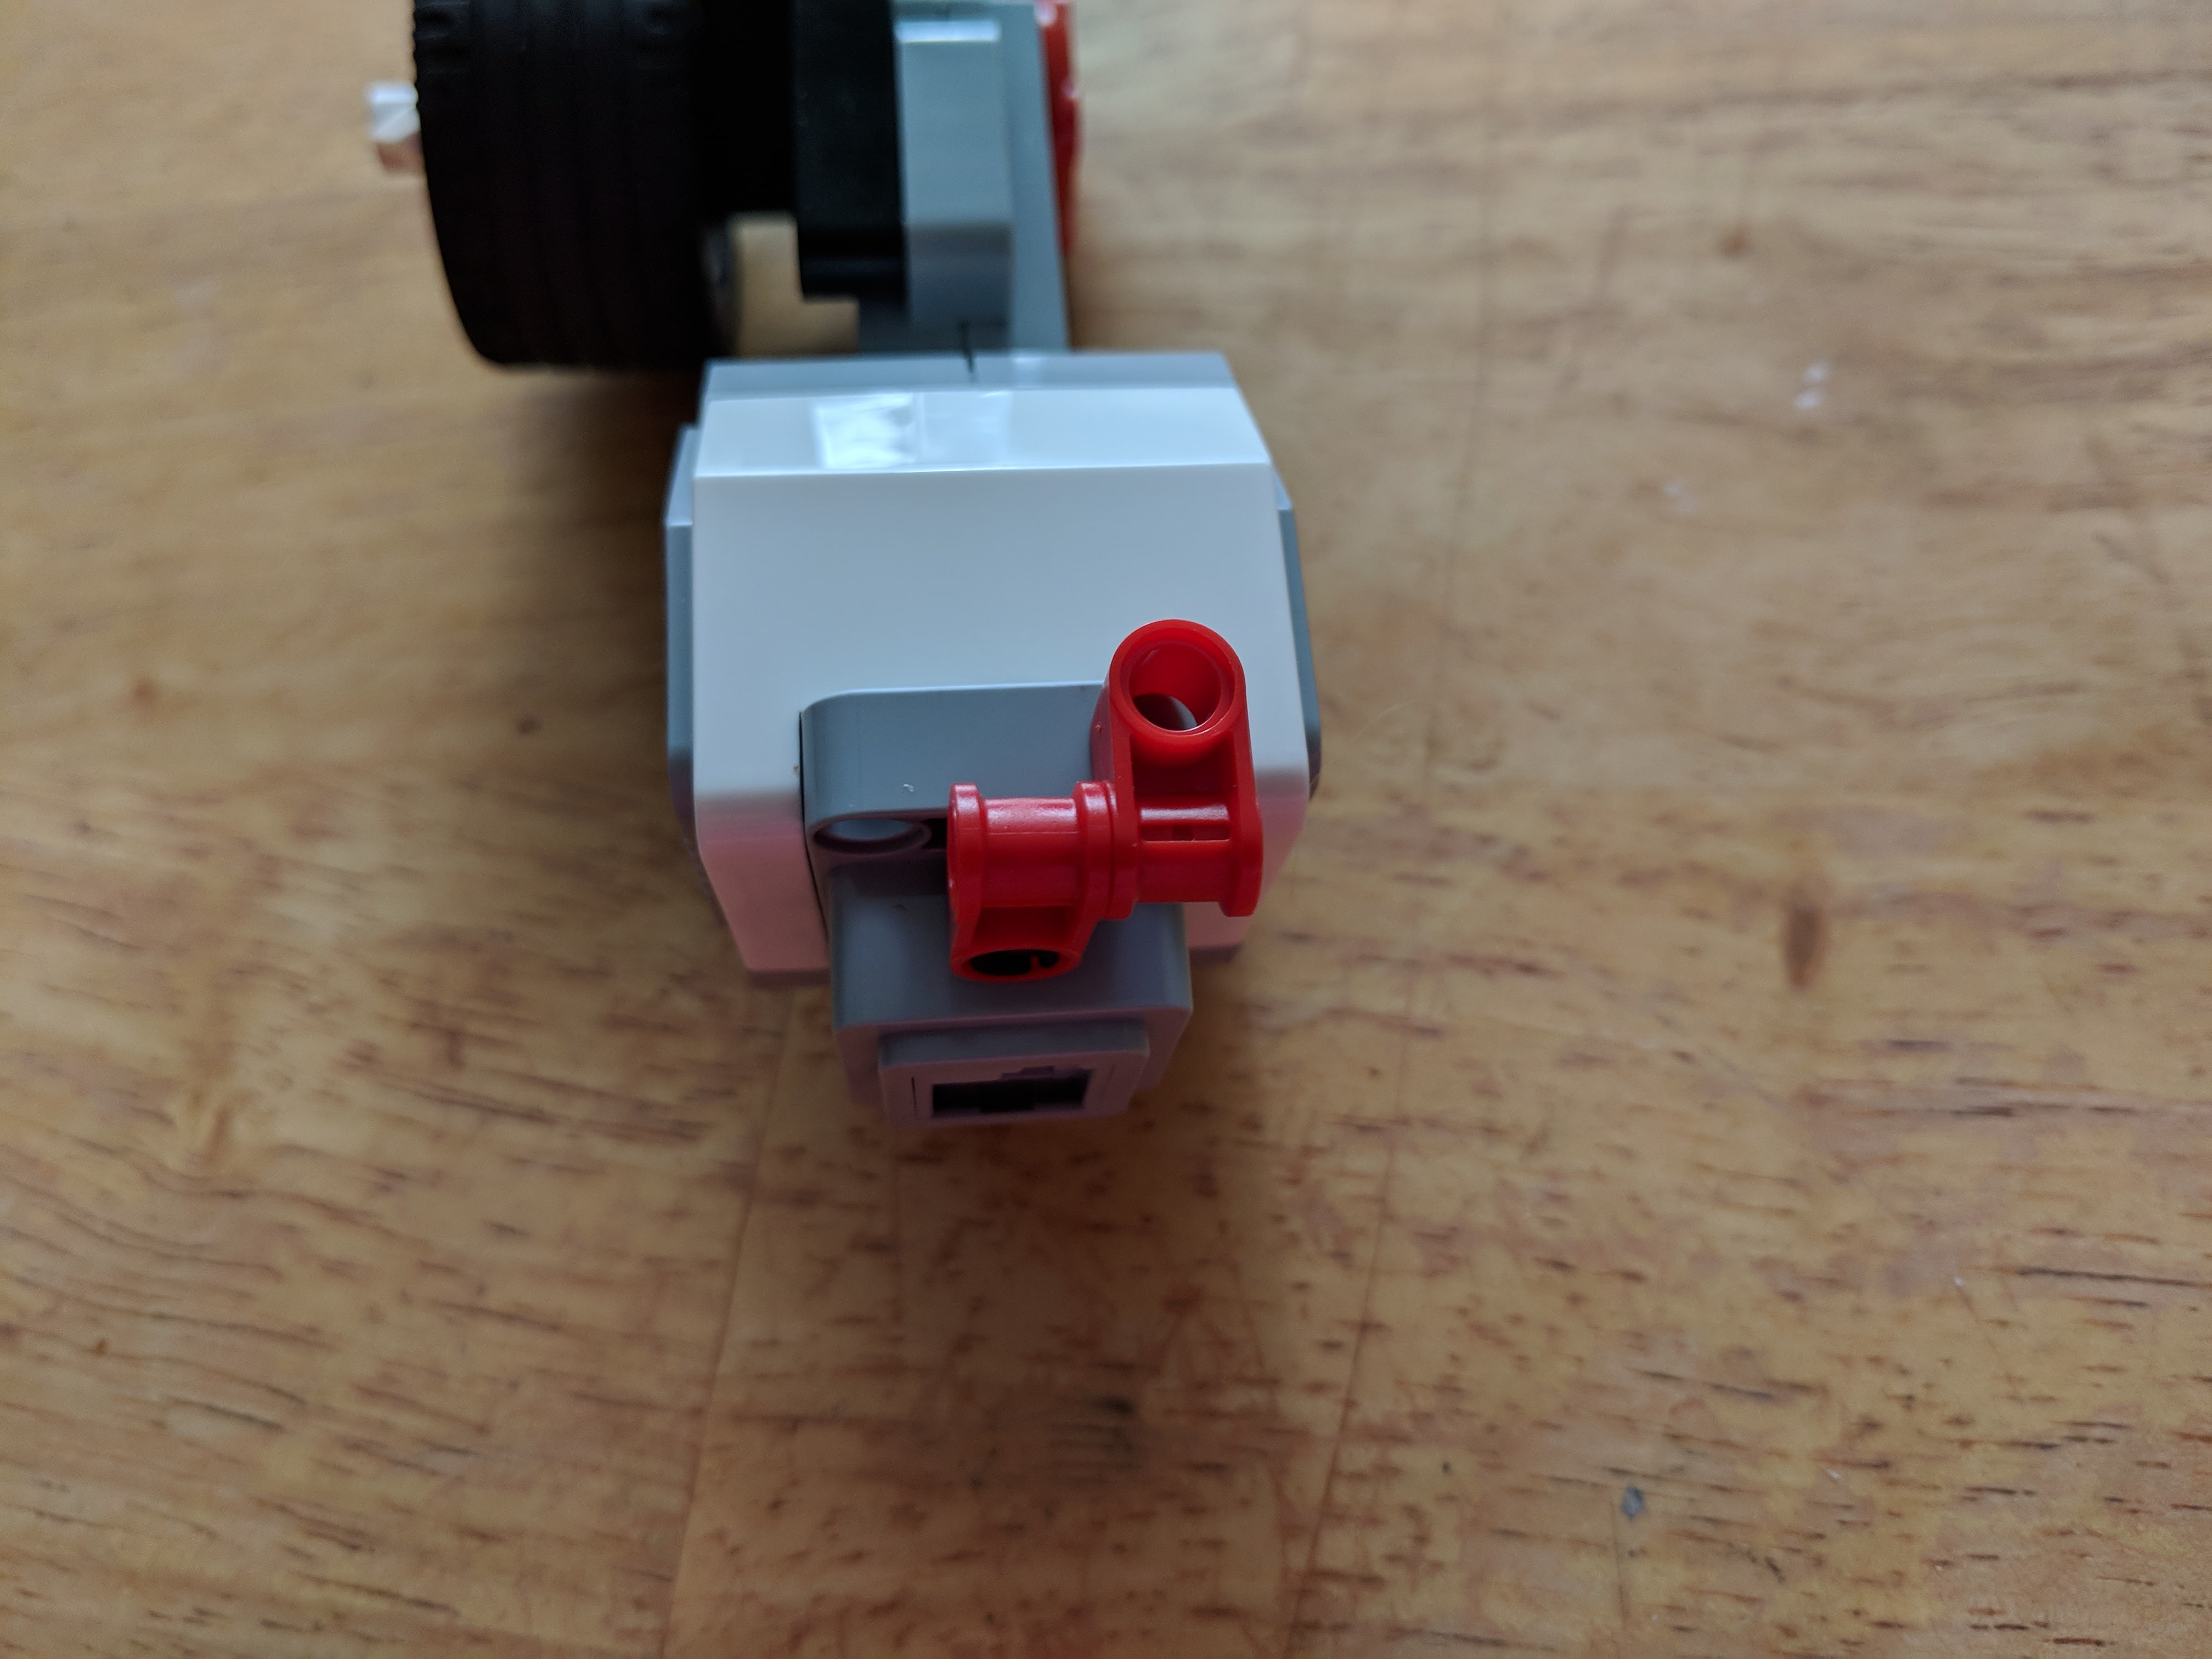
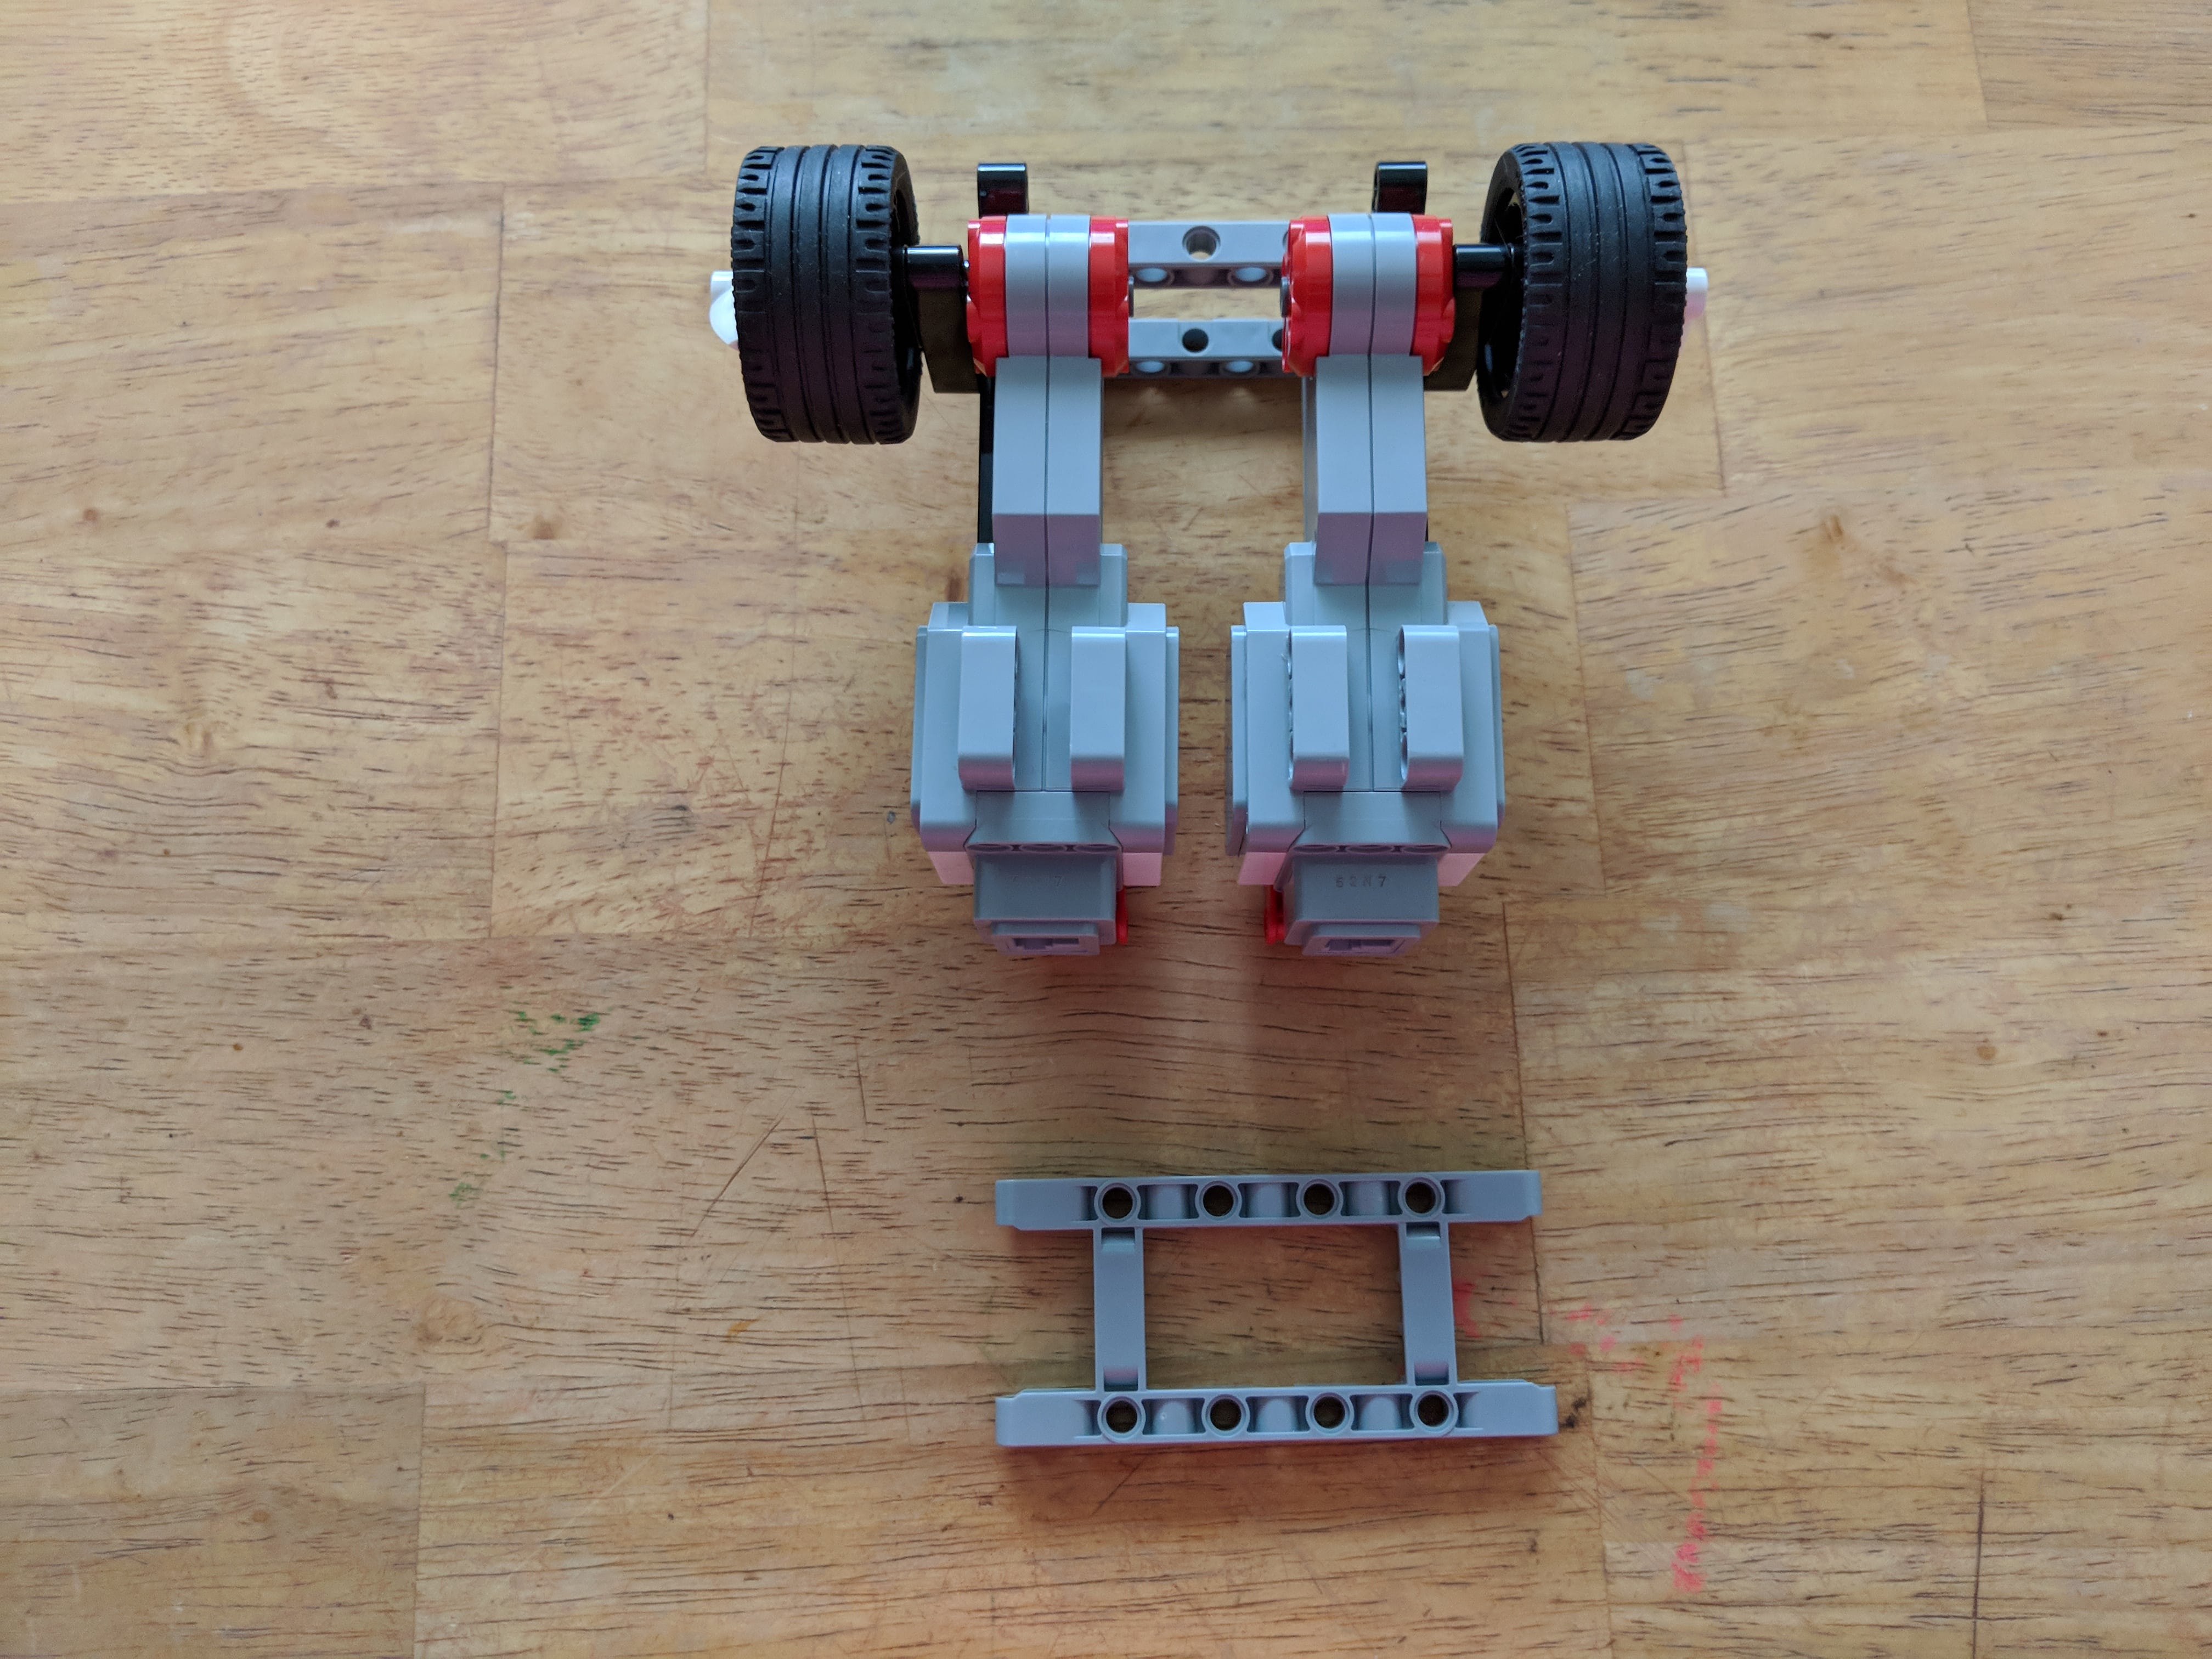
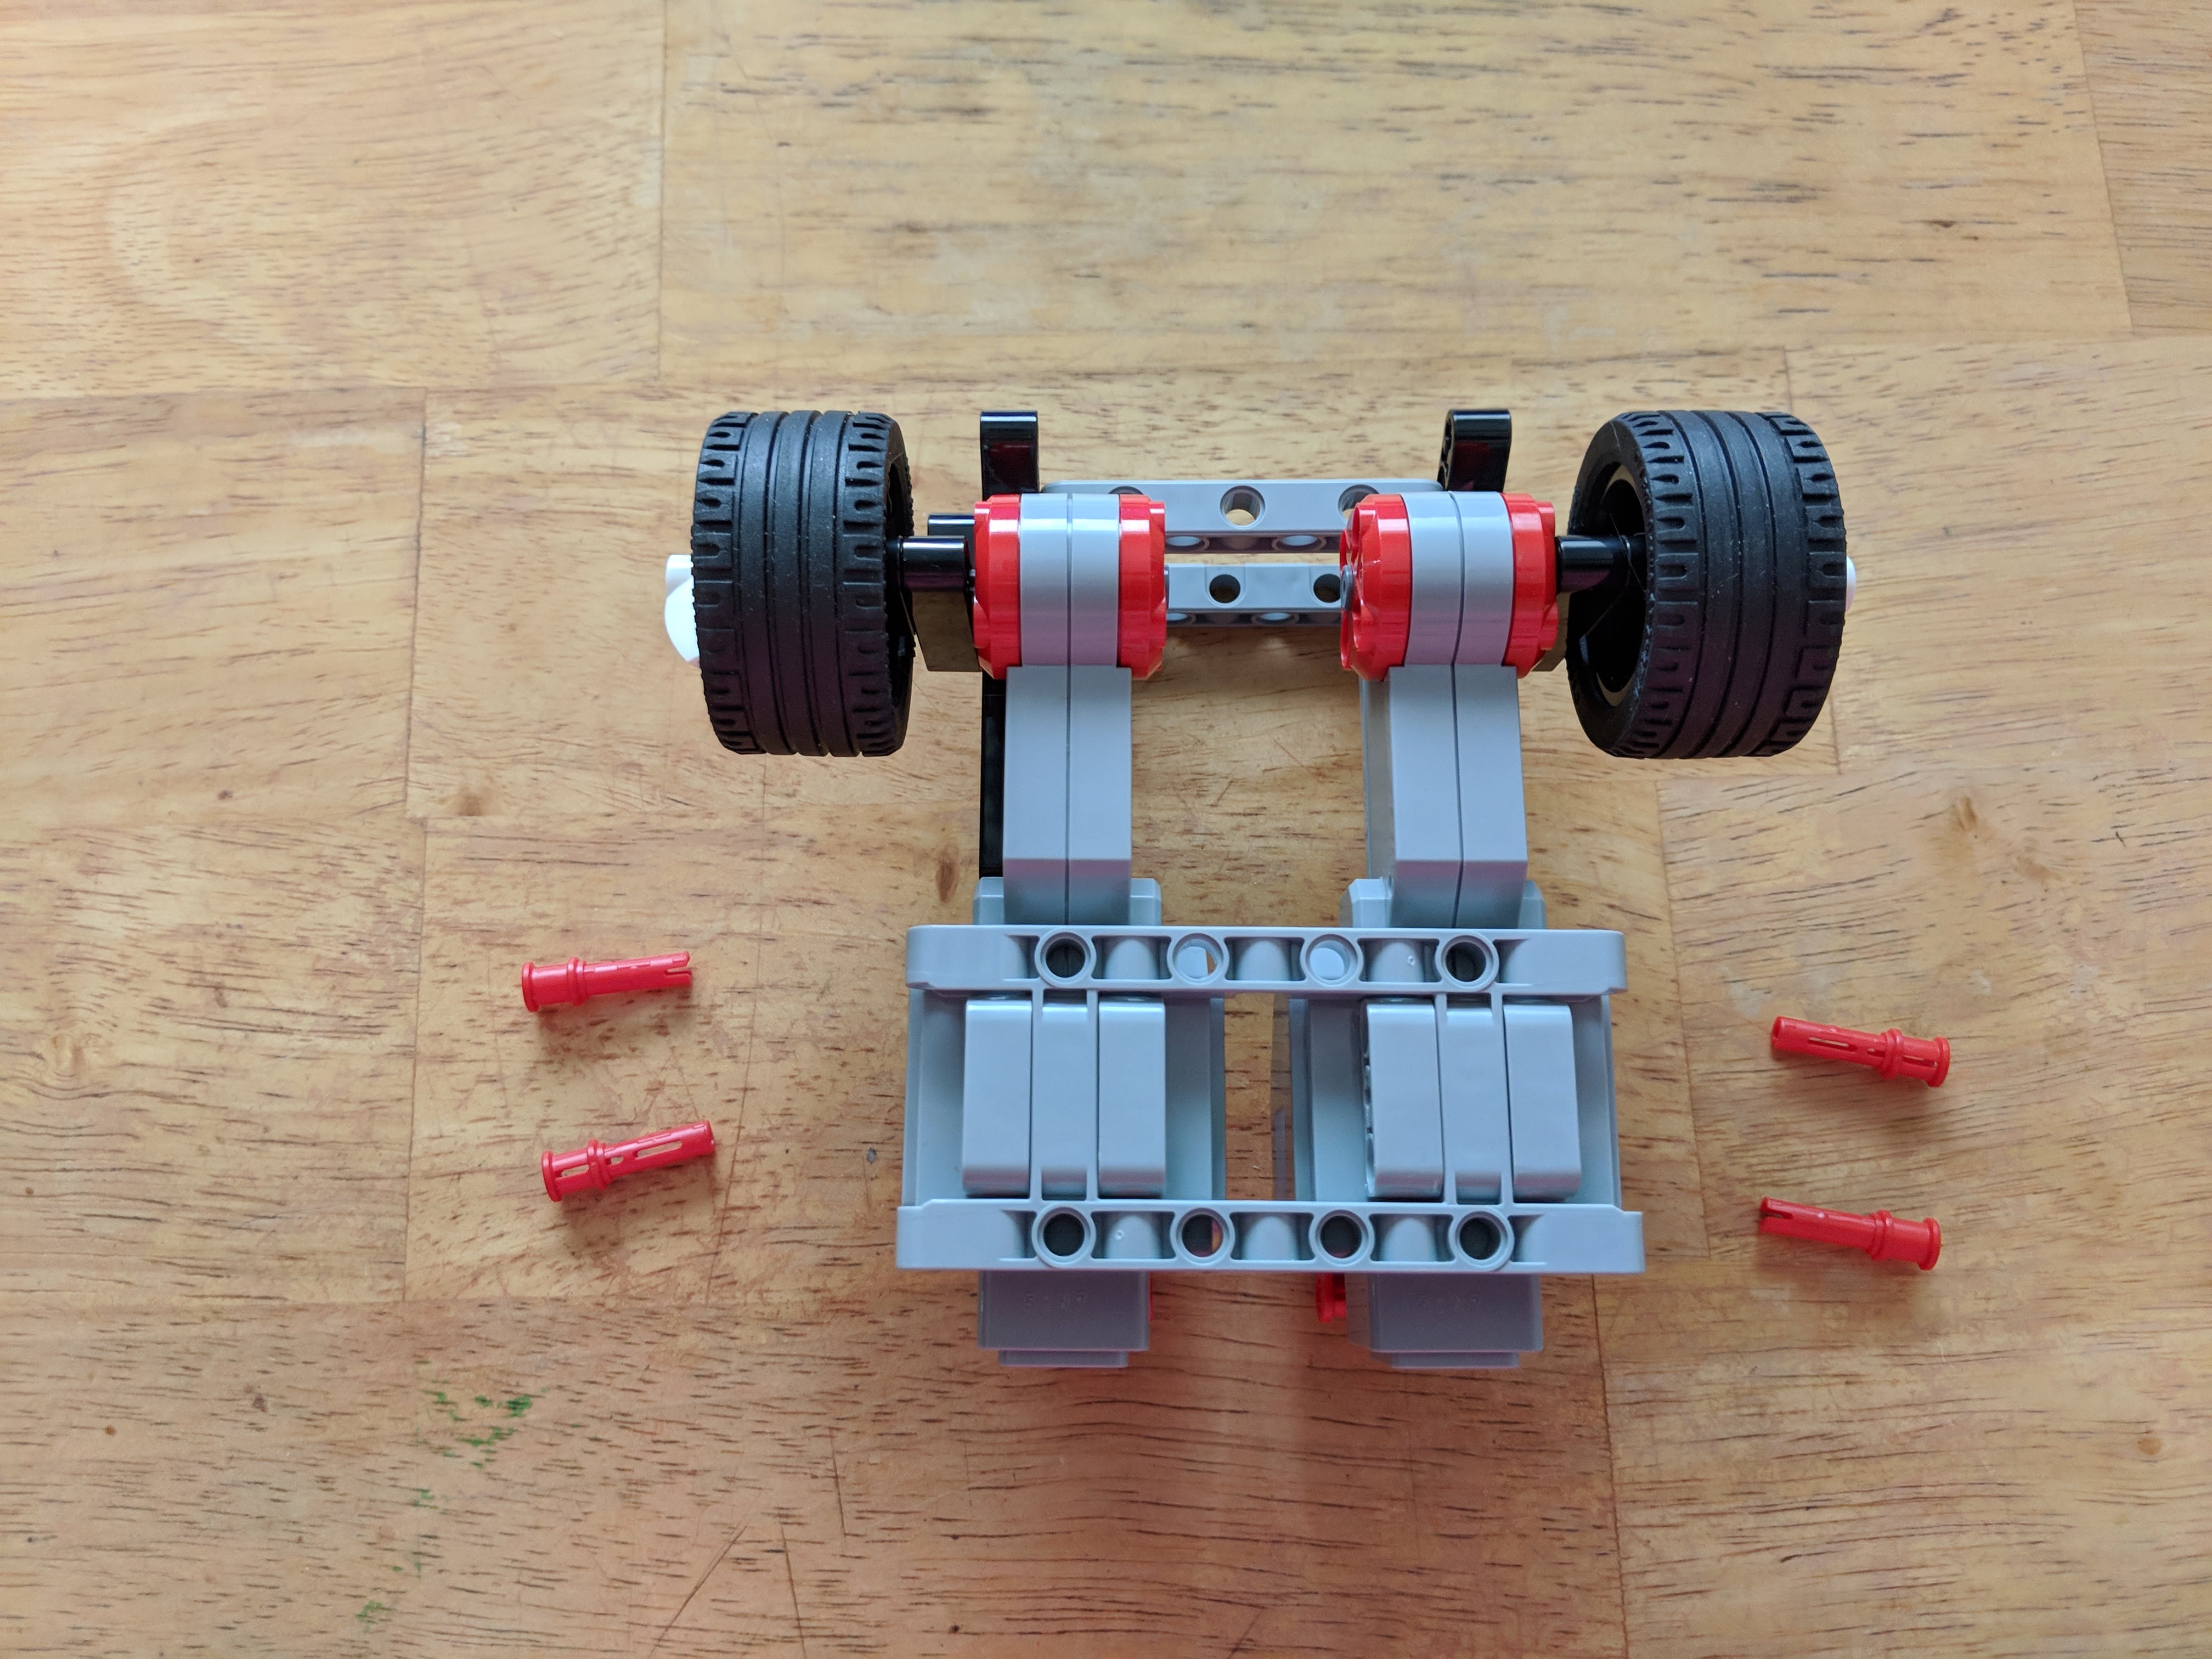
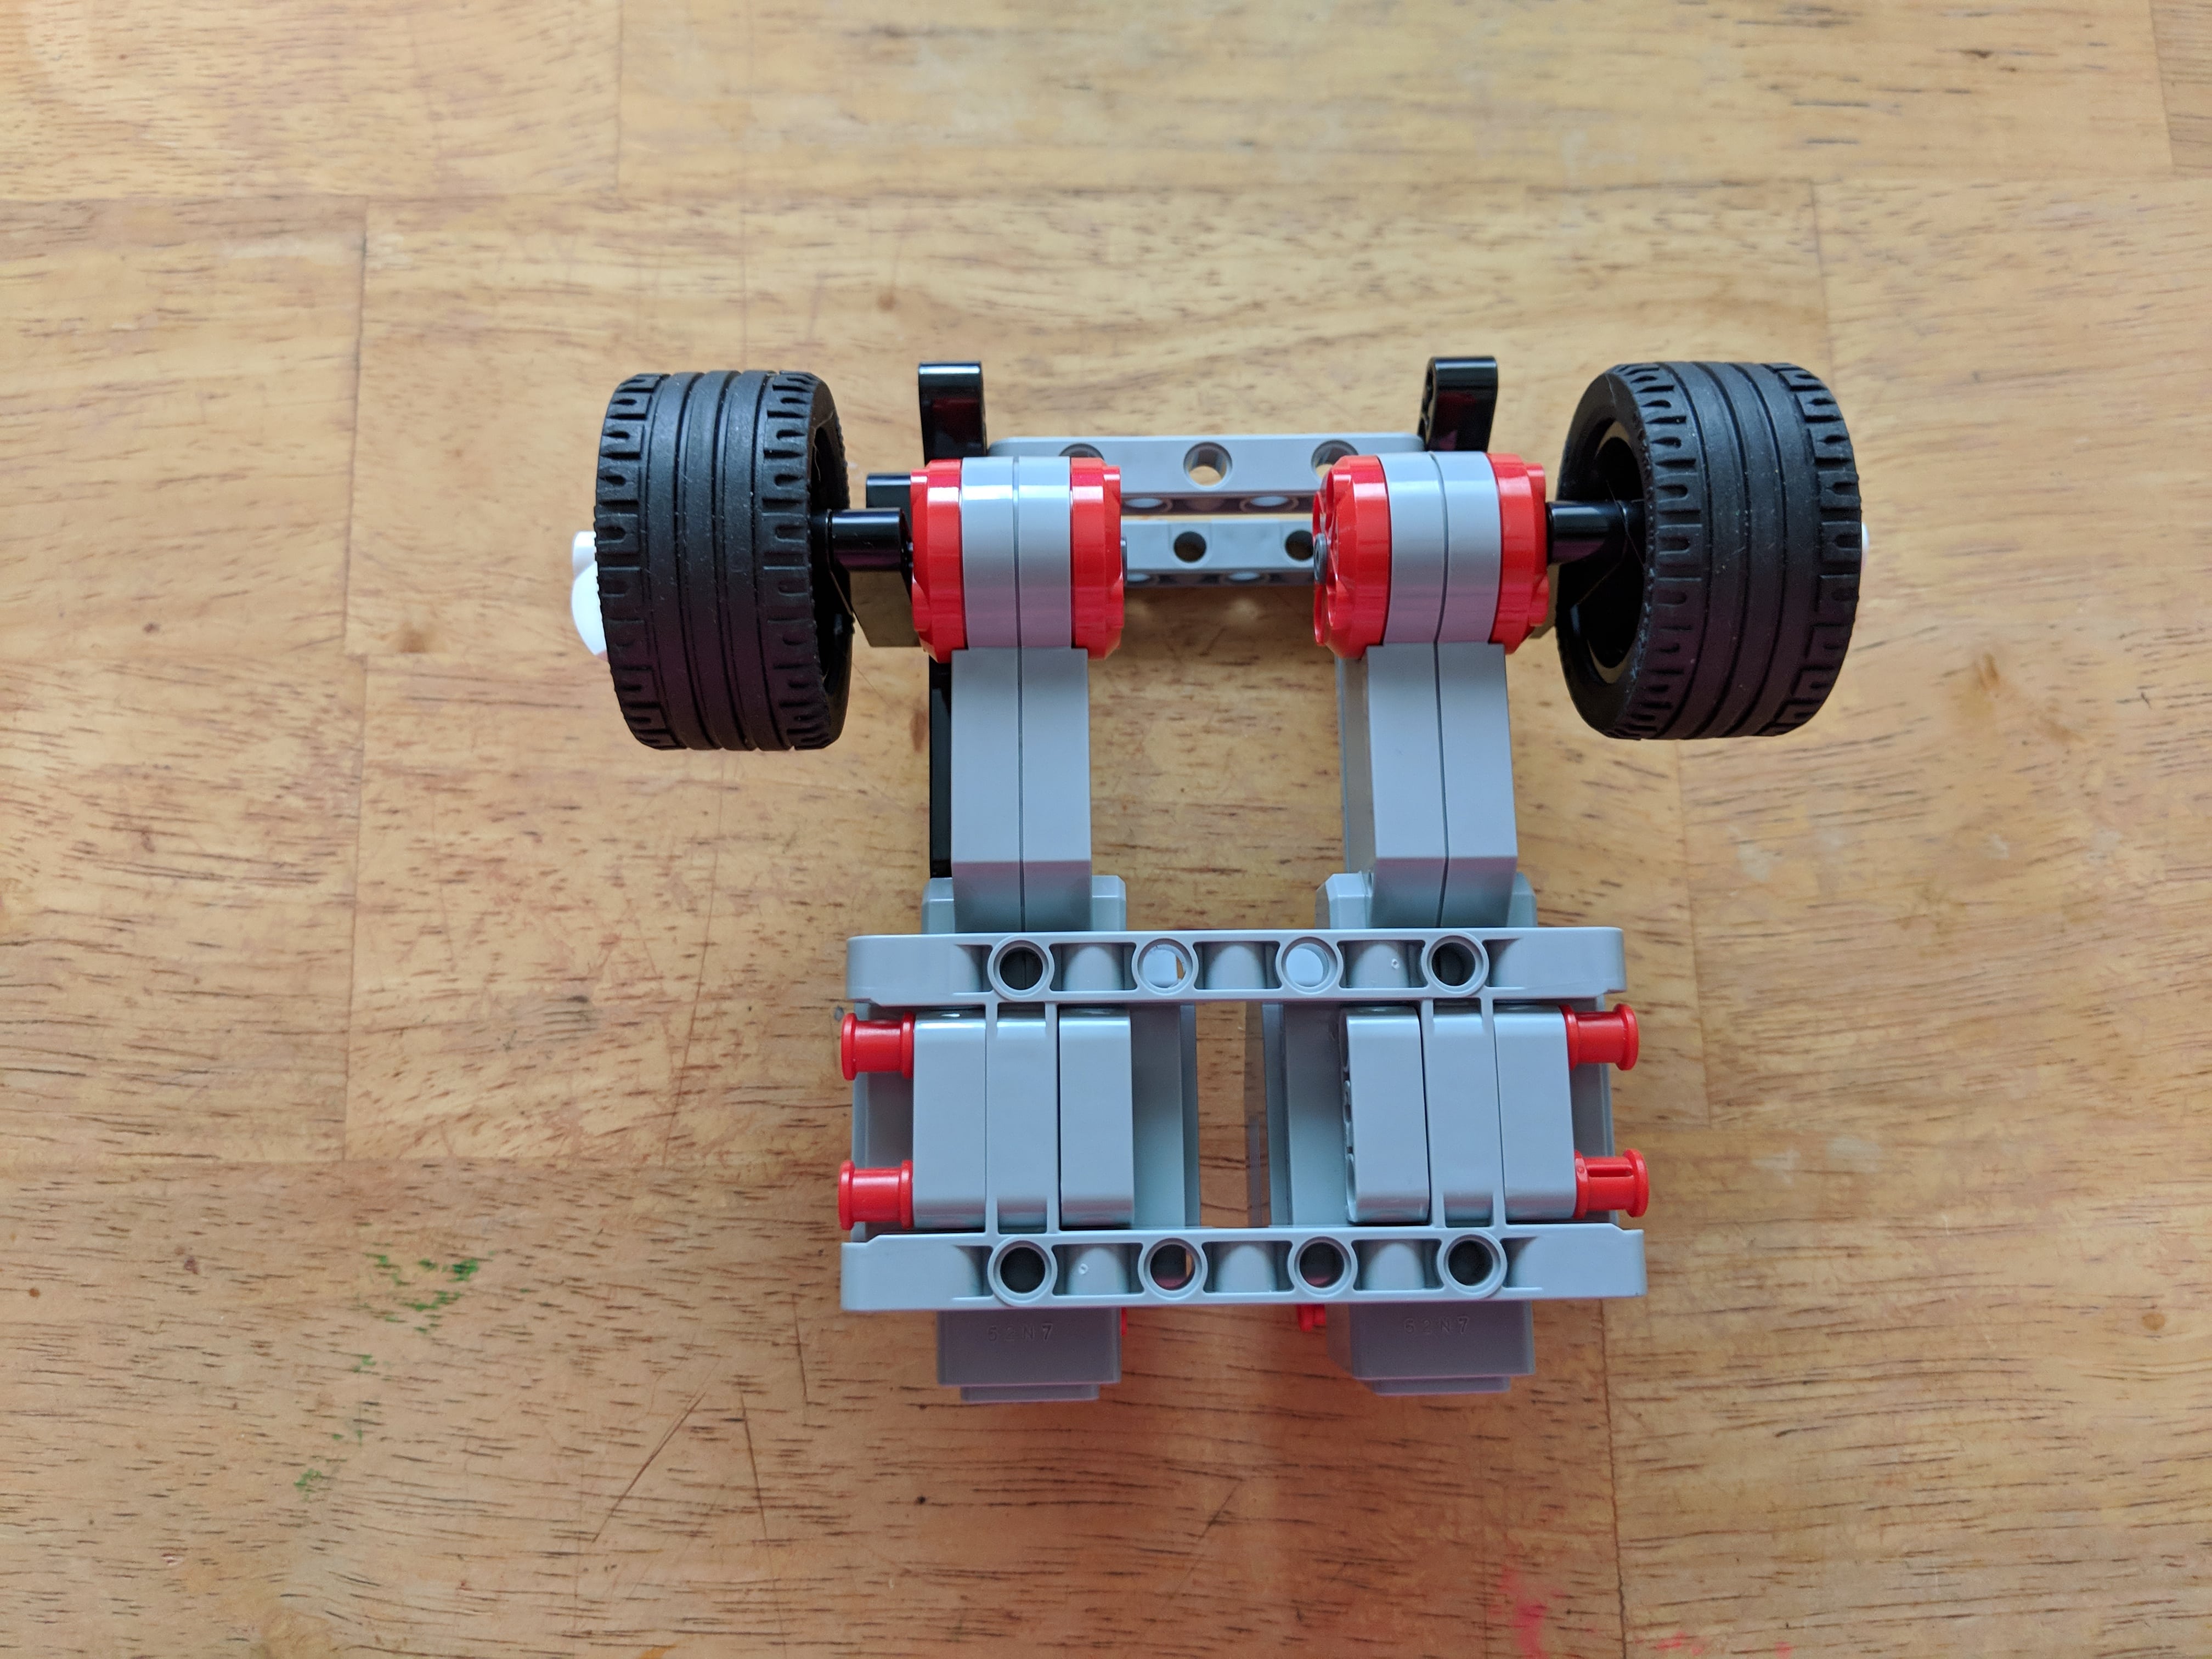
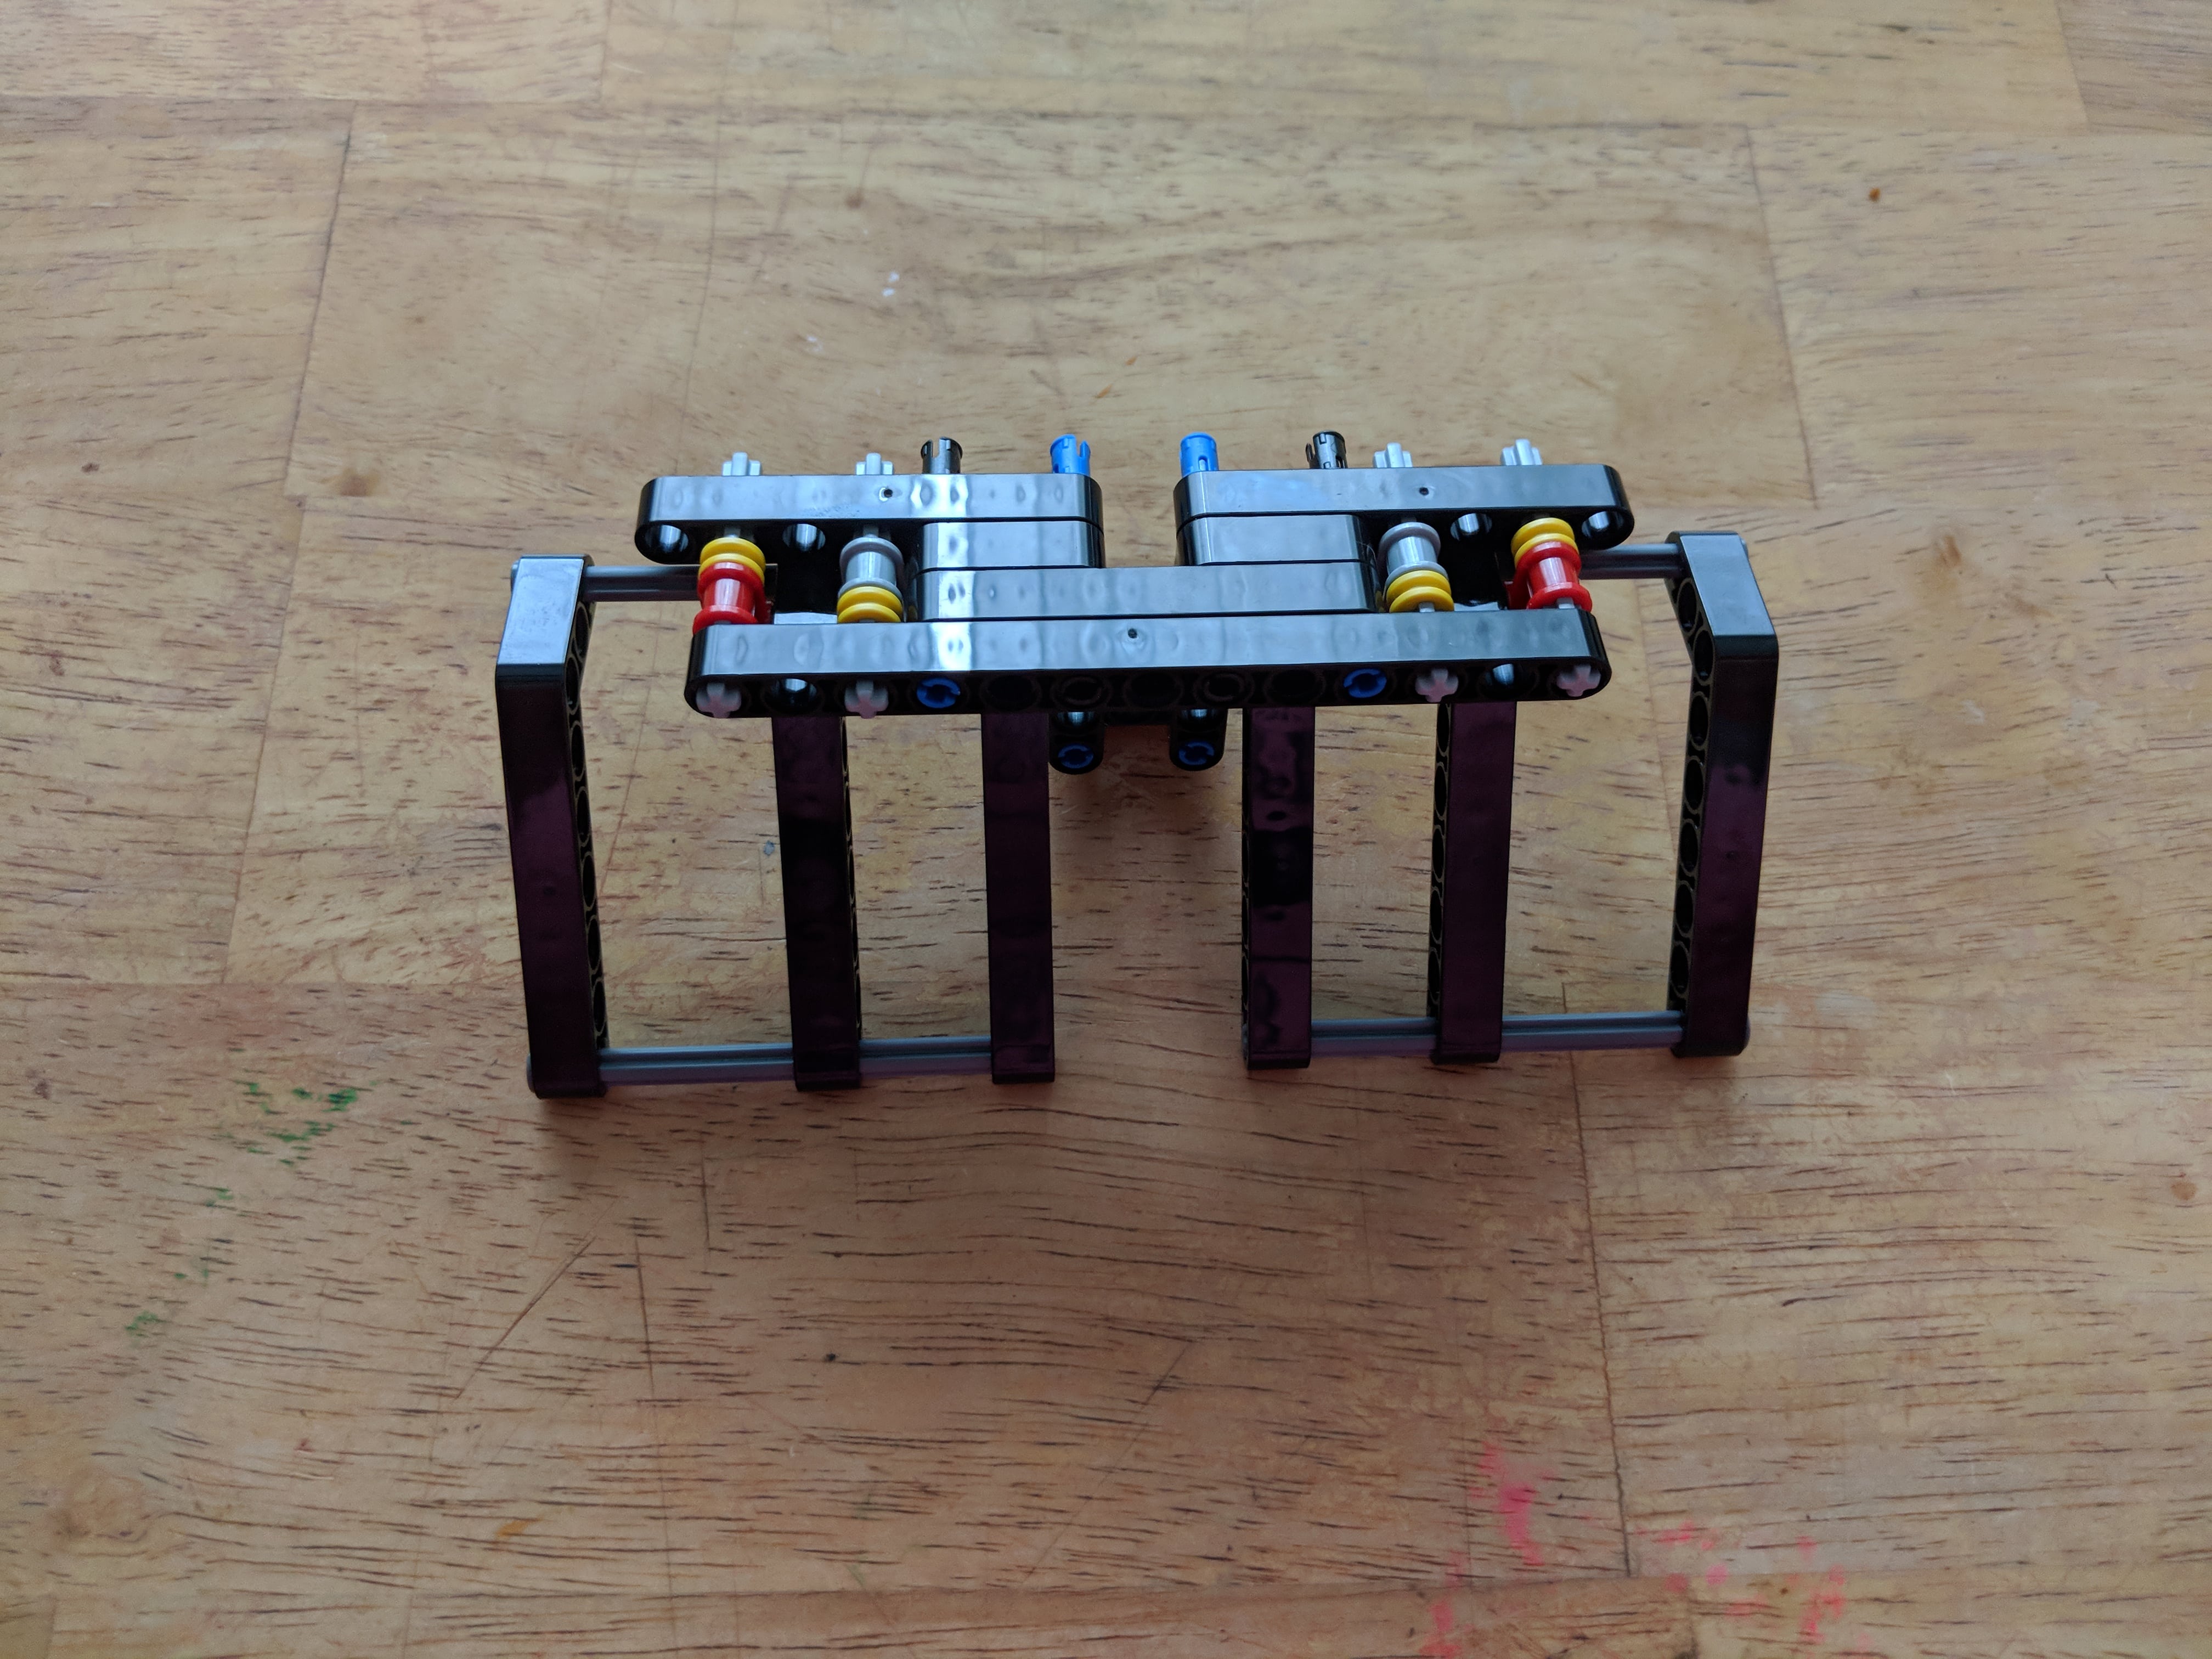
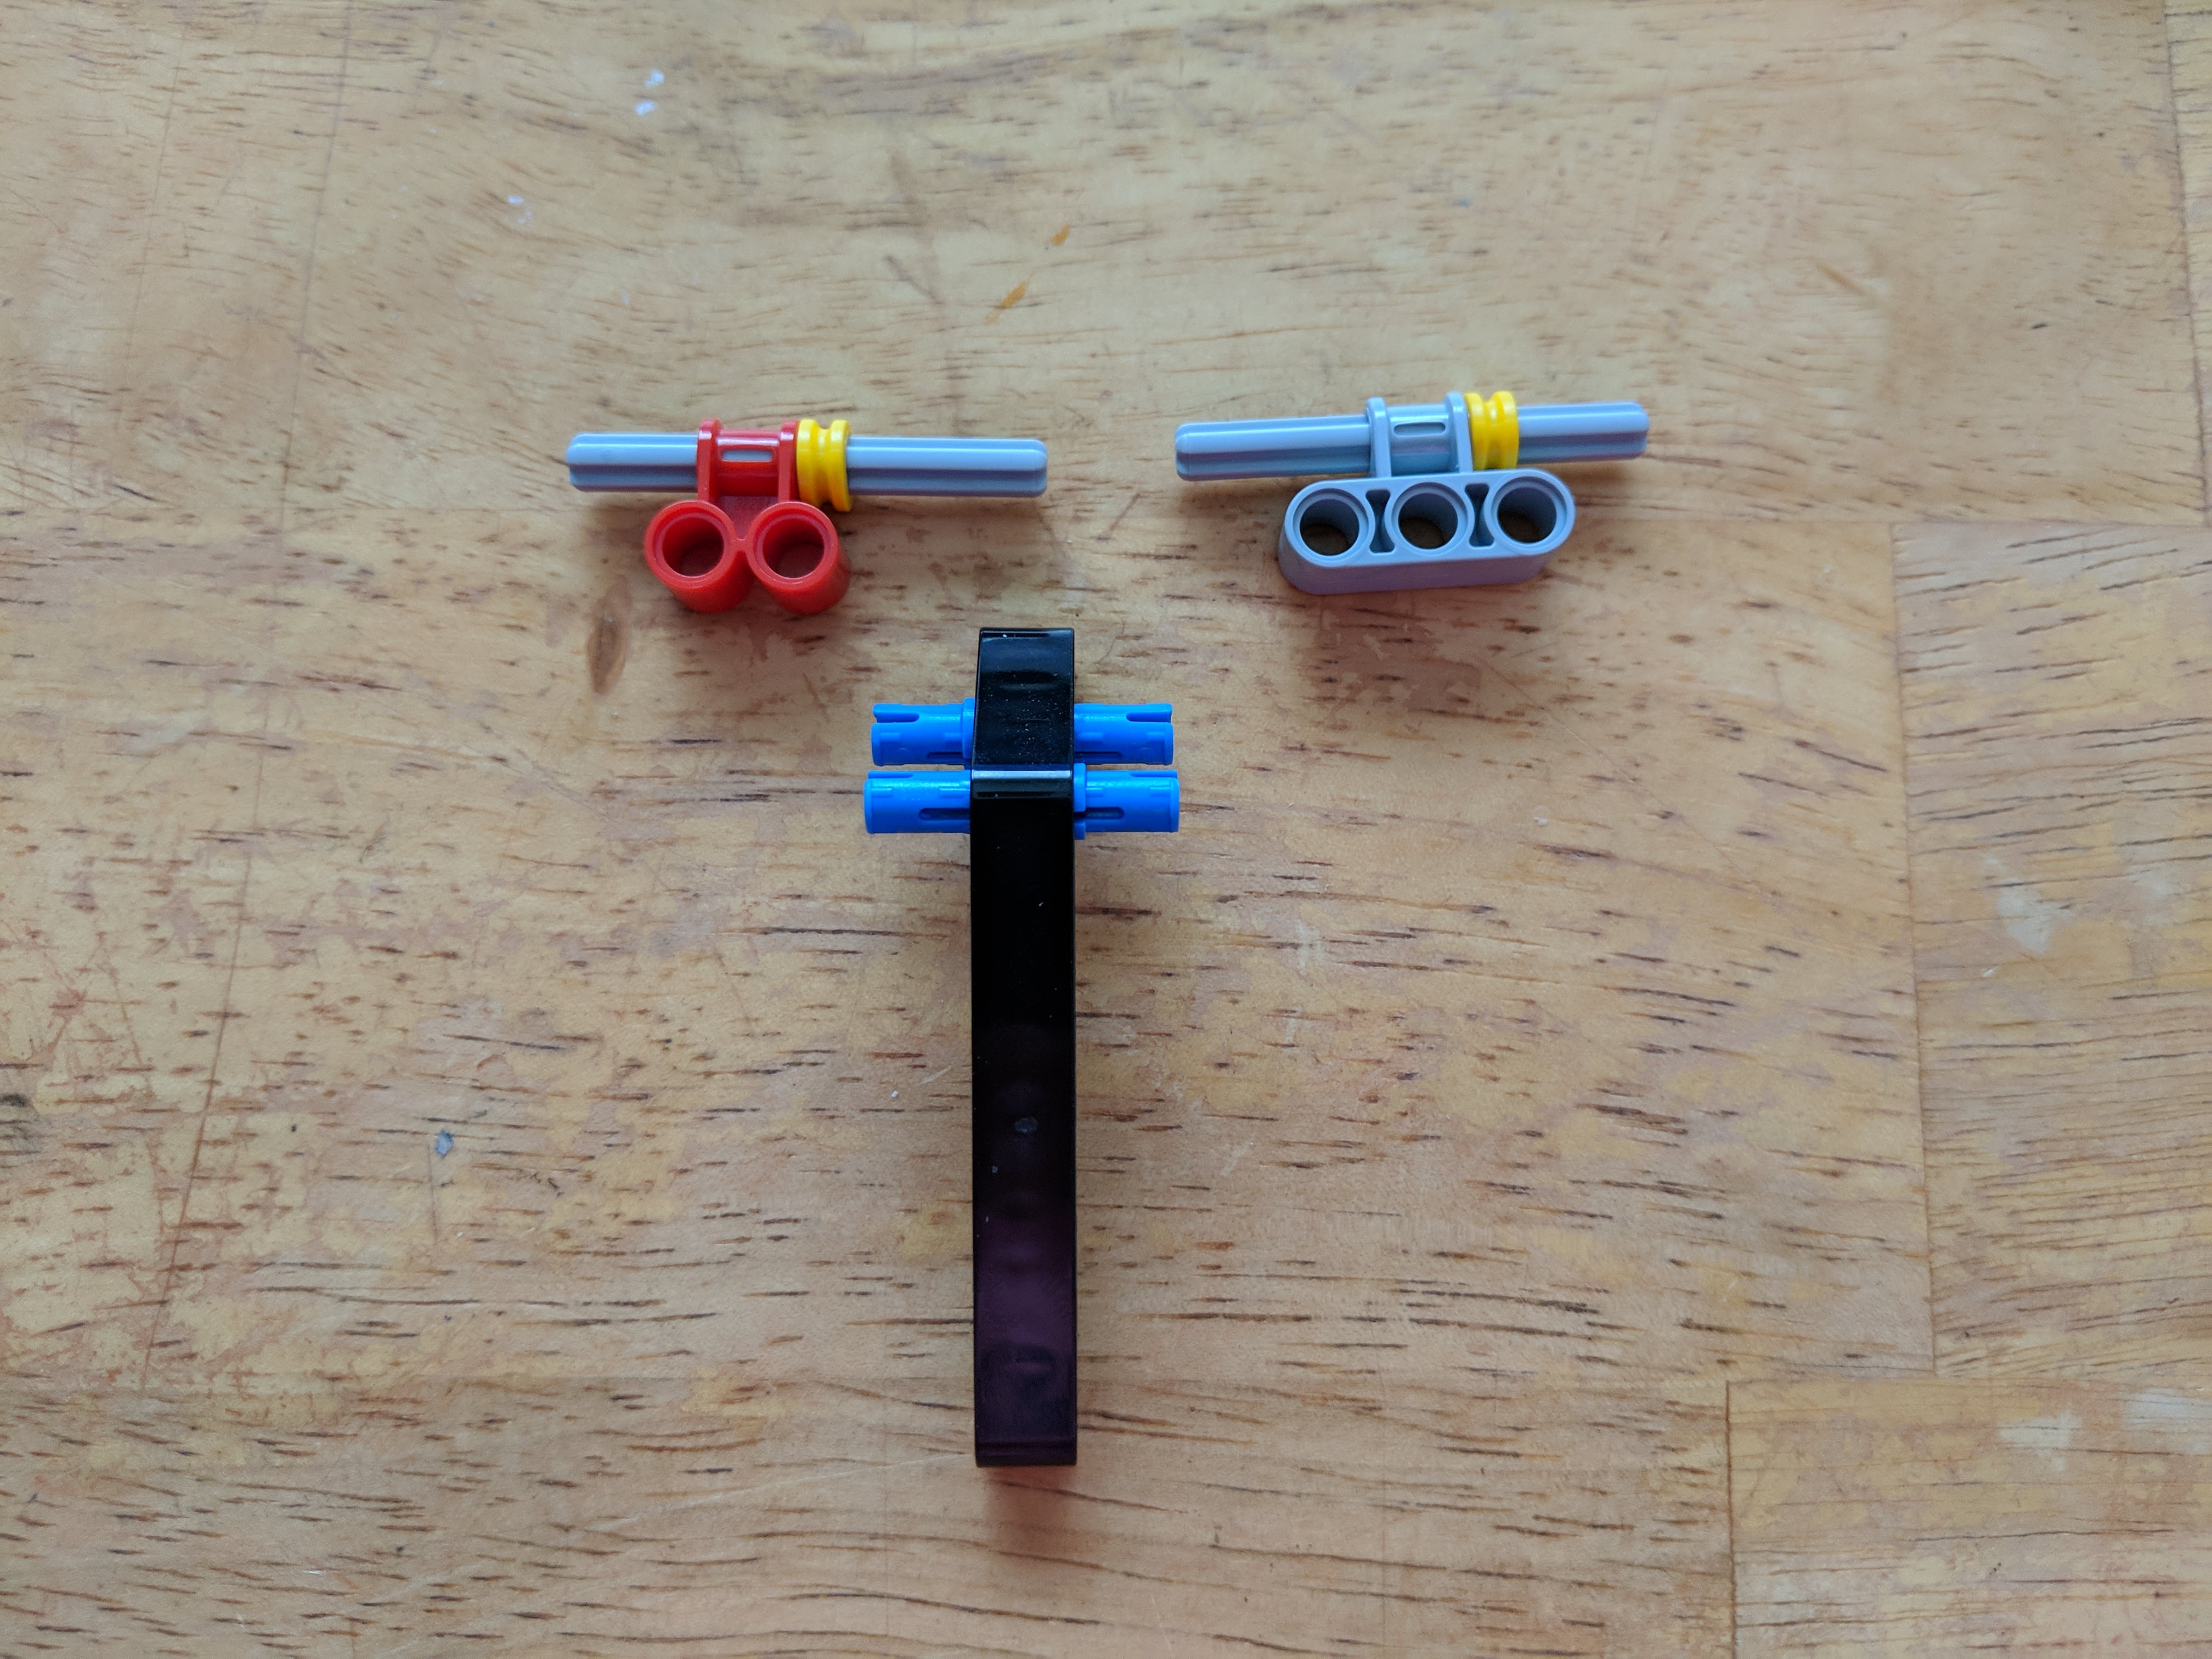
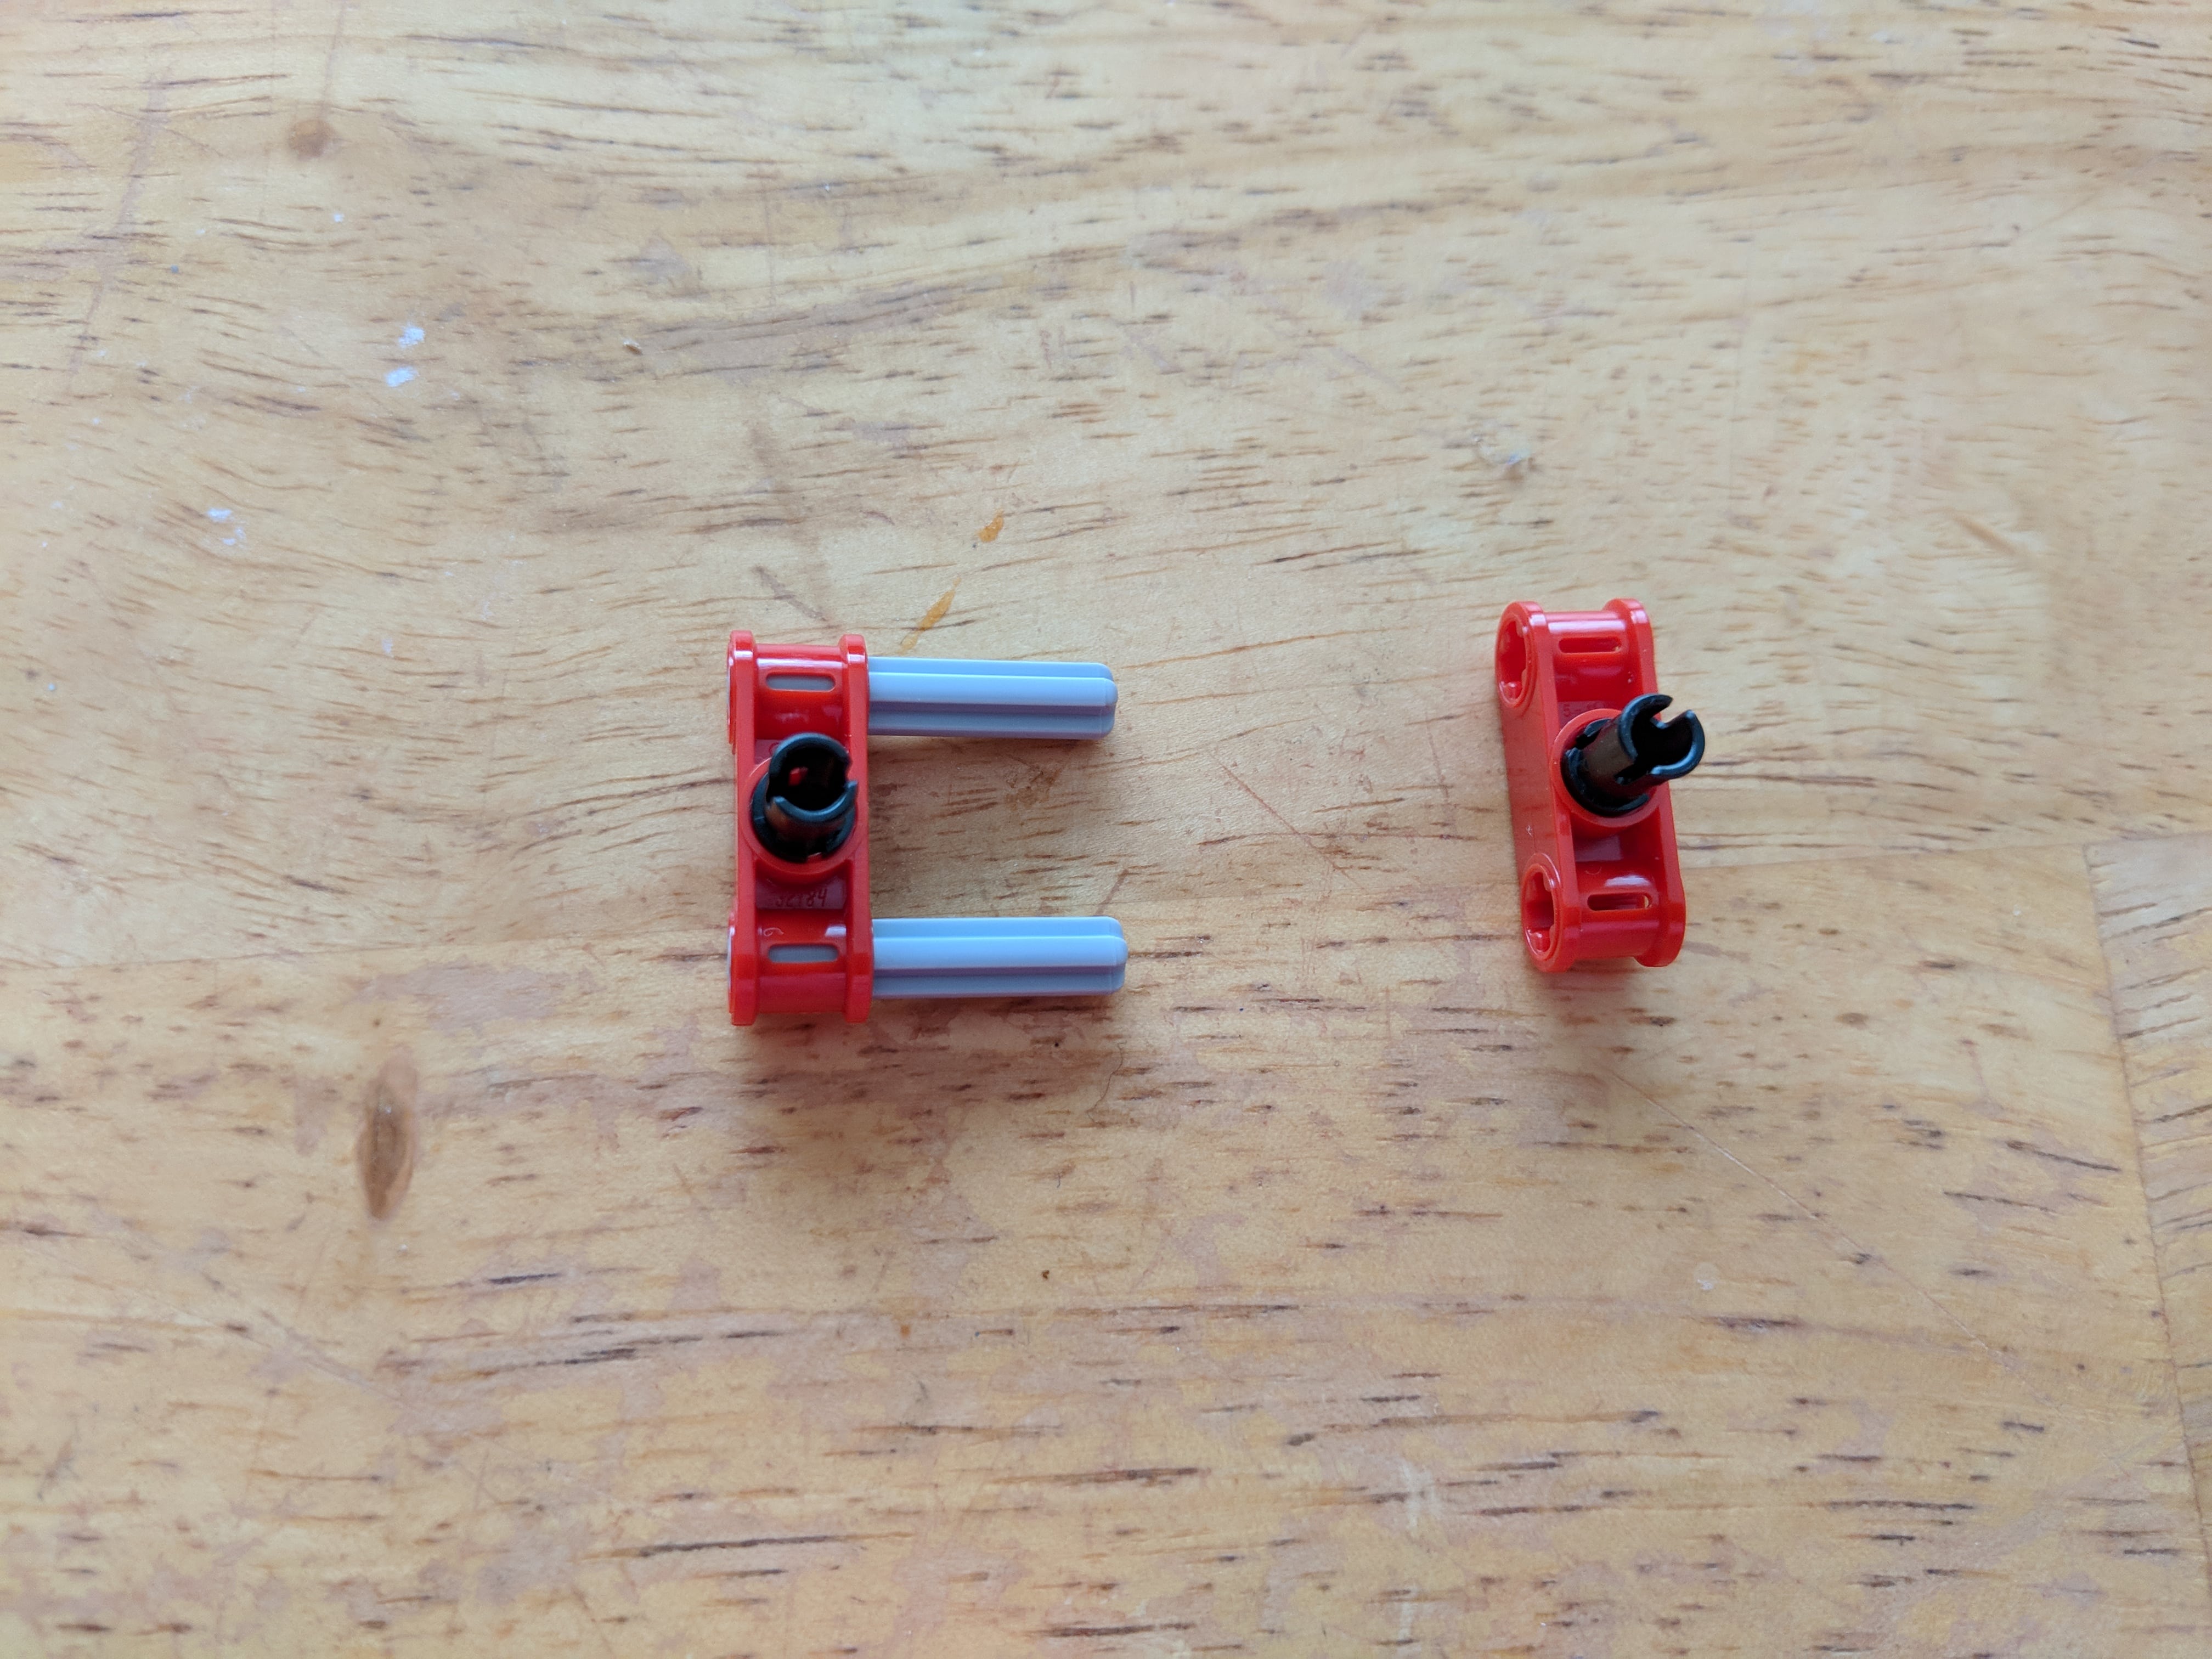
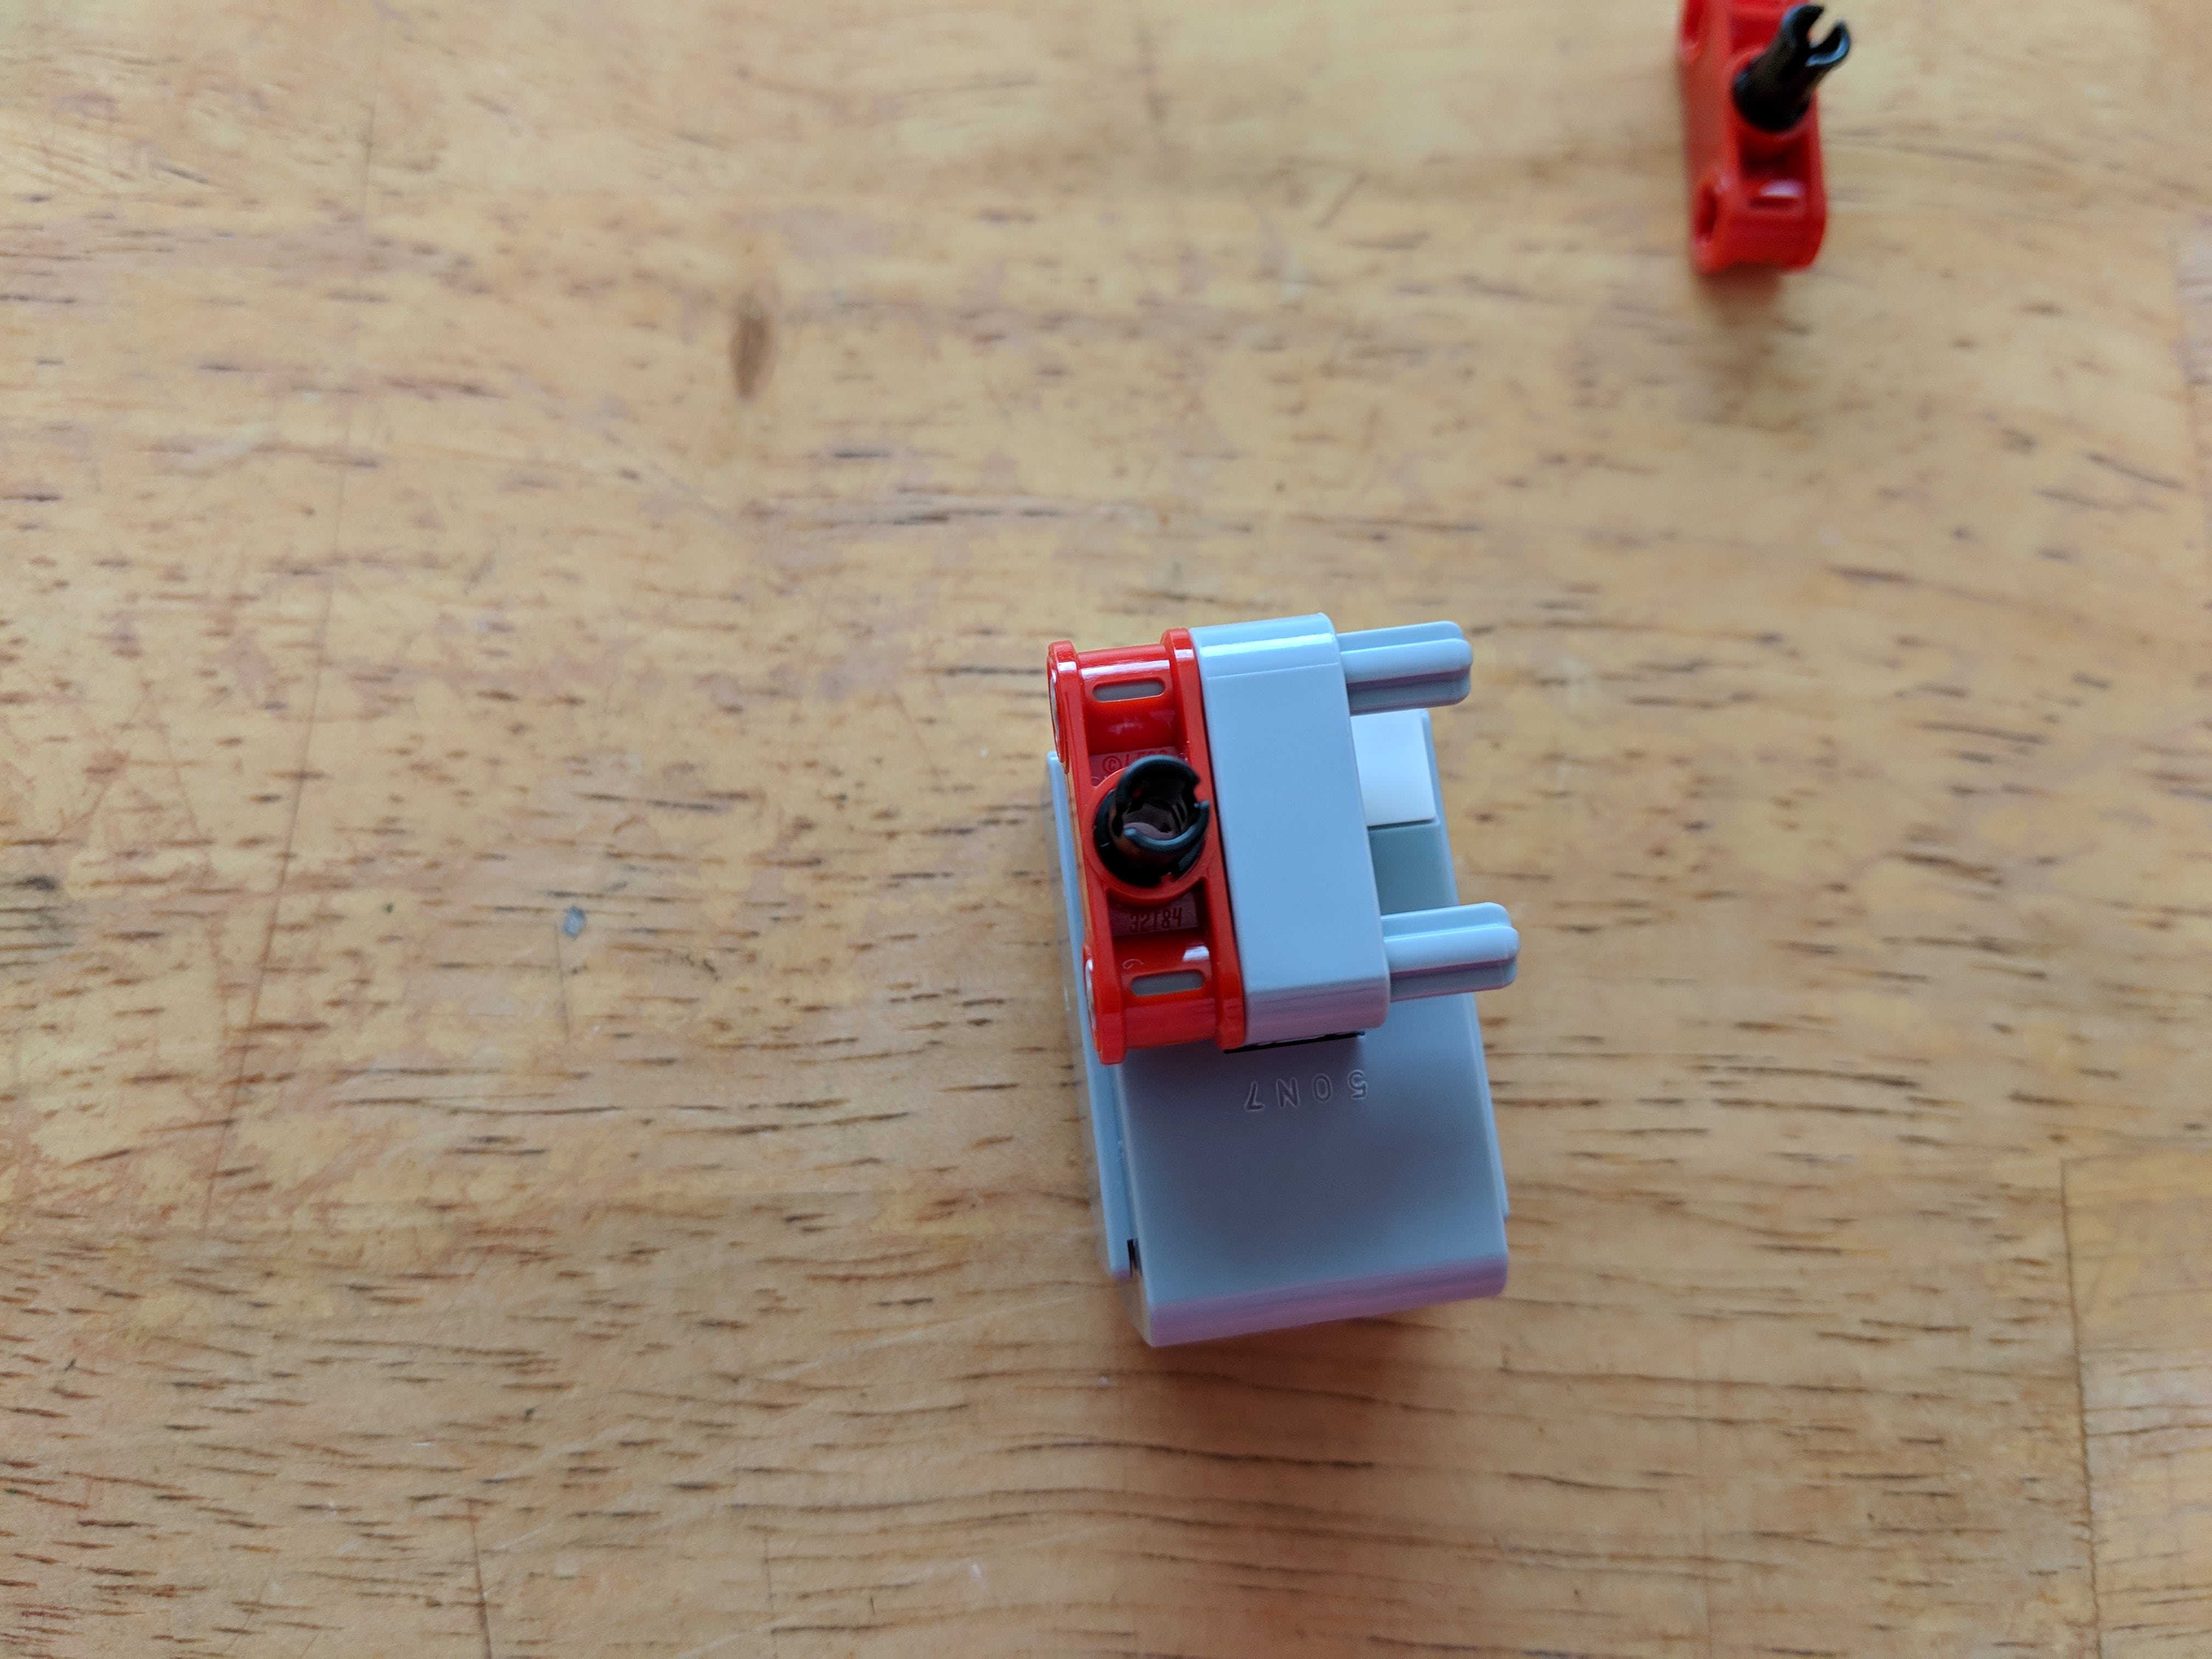
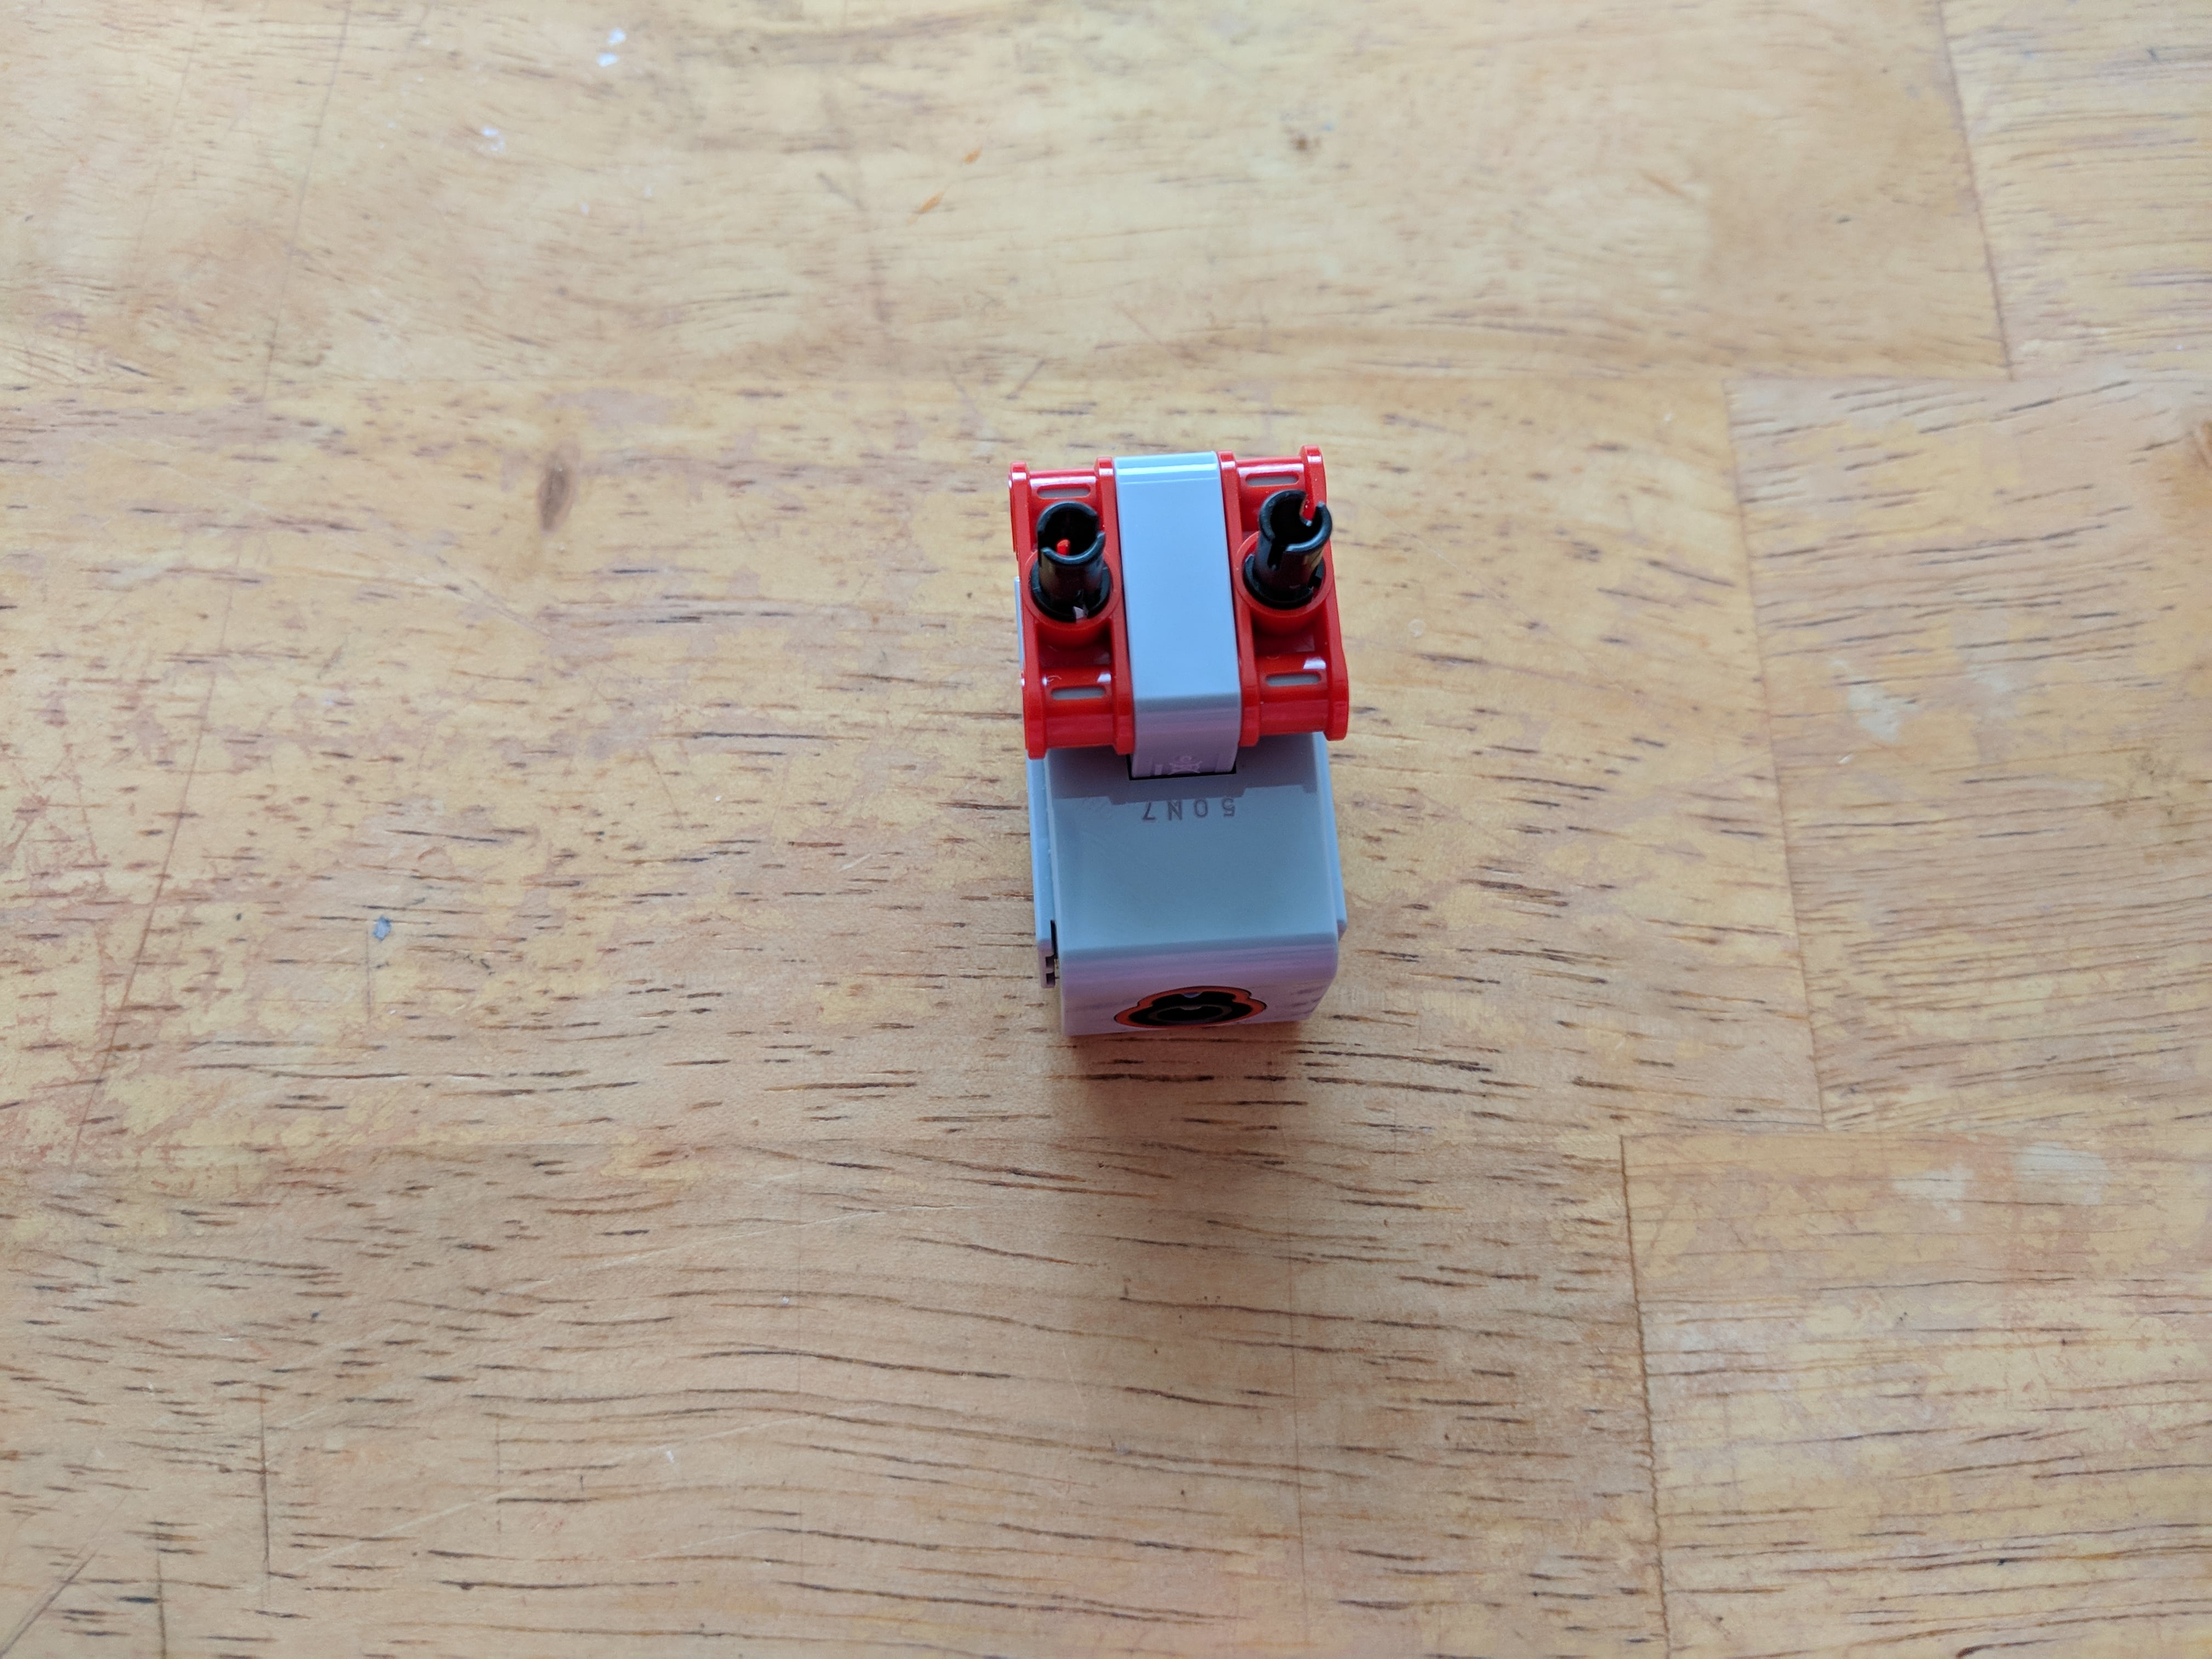
Motor Module
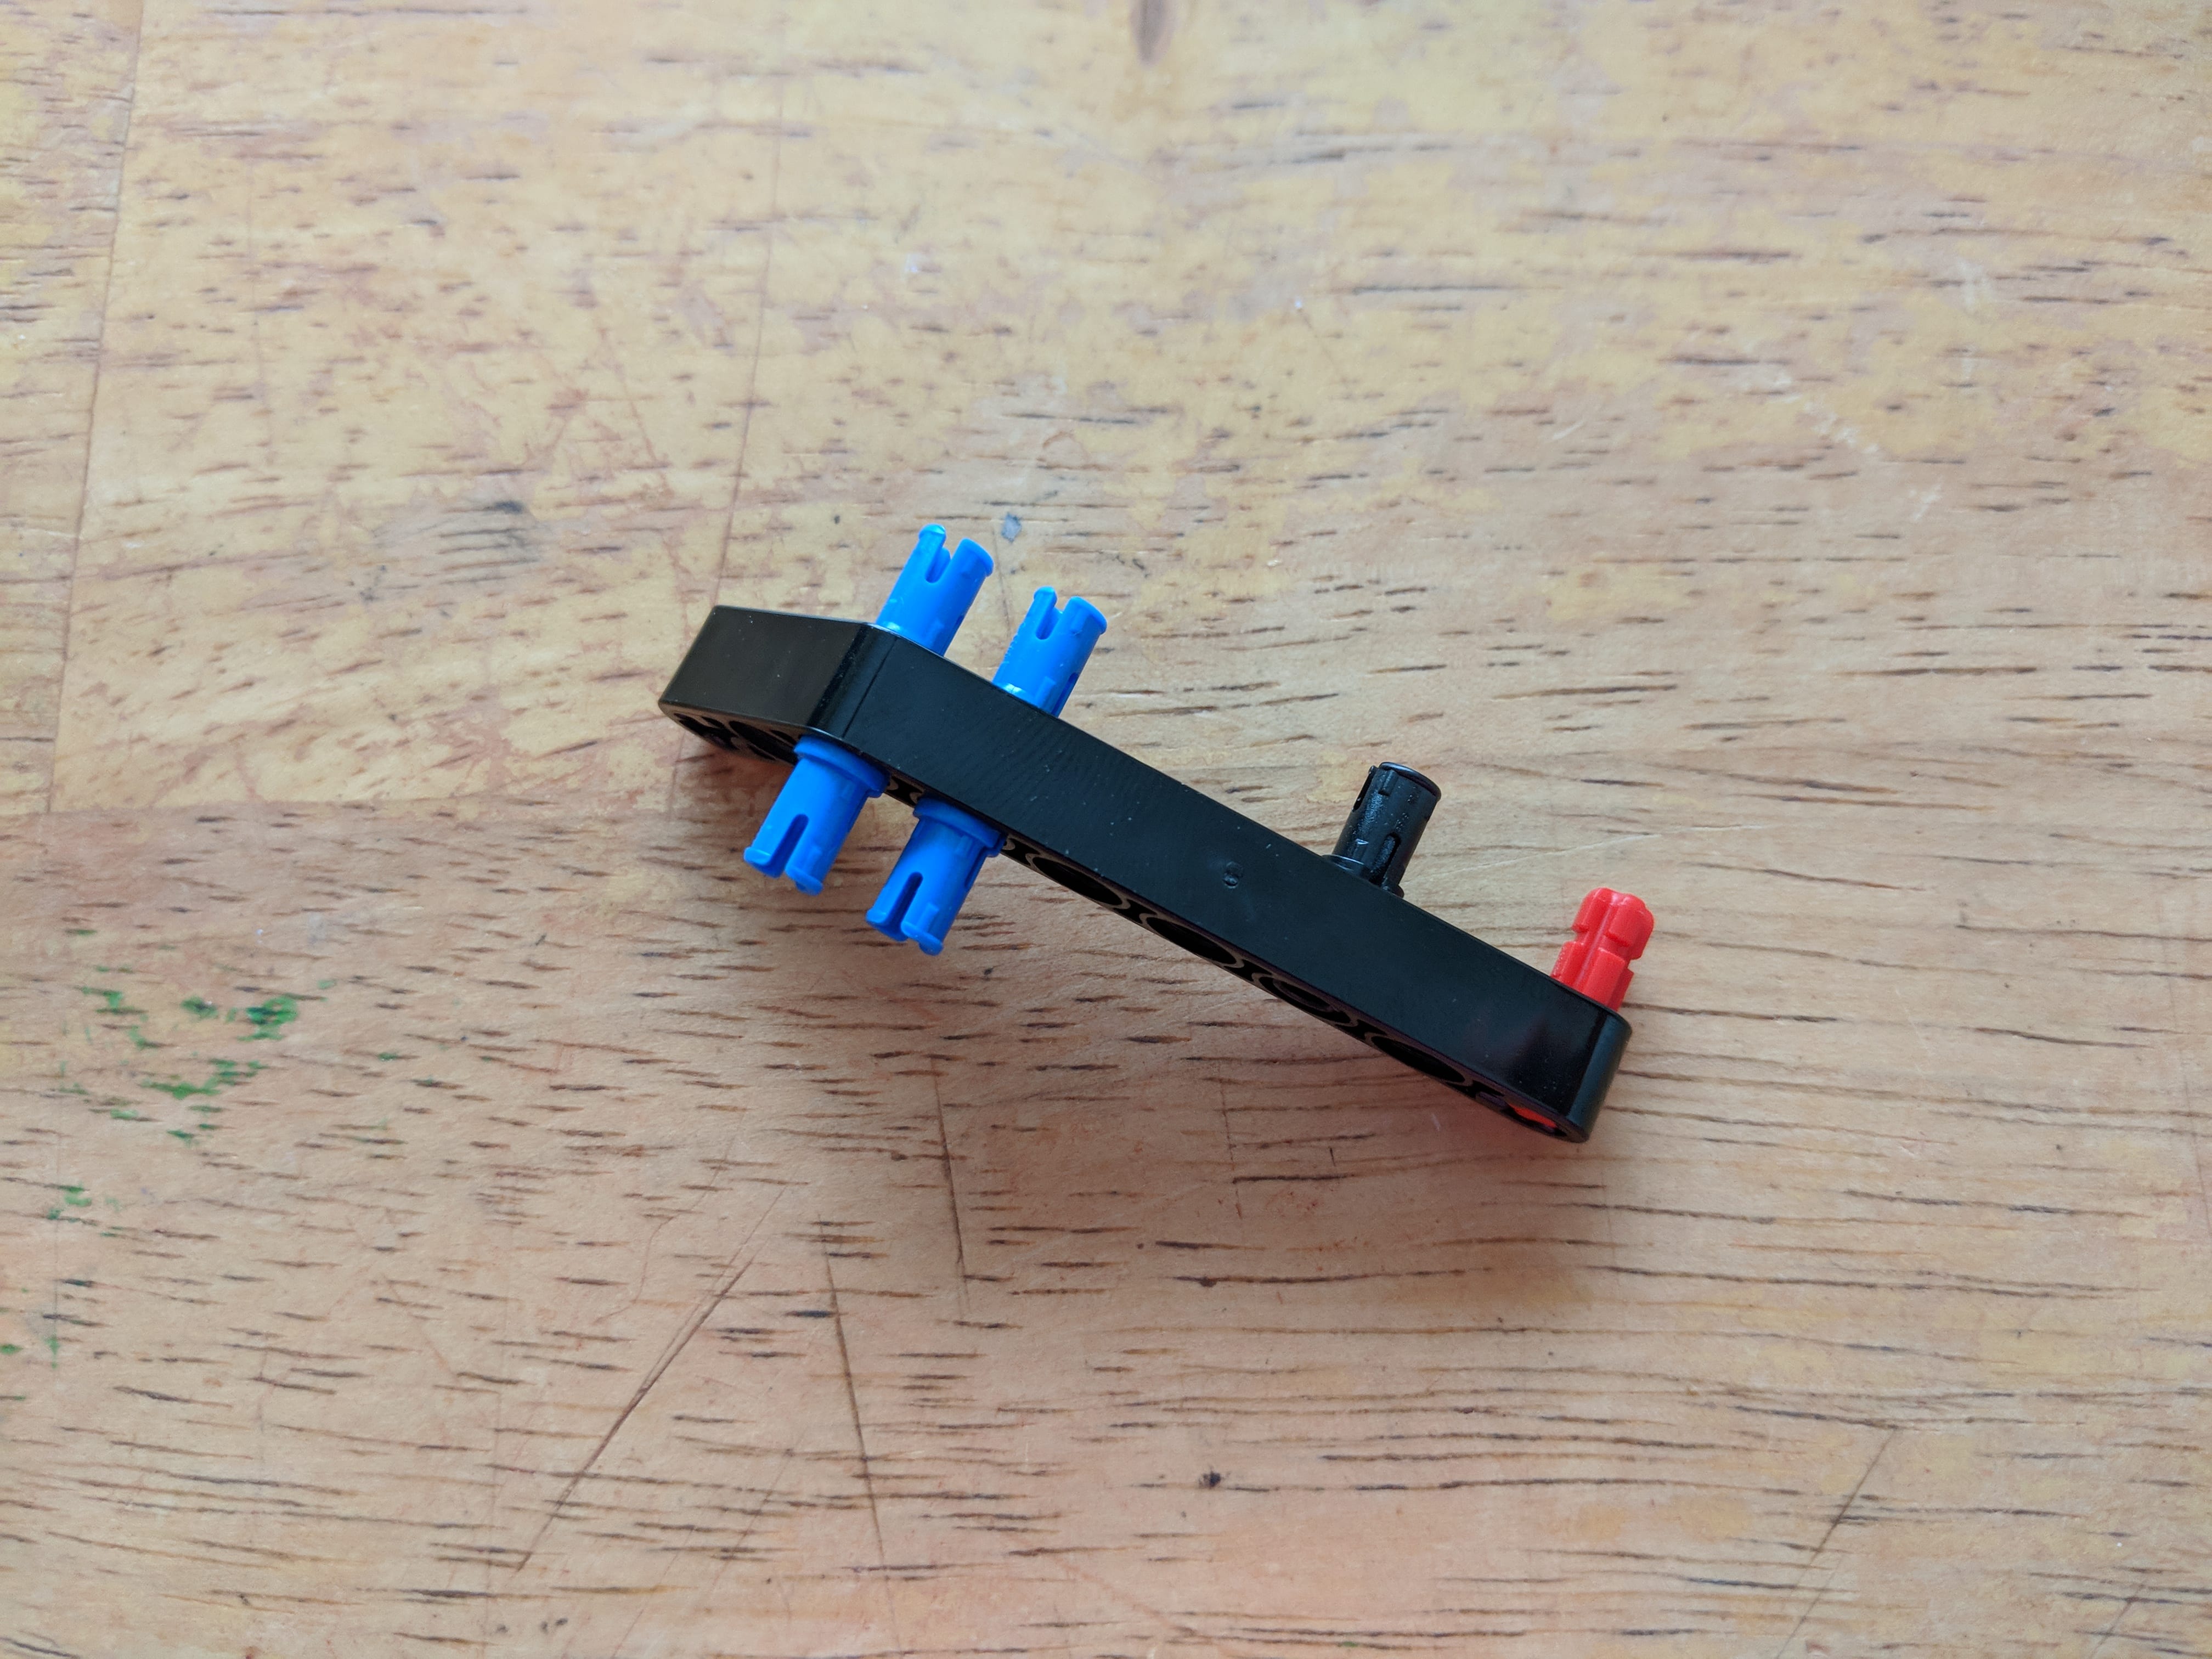
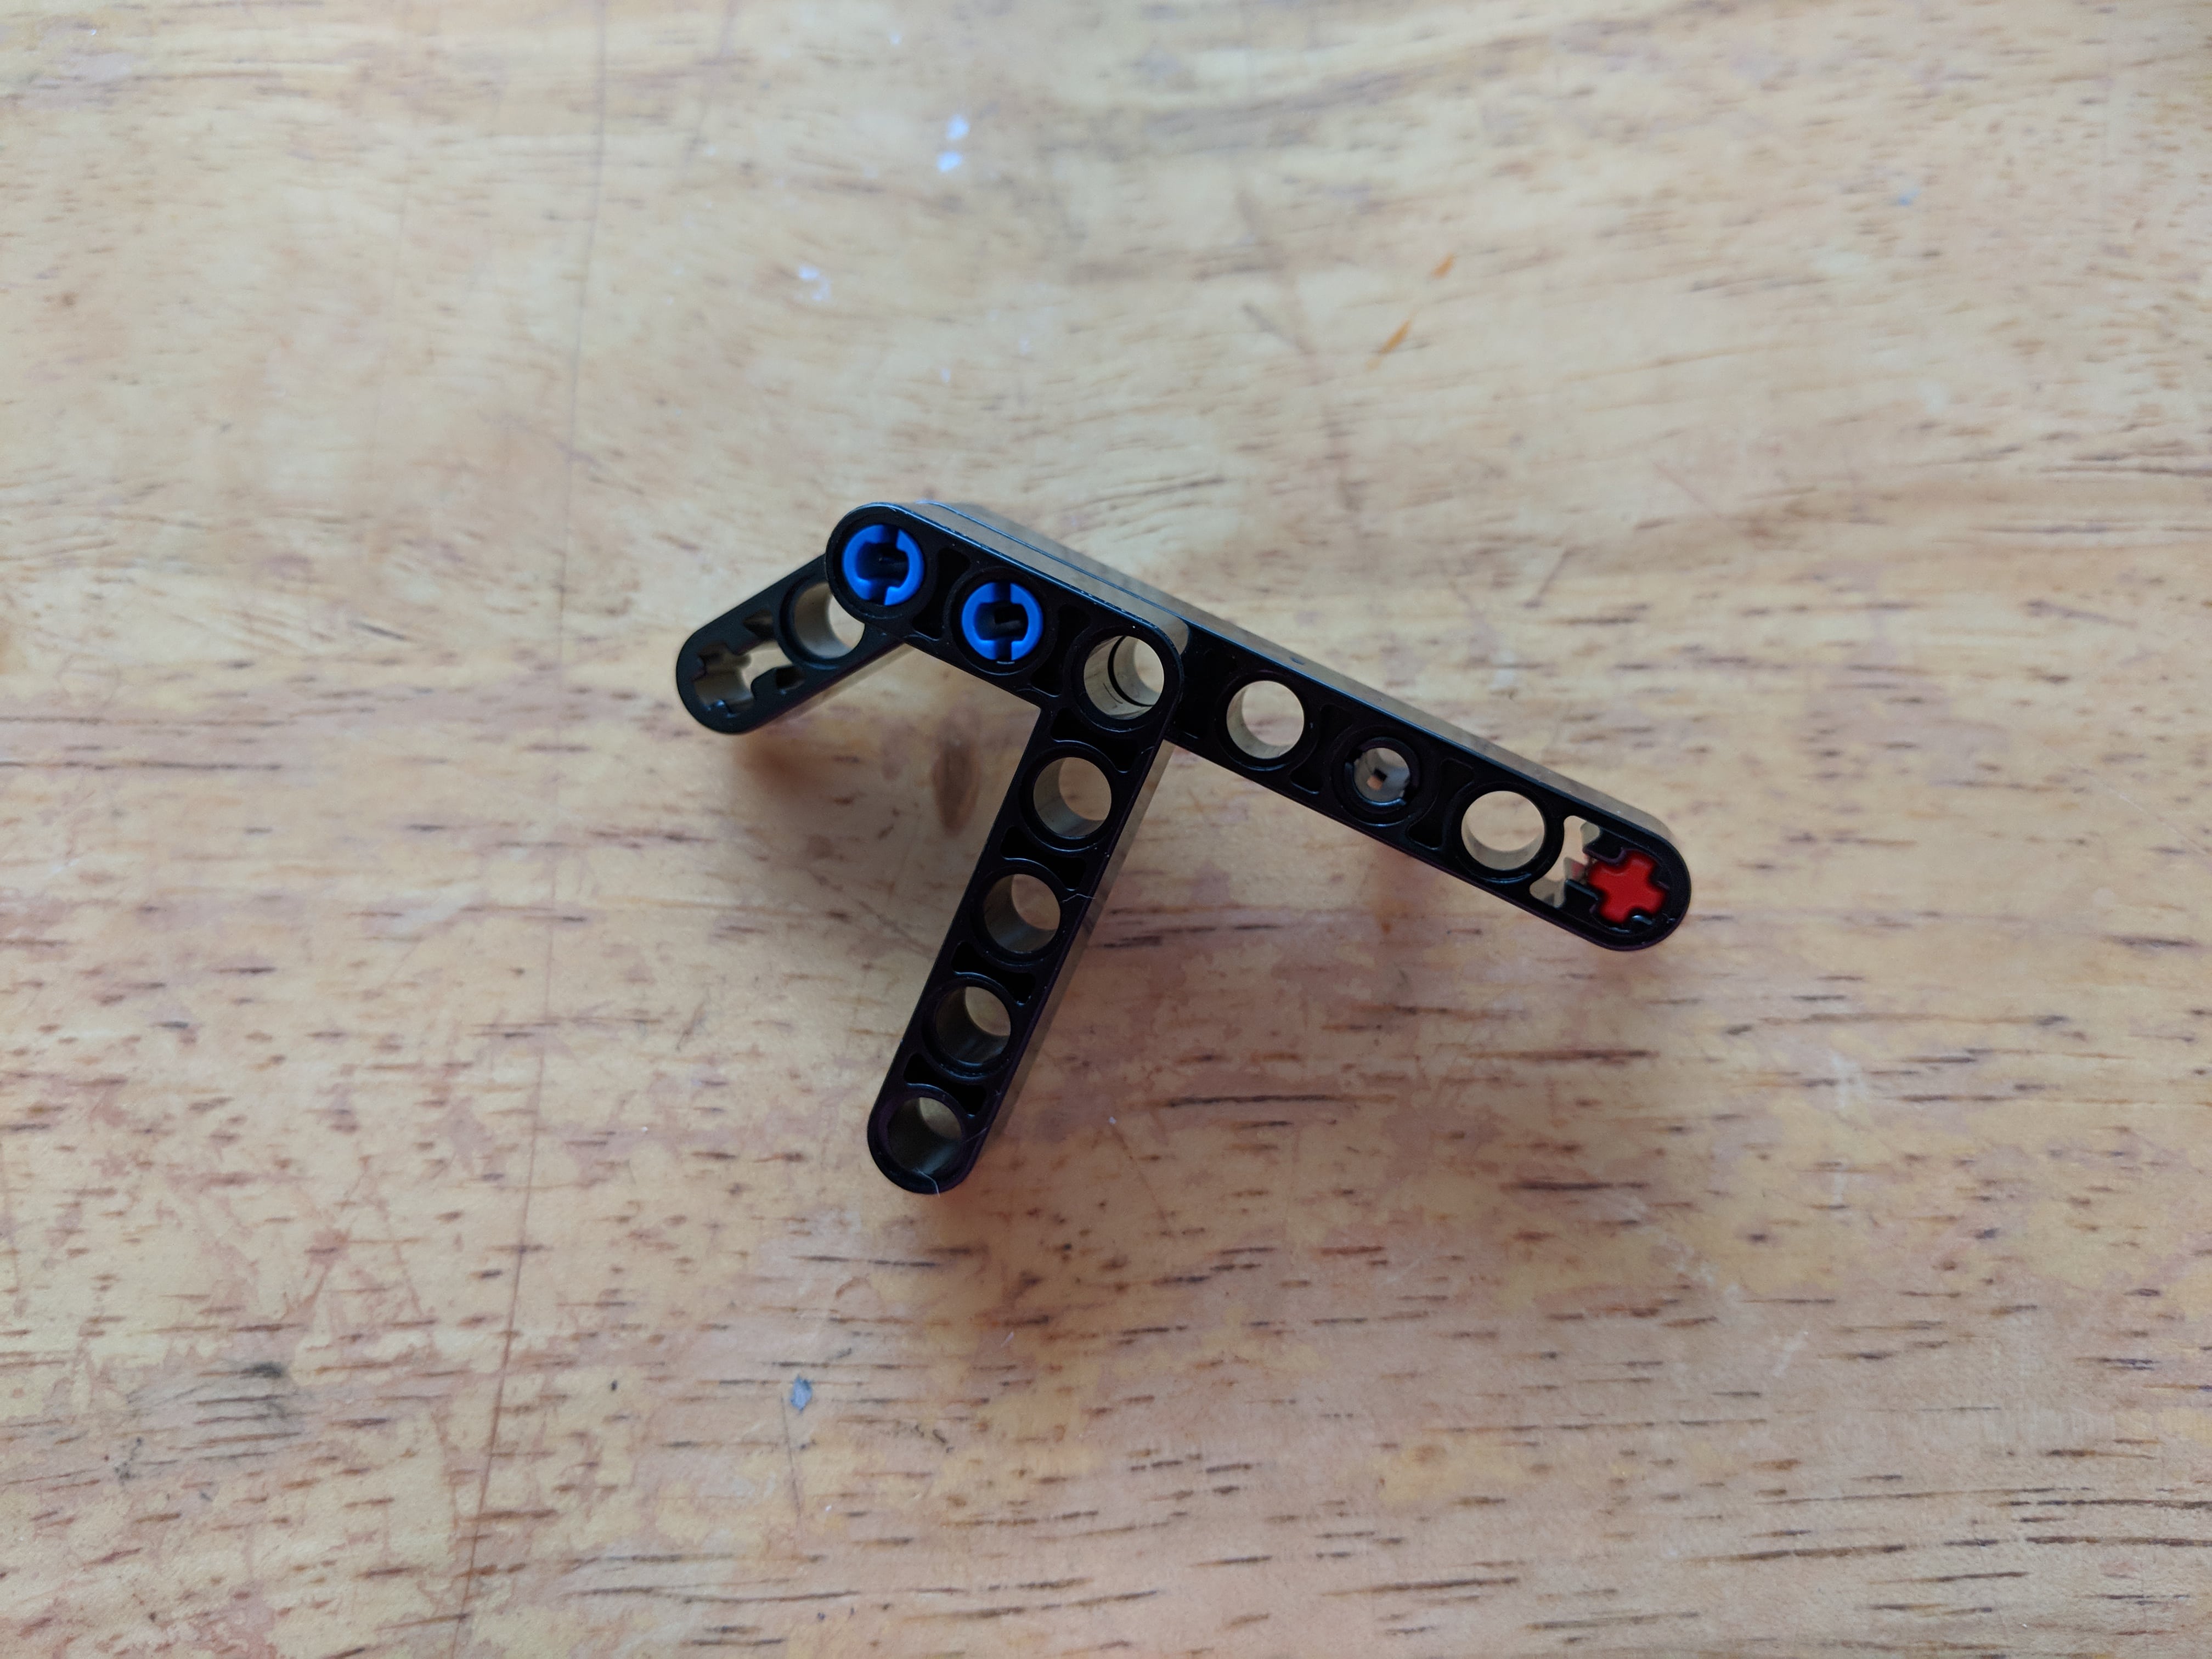
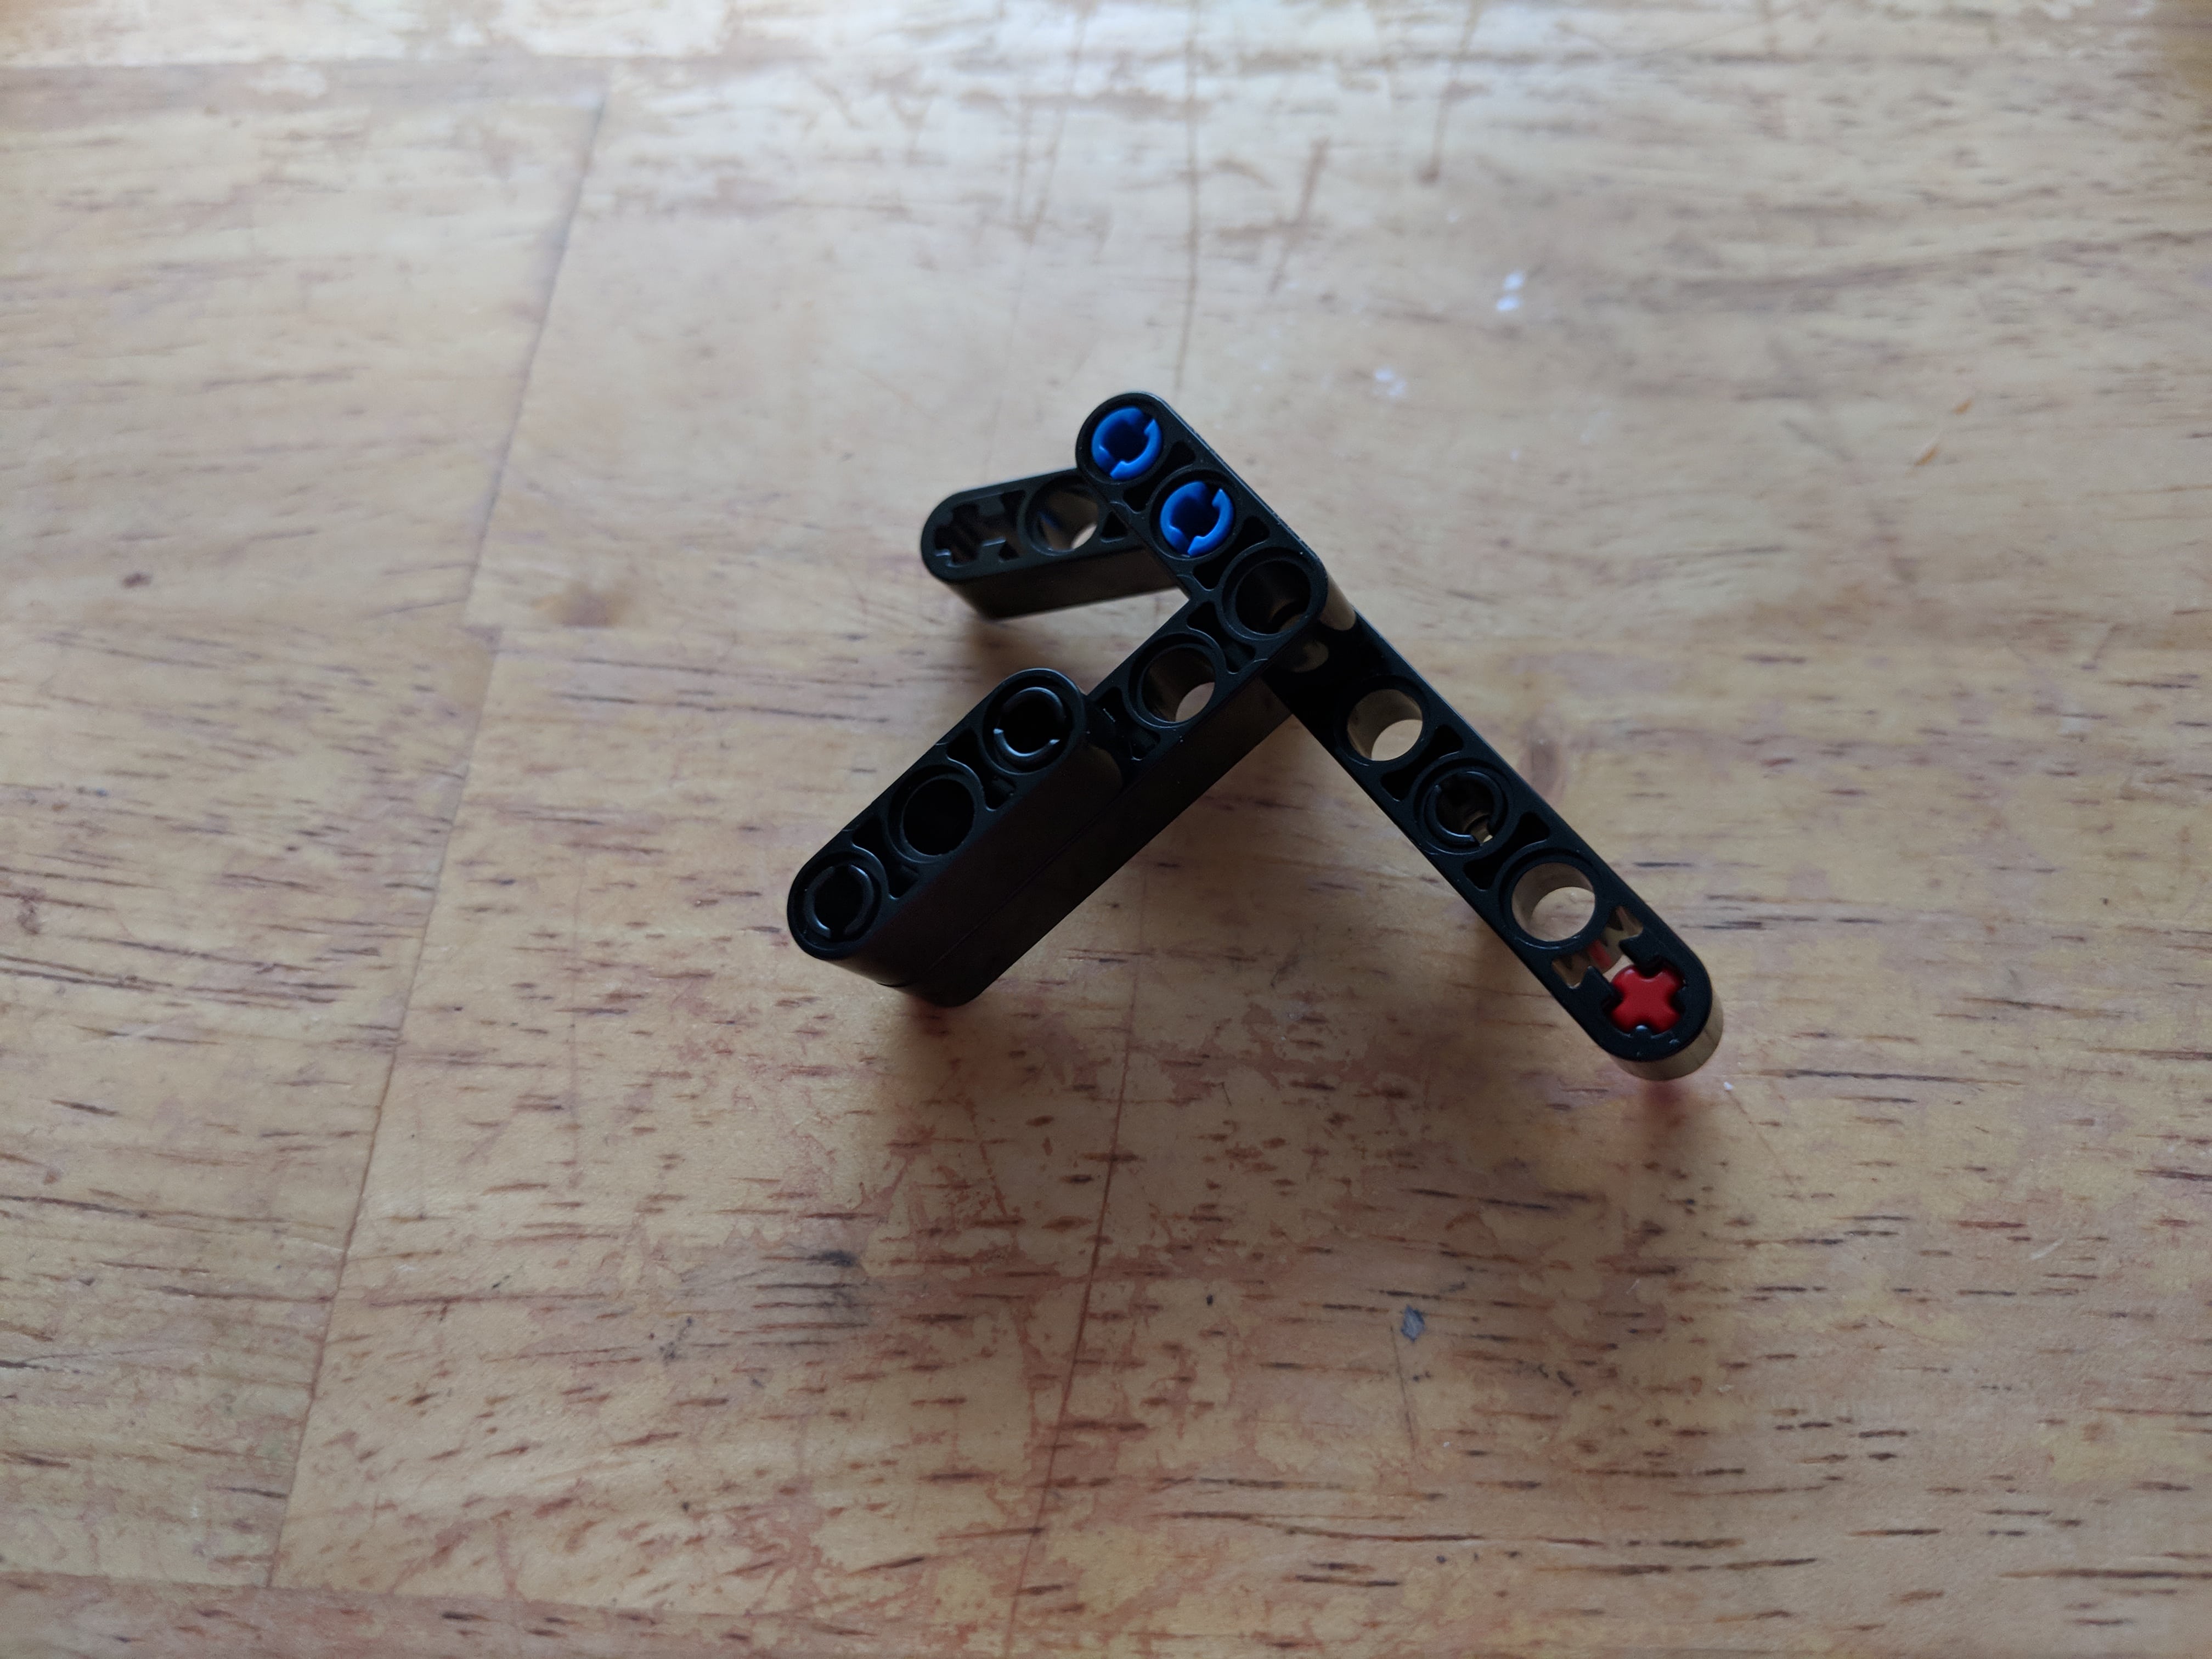
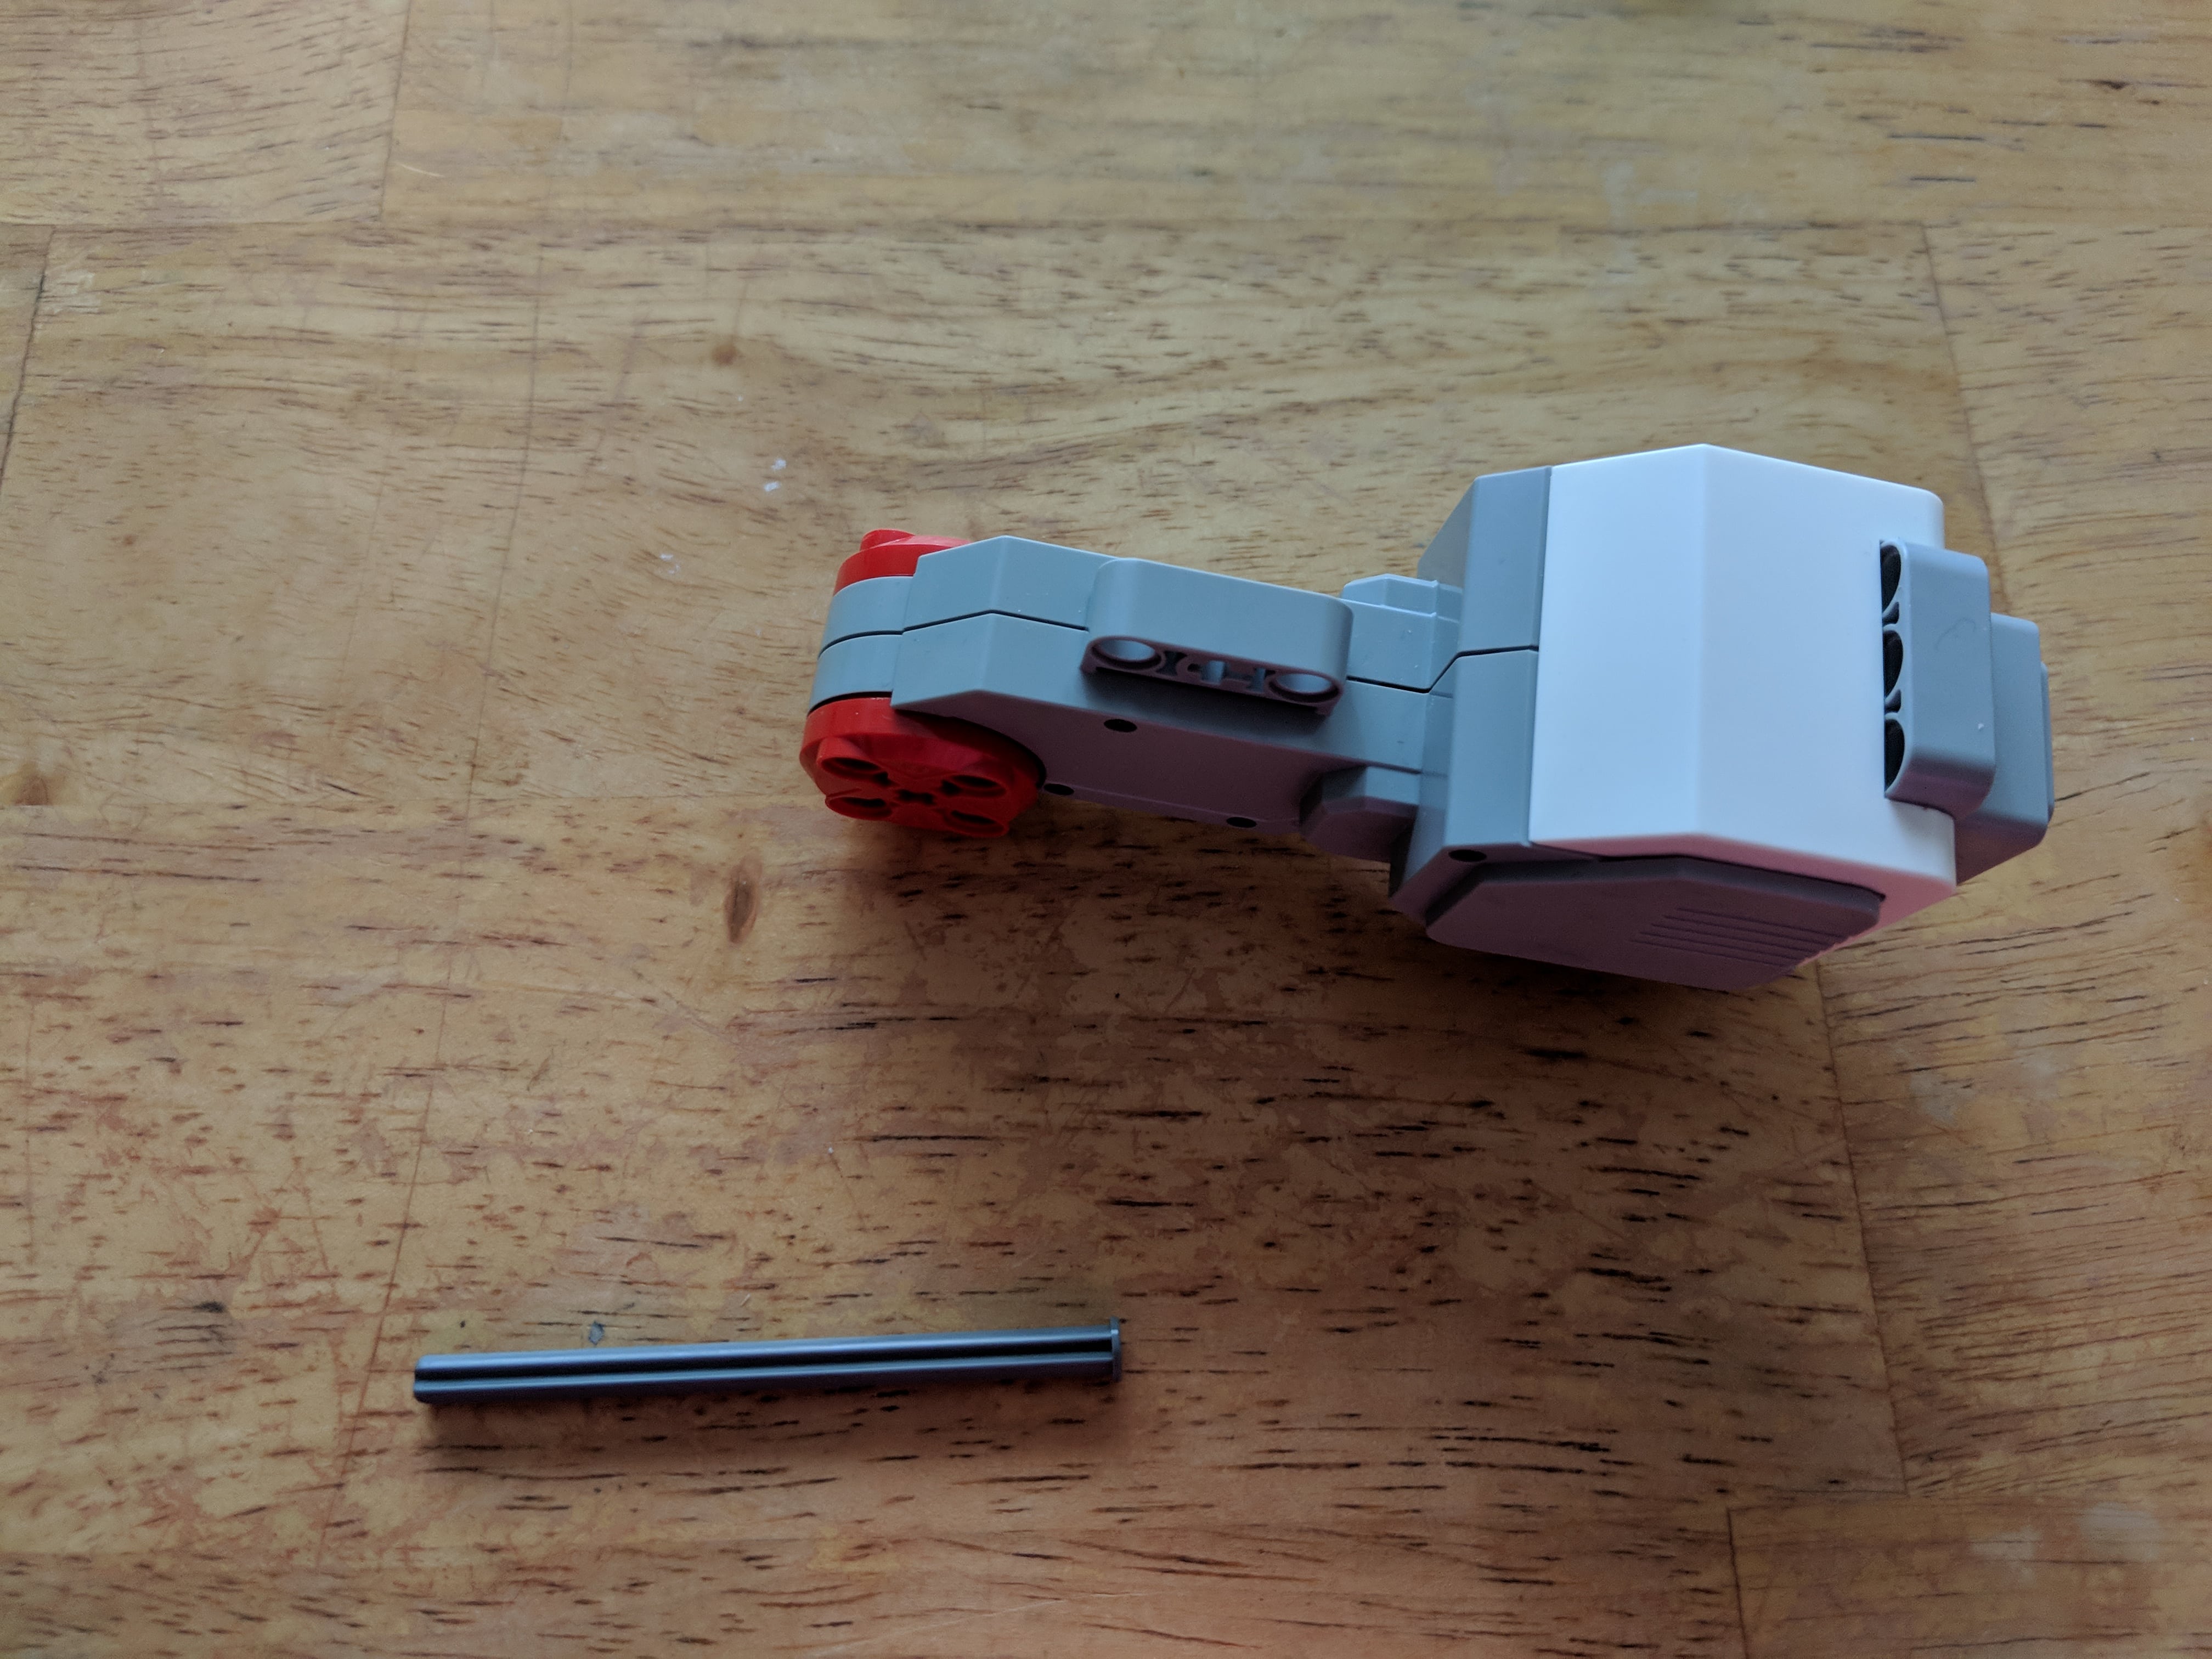
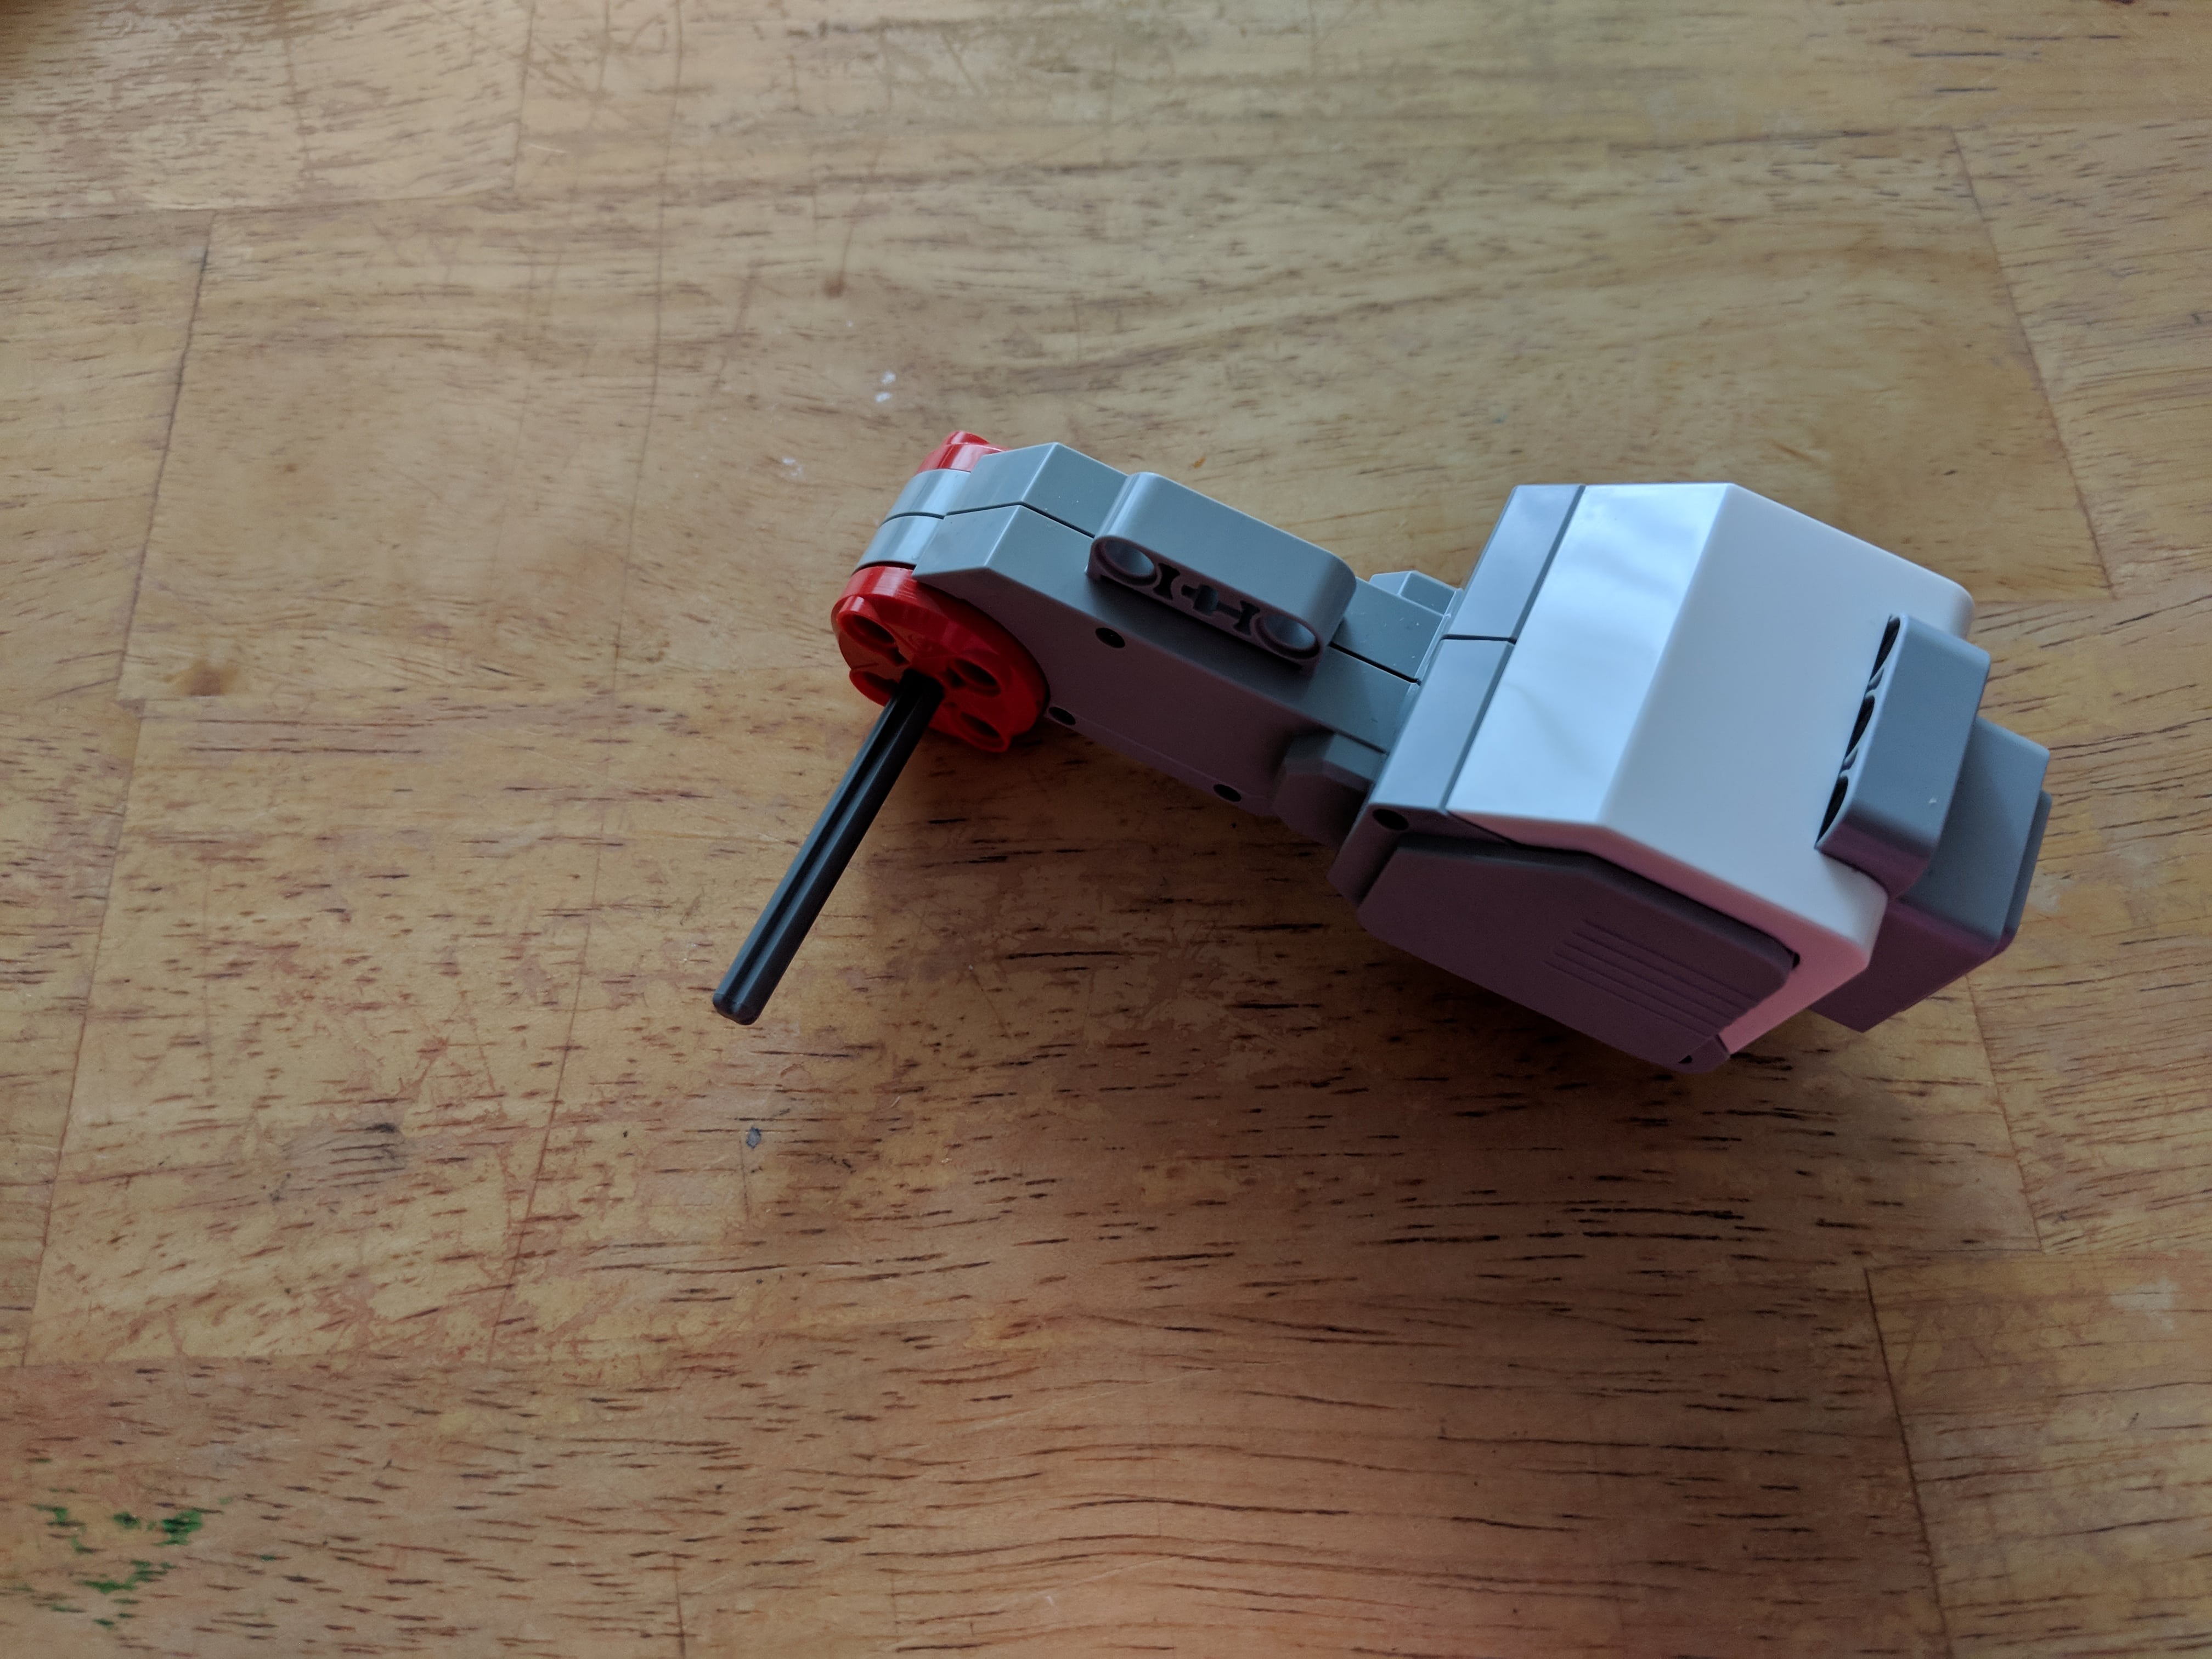
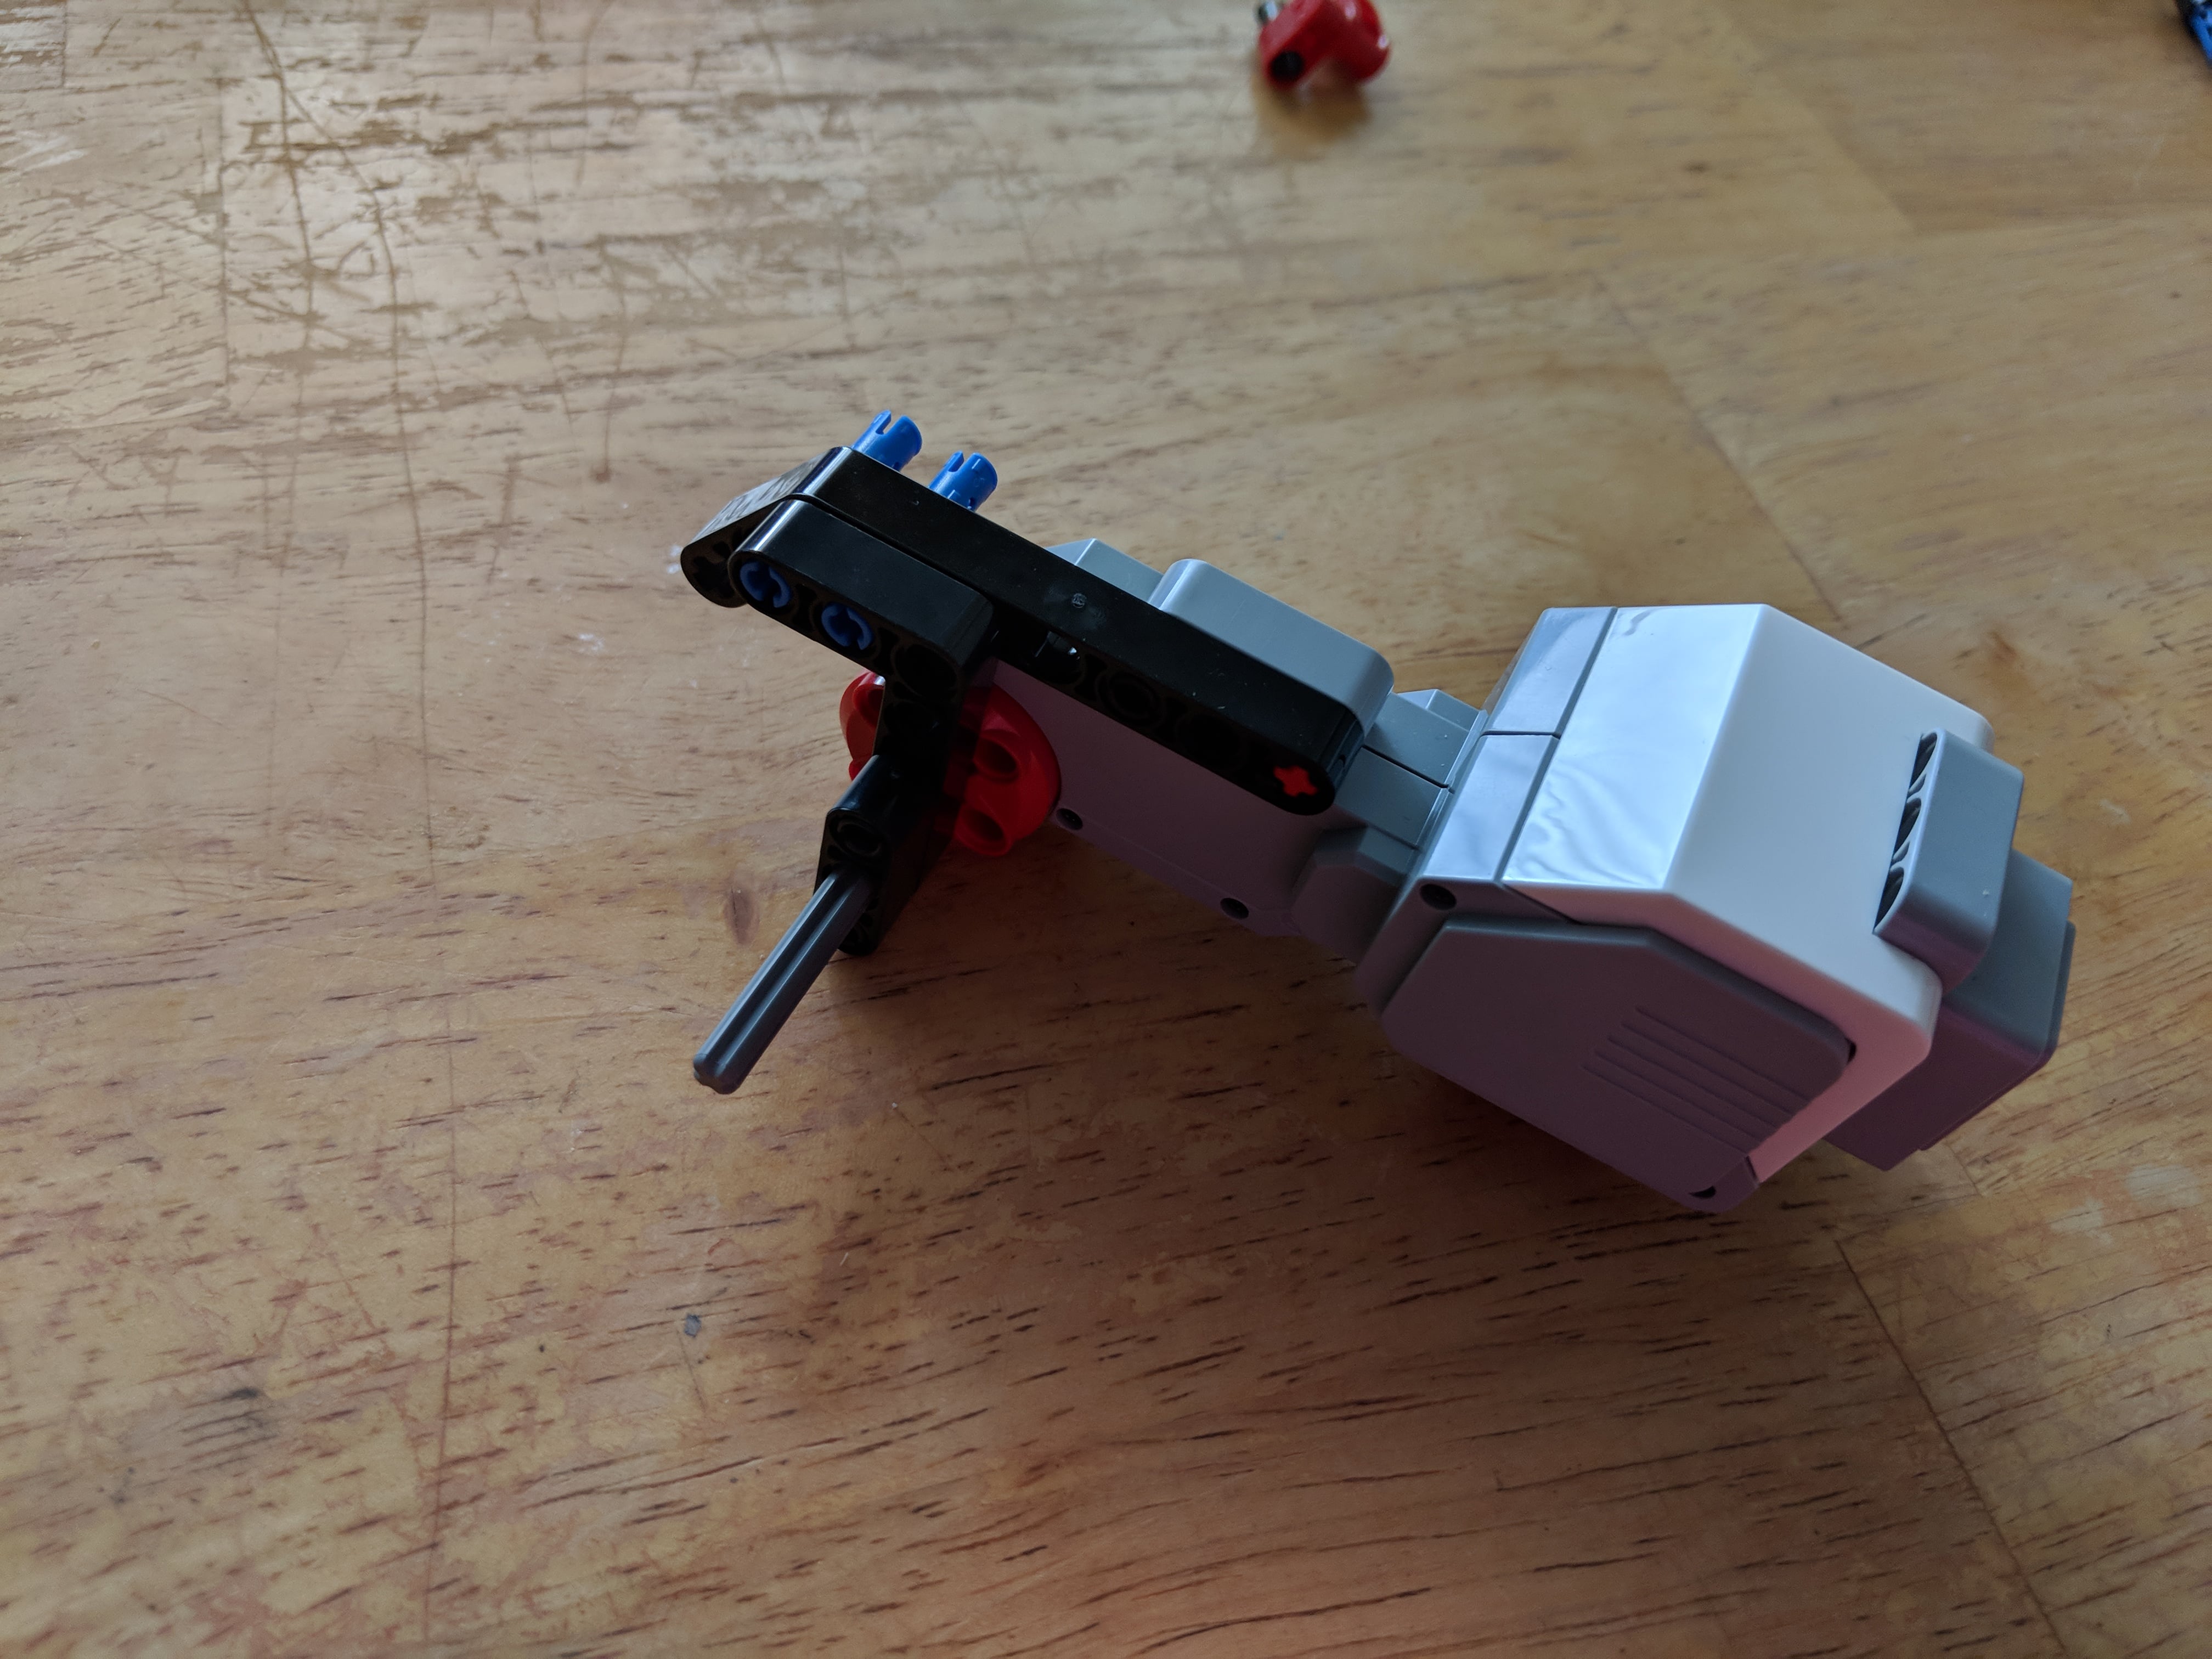
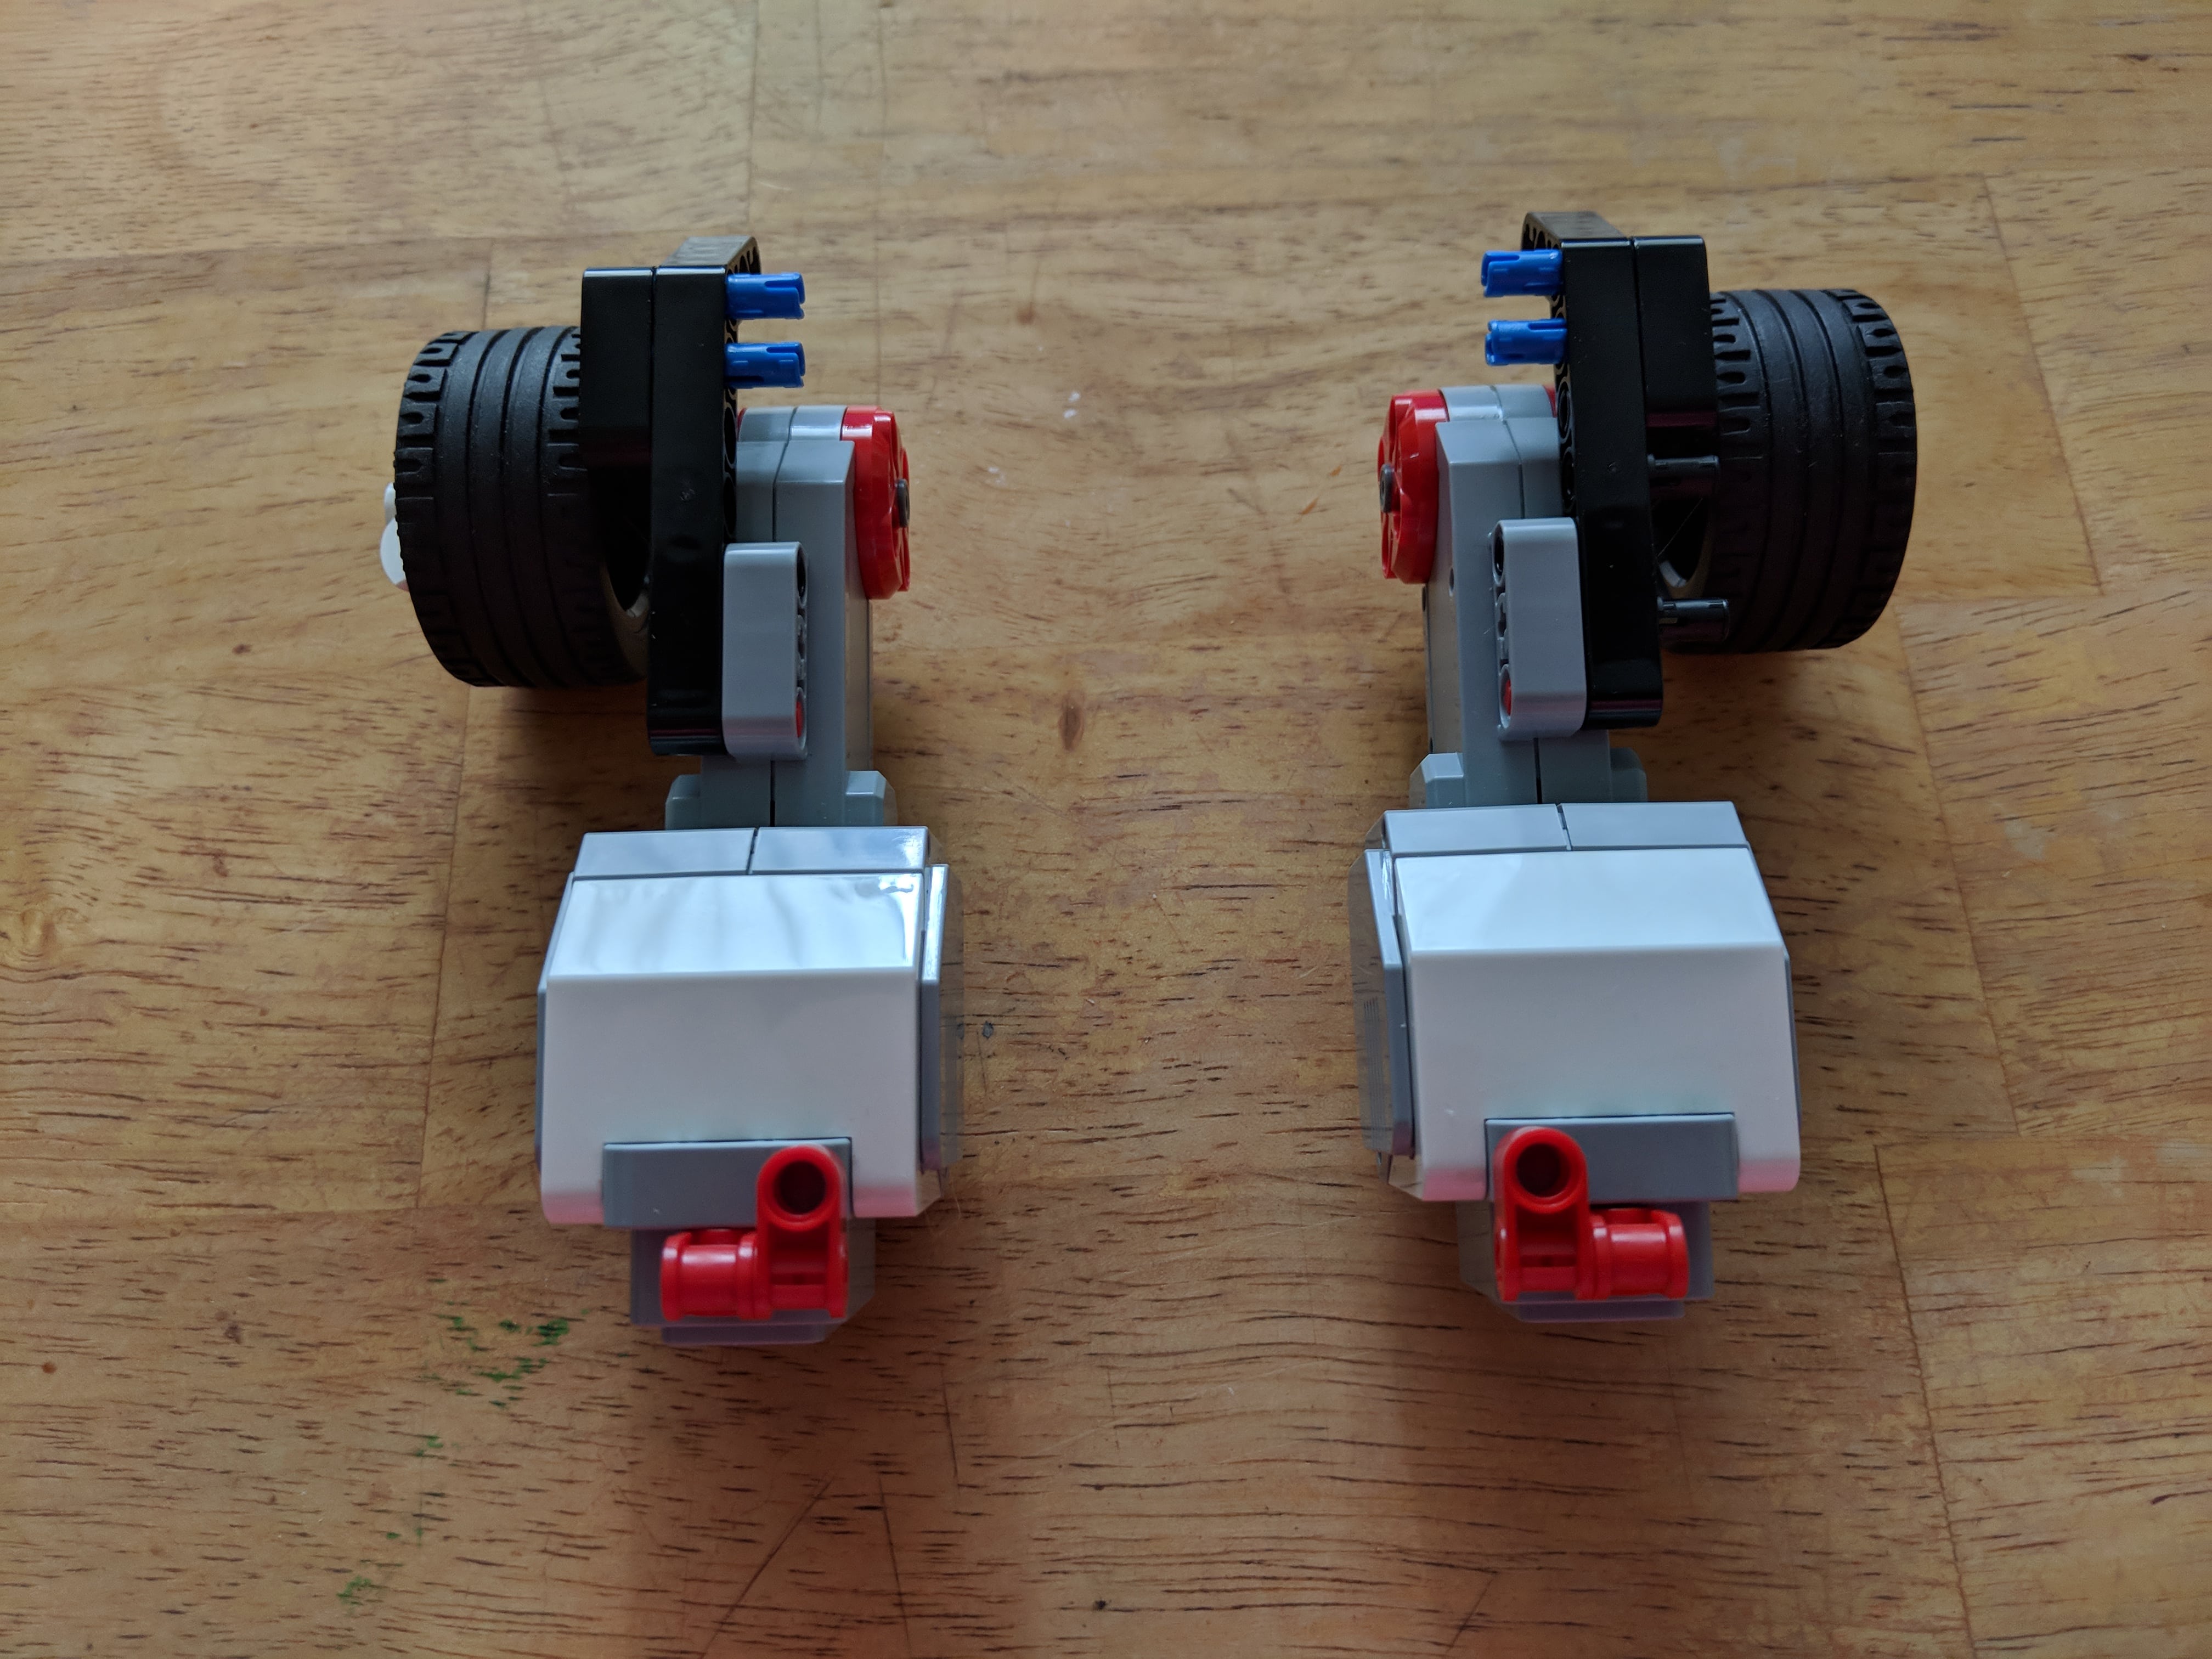
First Motor Assembly
Second Motor Assembly
Build a second motor assembly as a mirror image of the first.
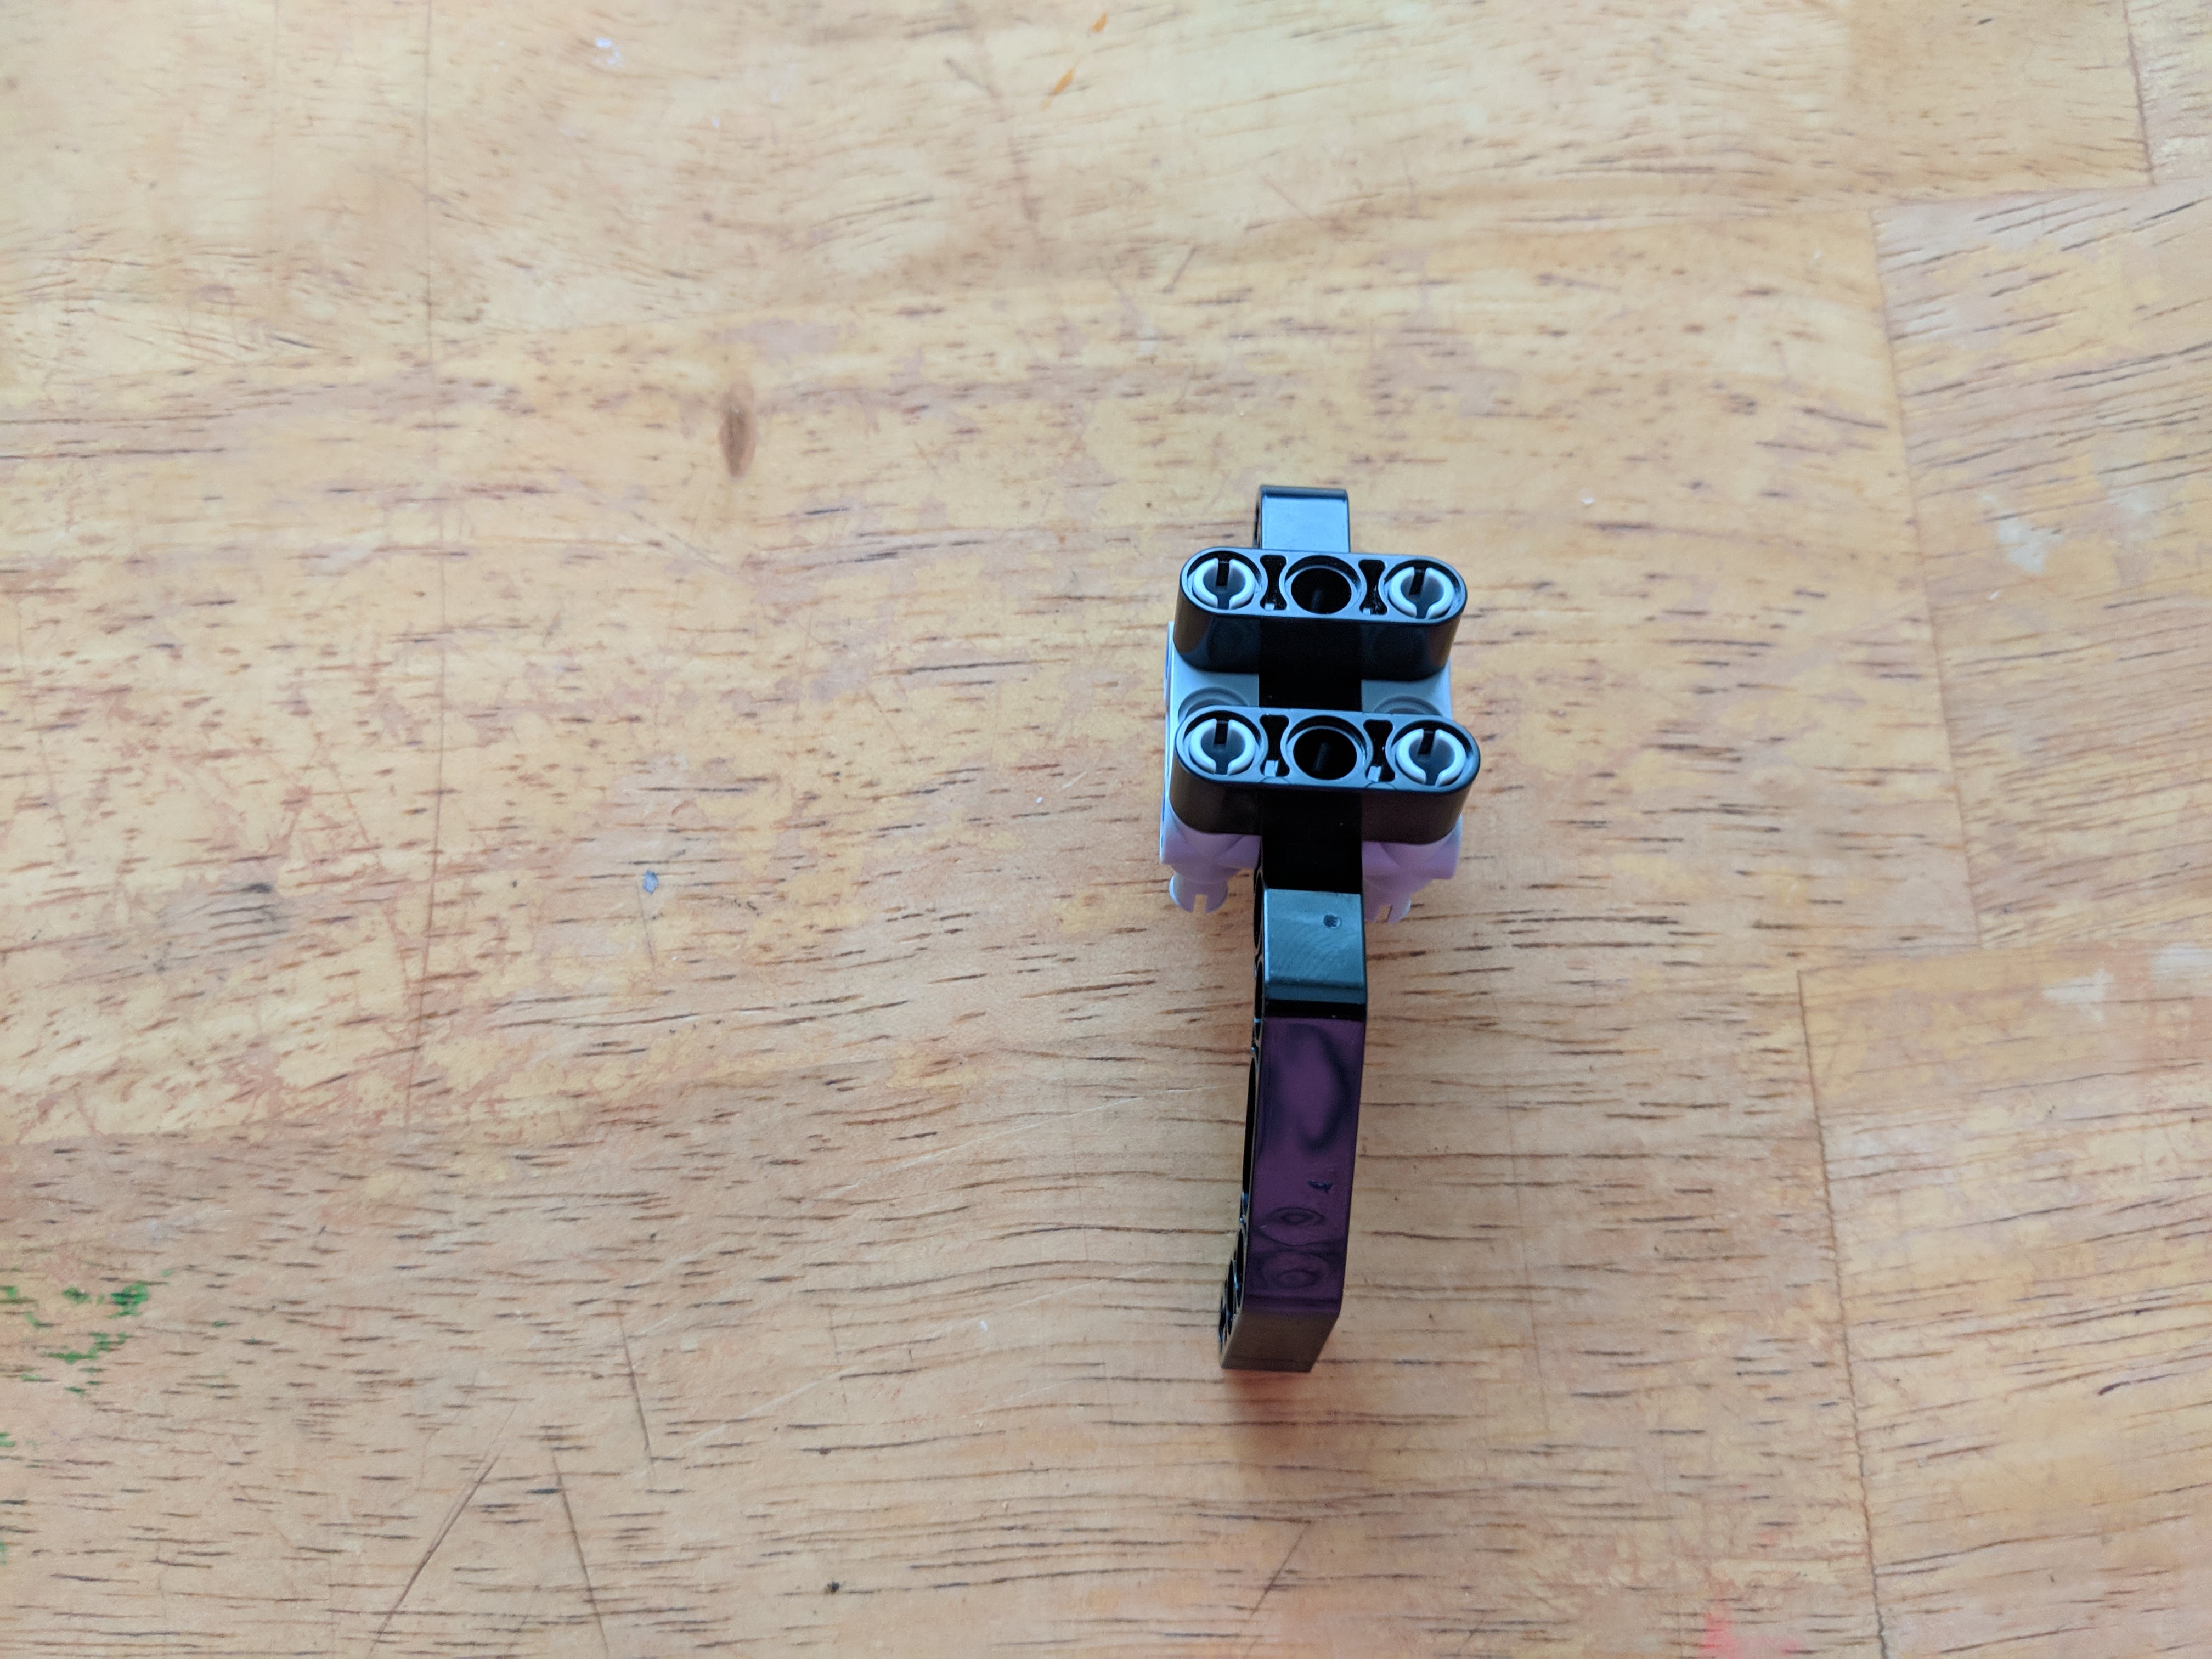
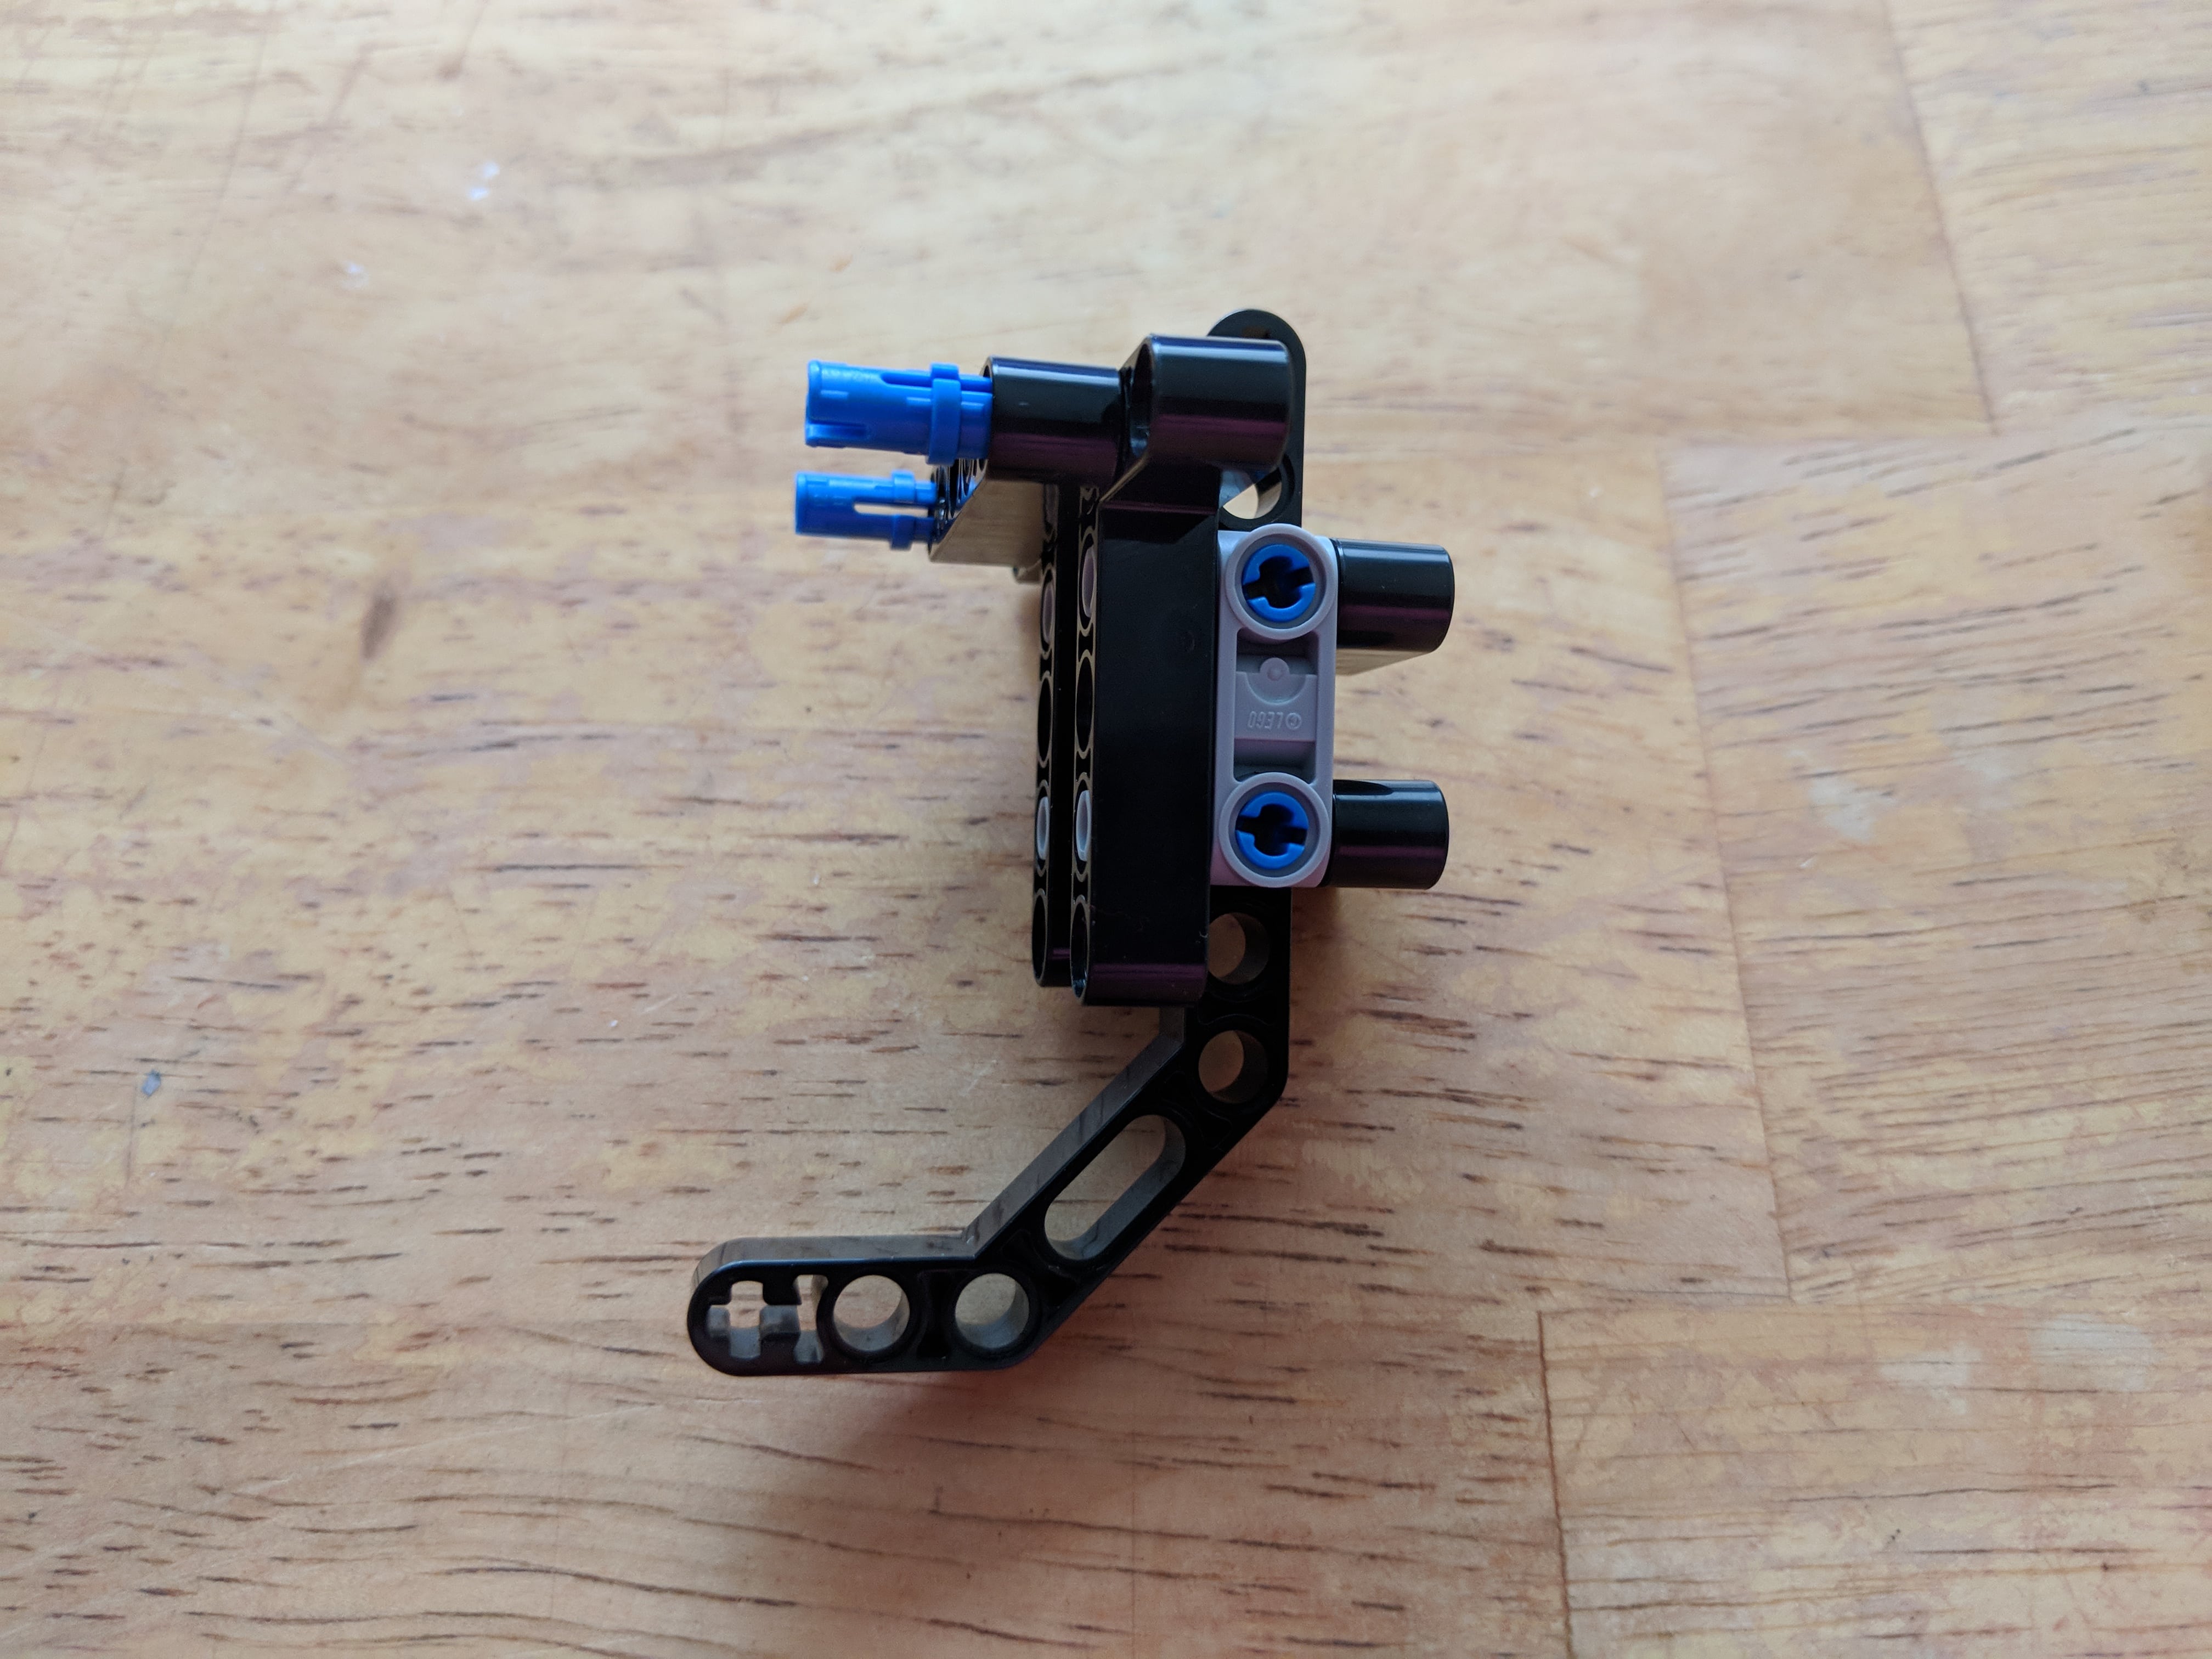
Rear Skid Assembly
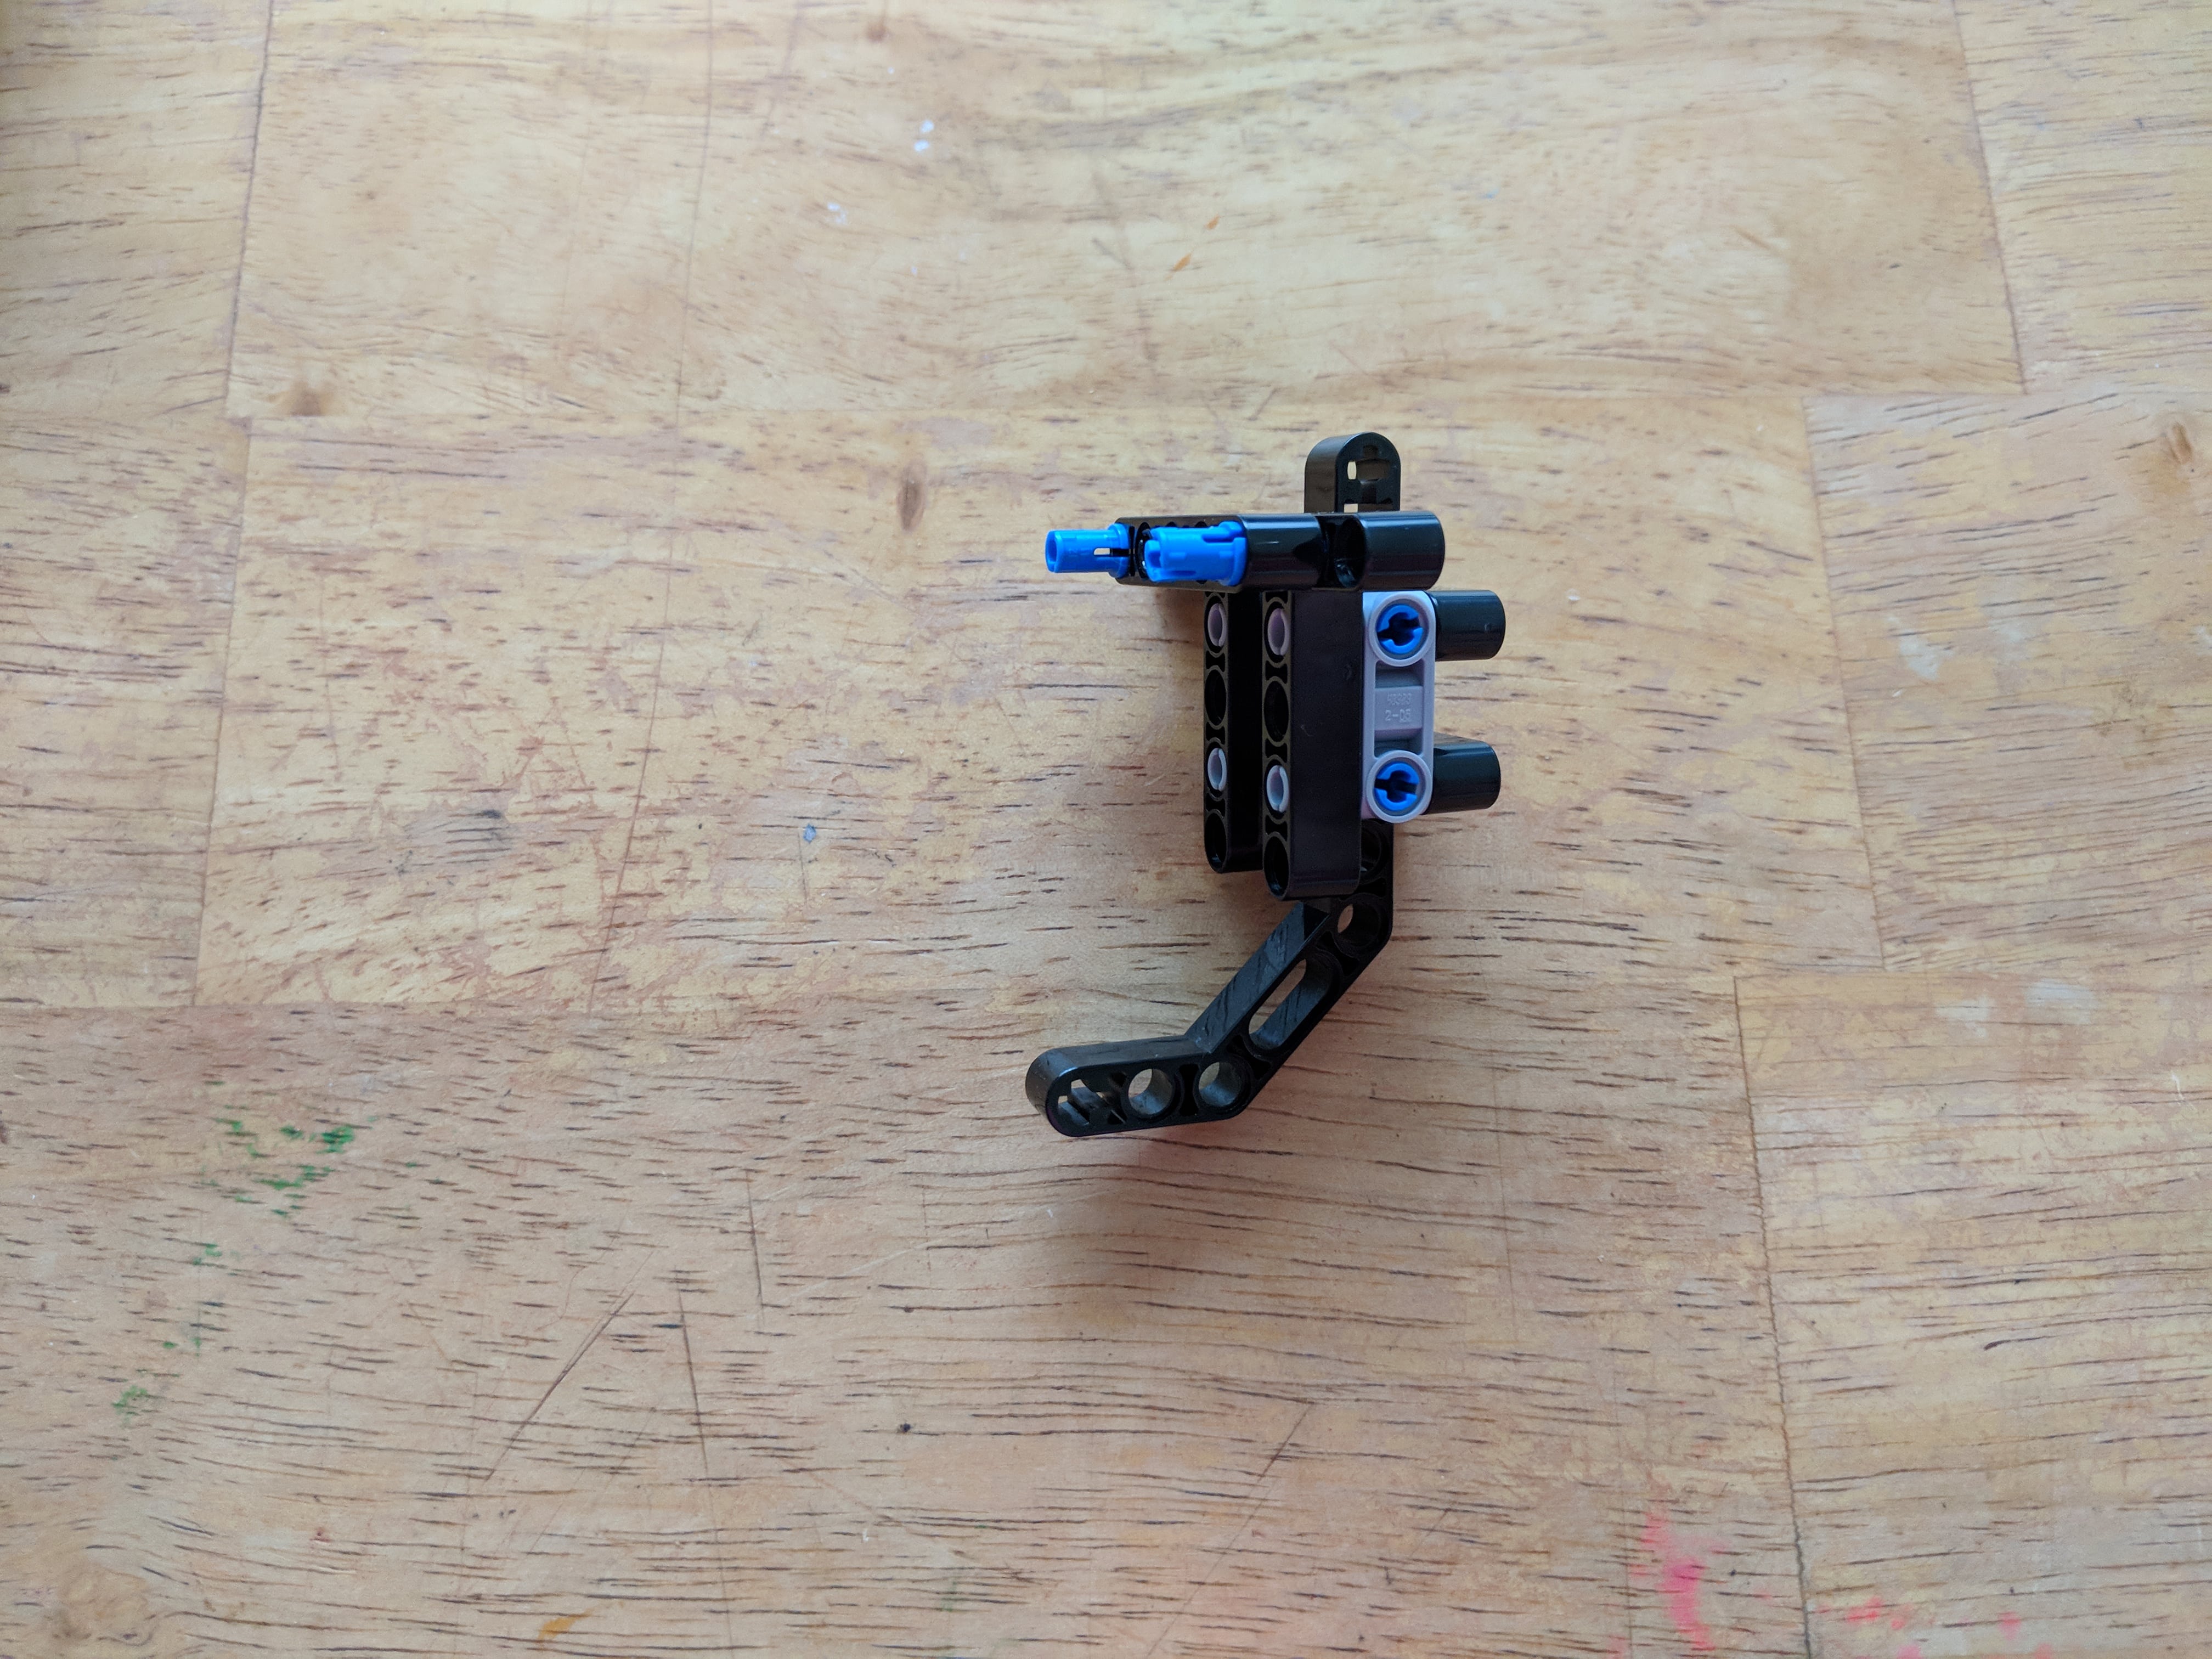
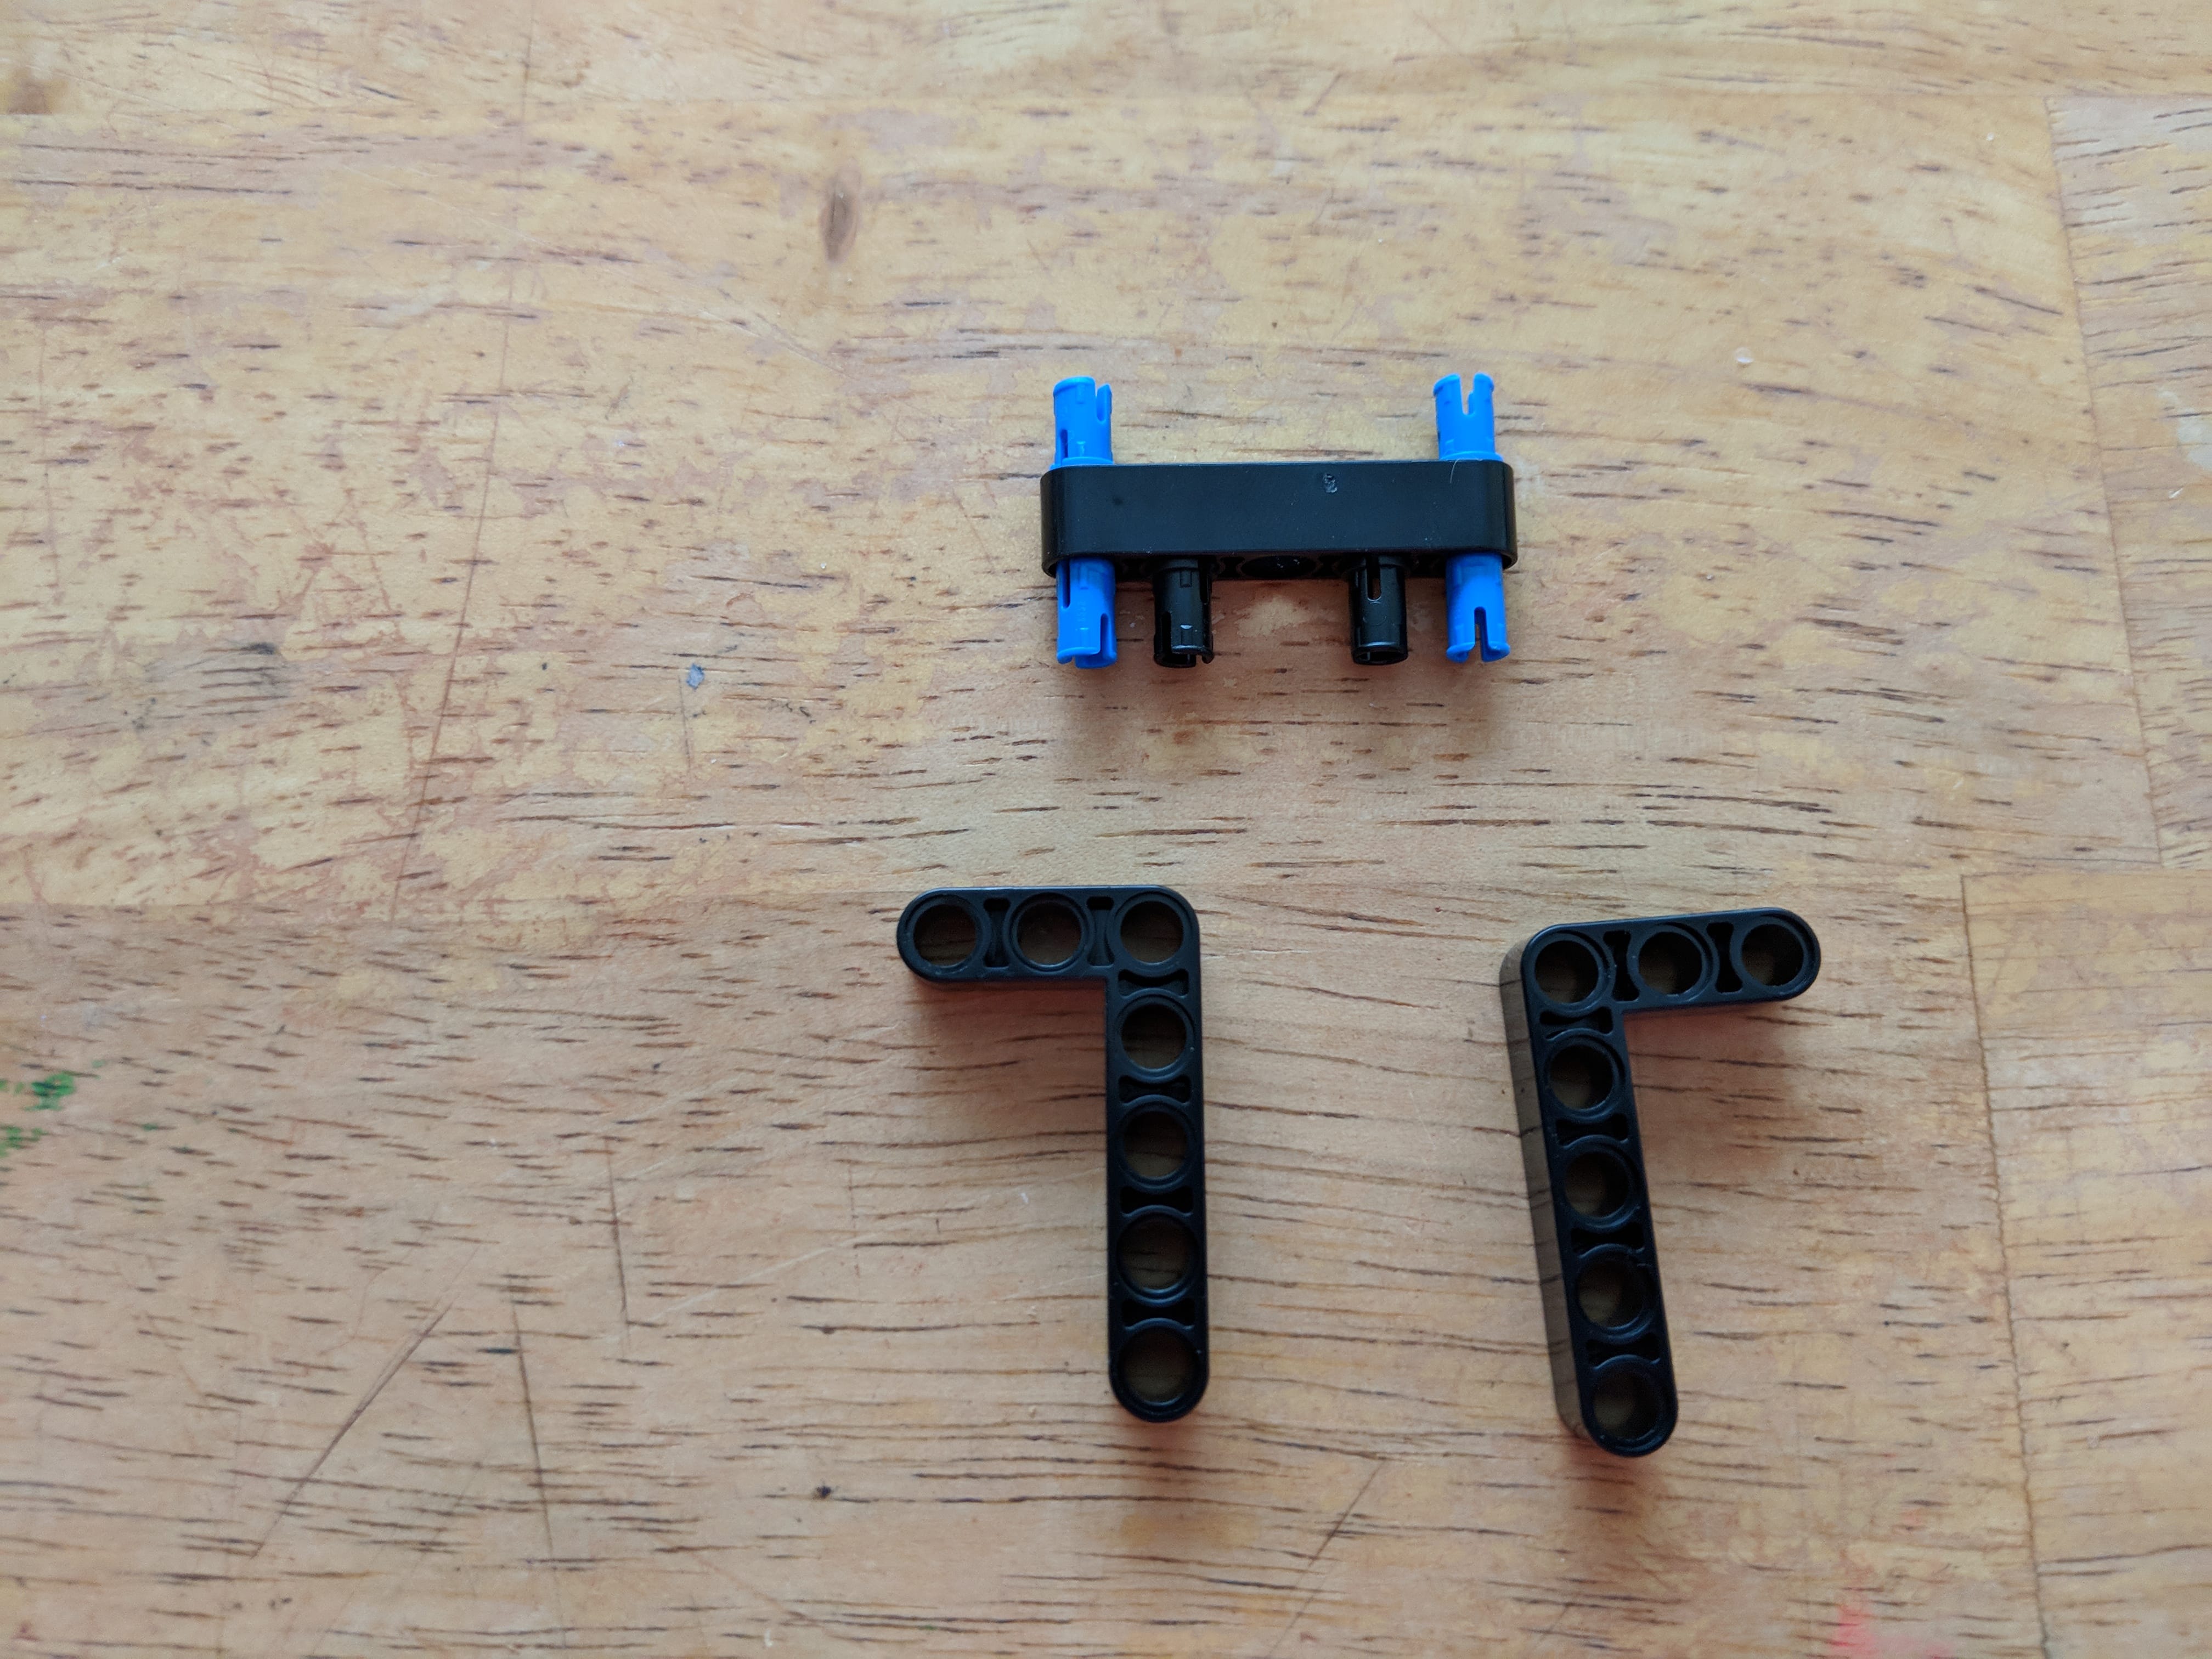
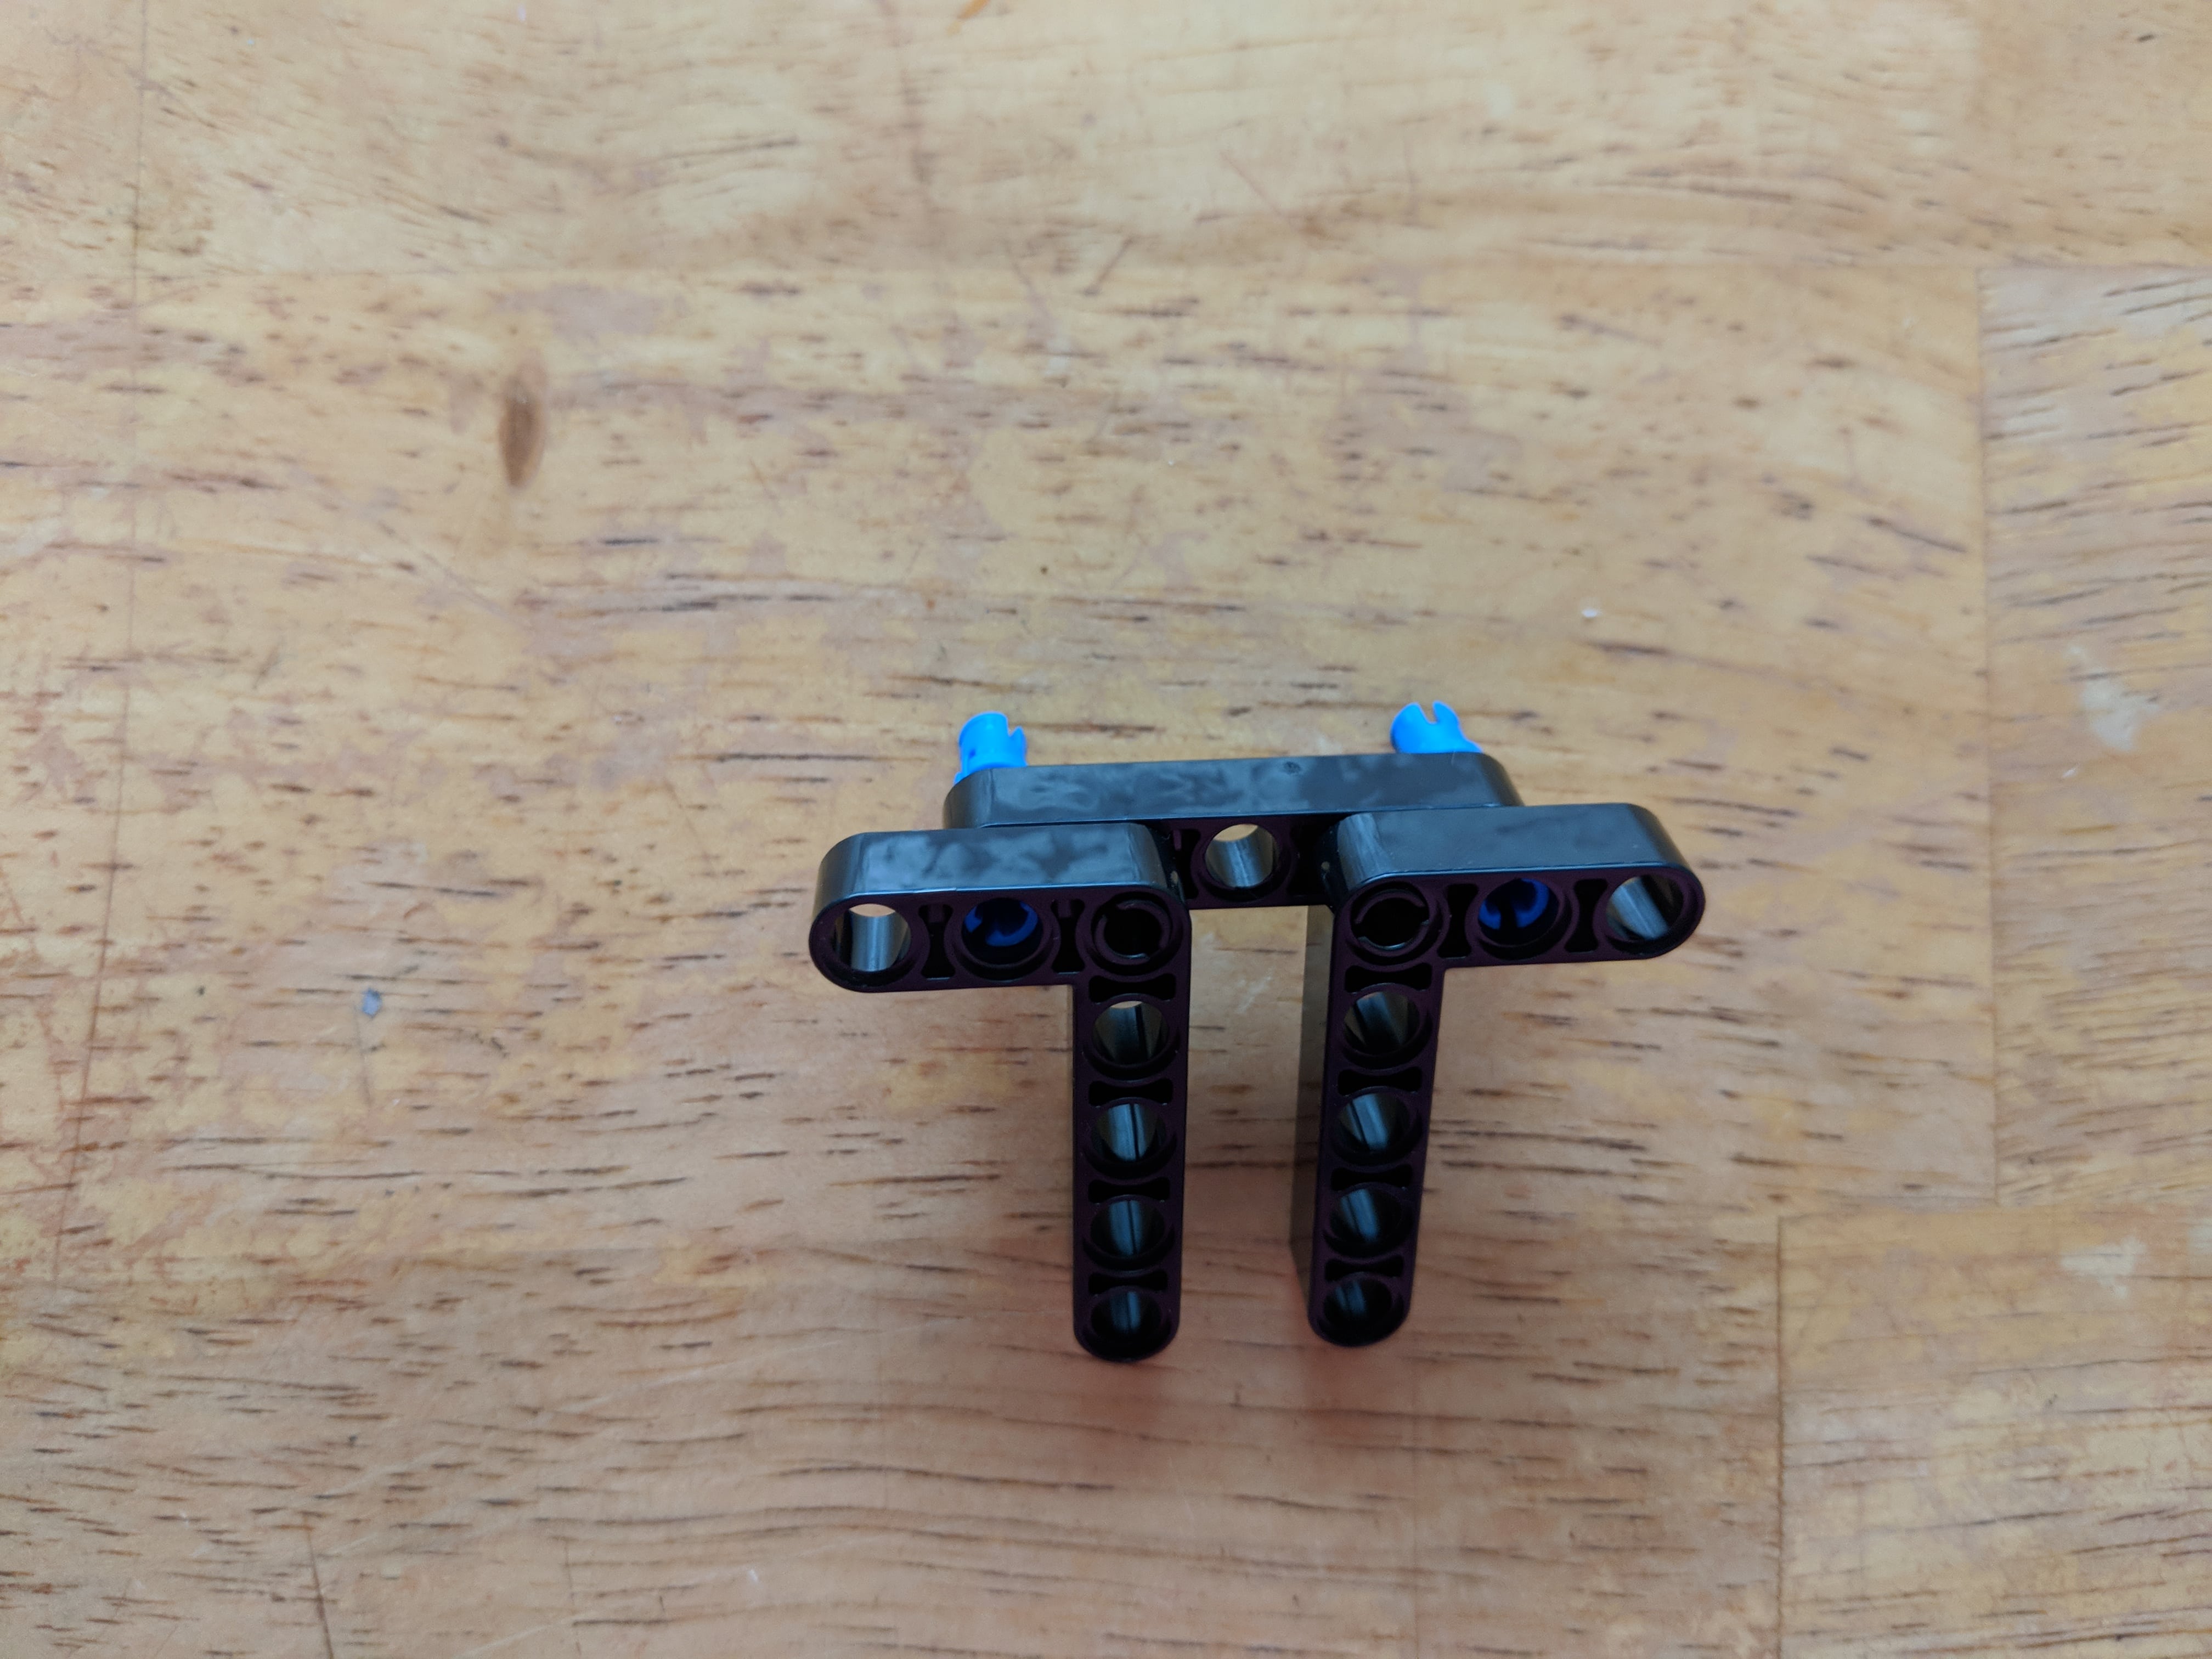
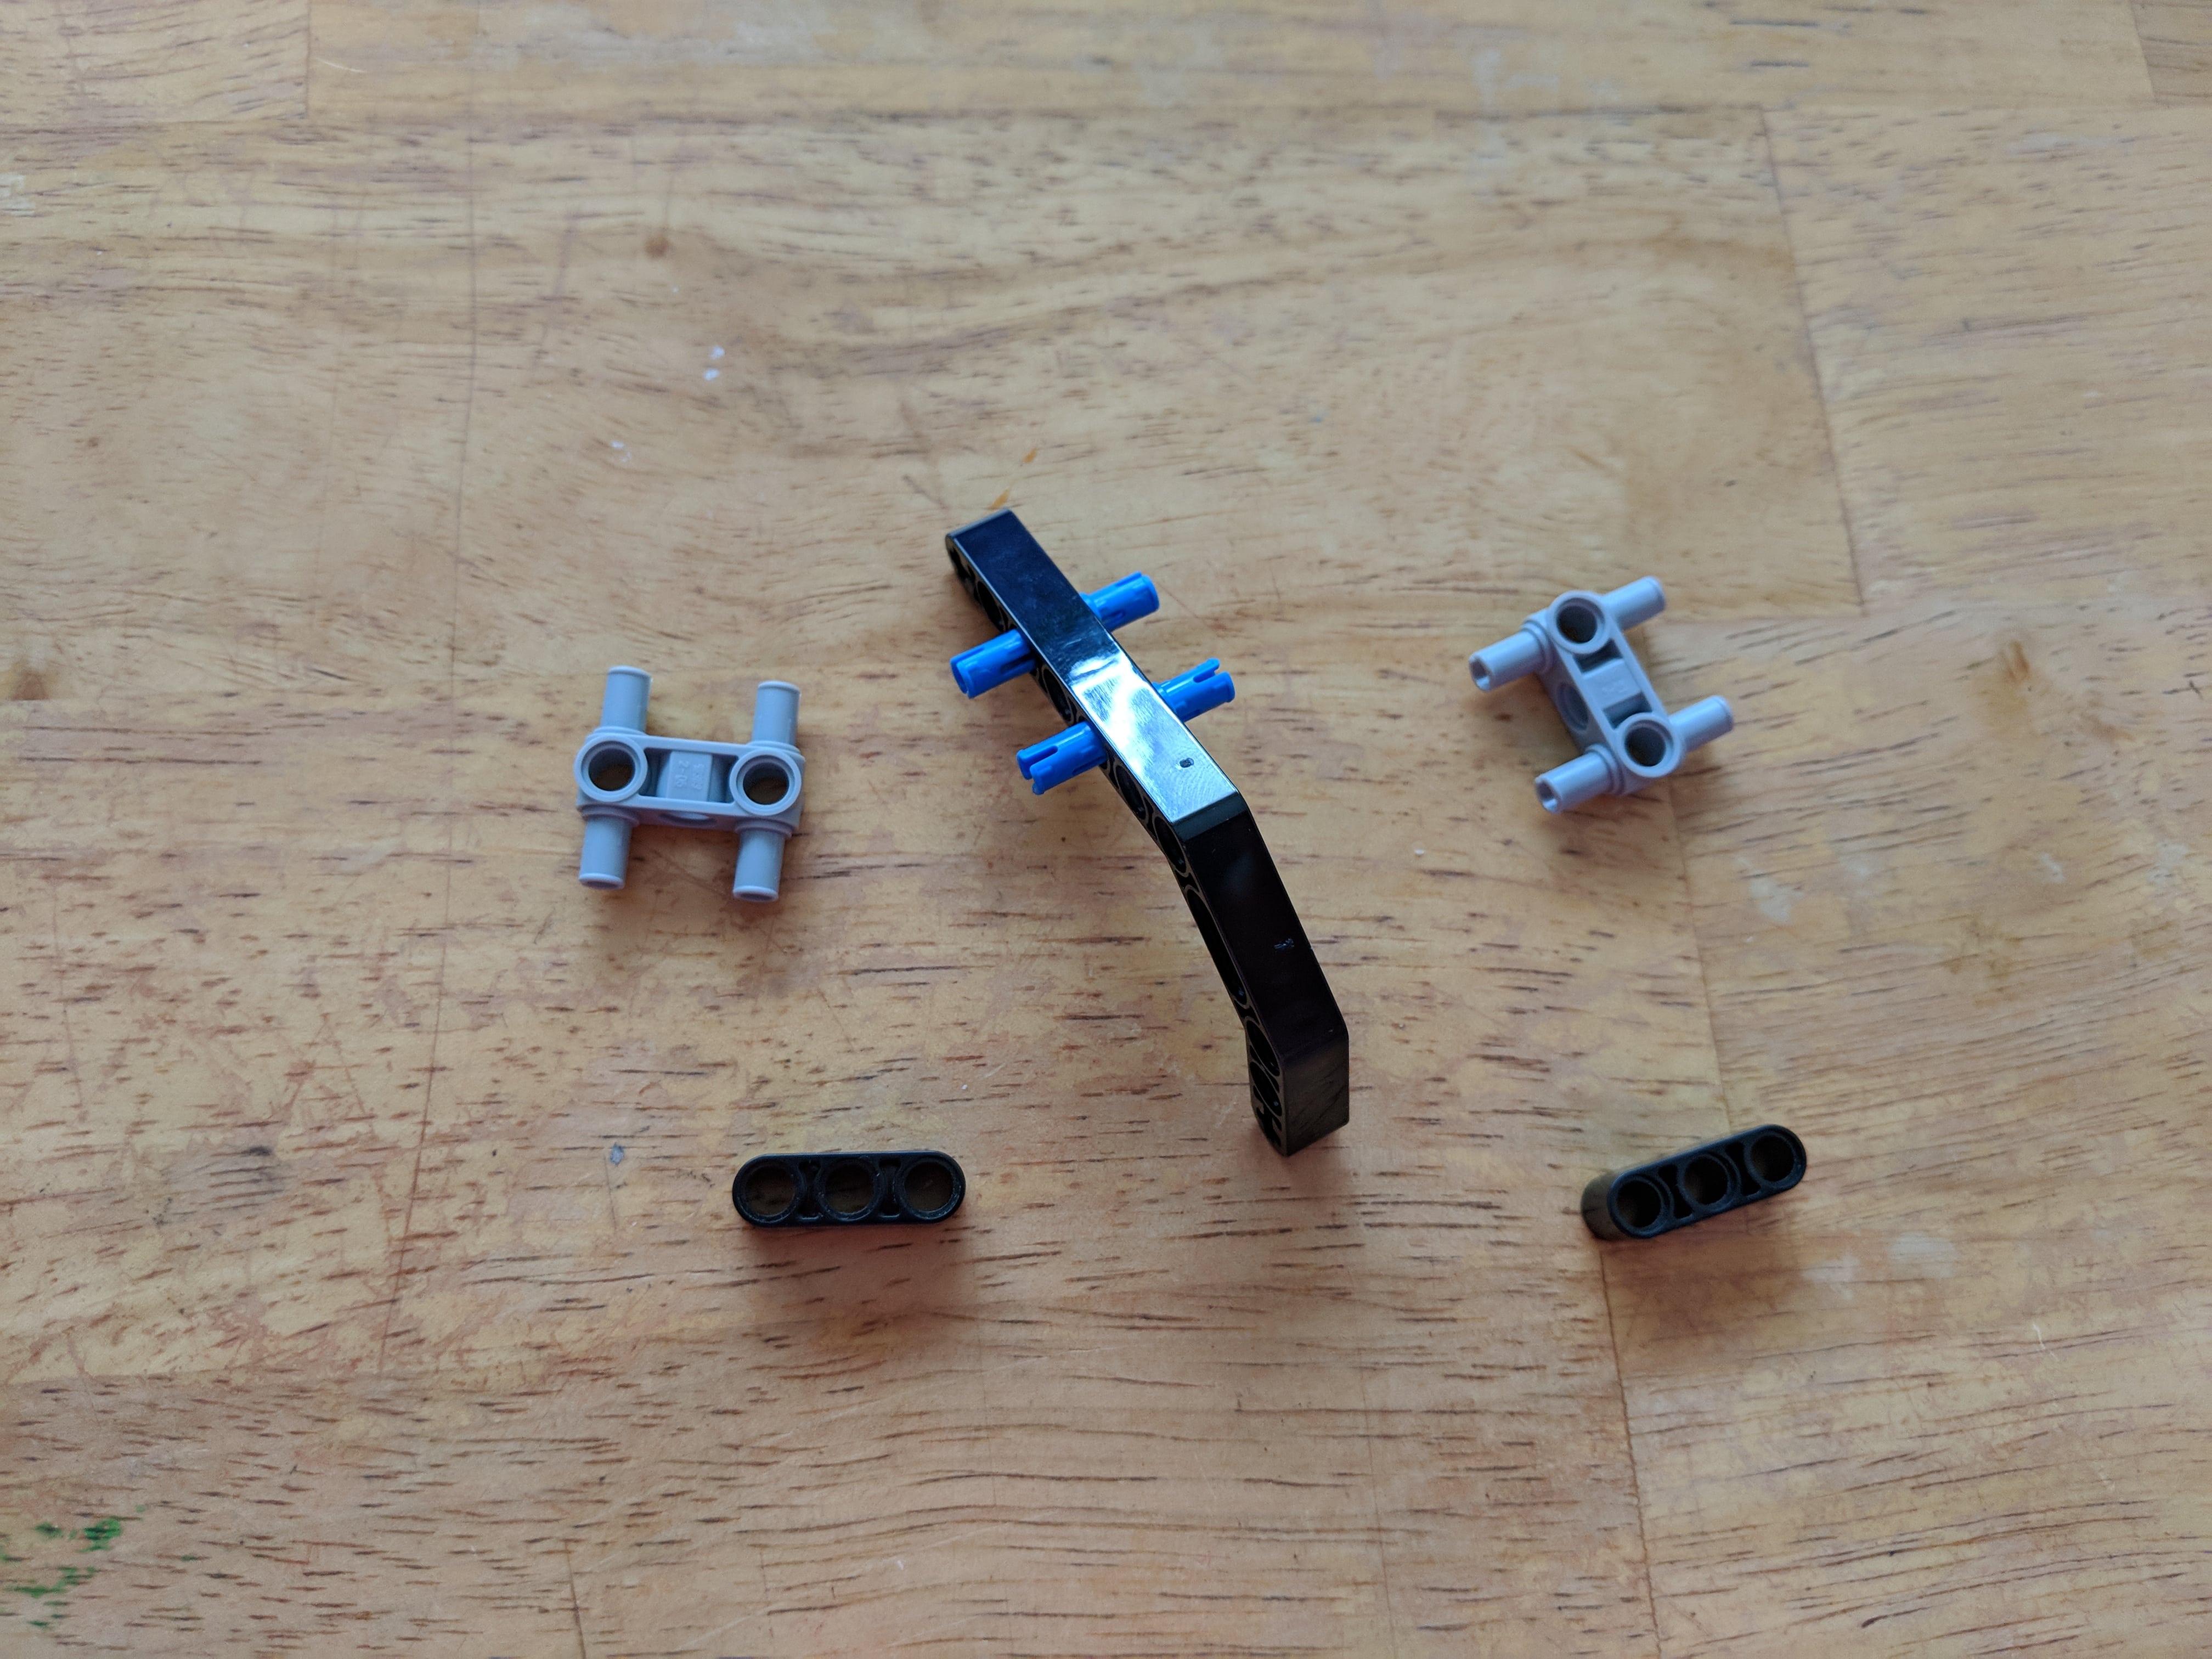
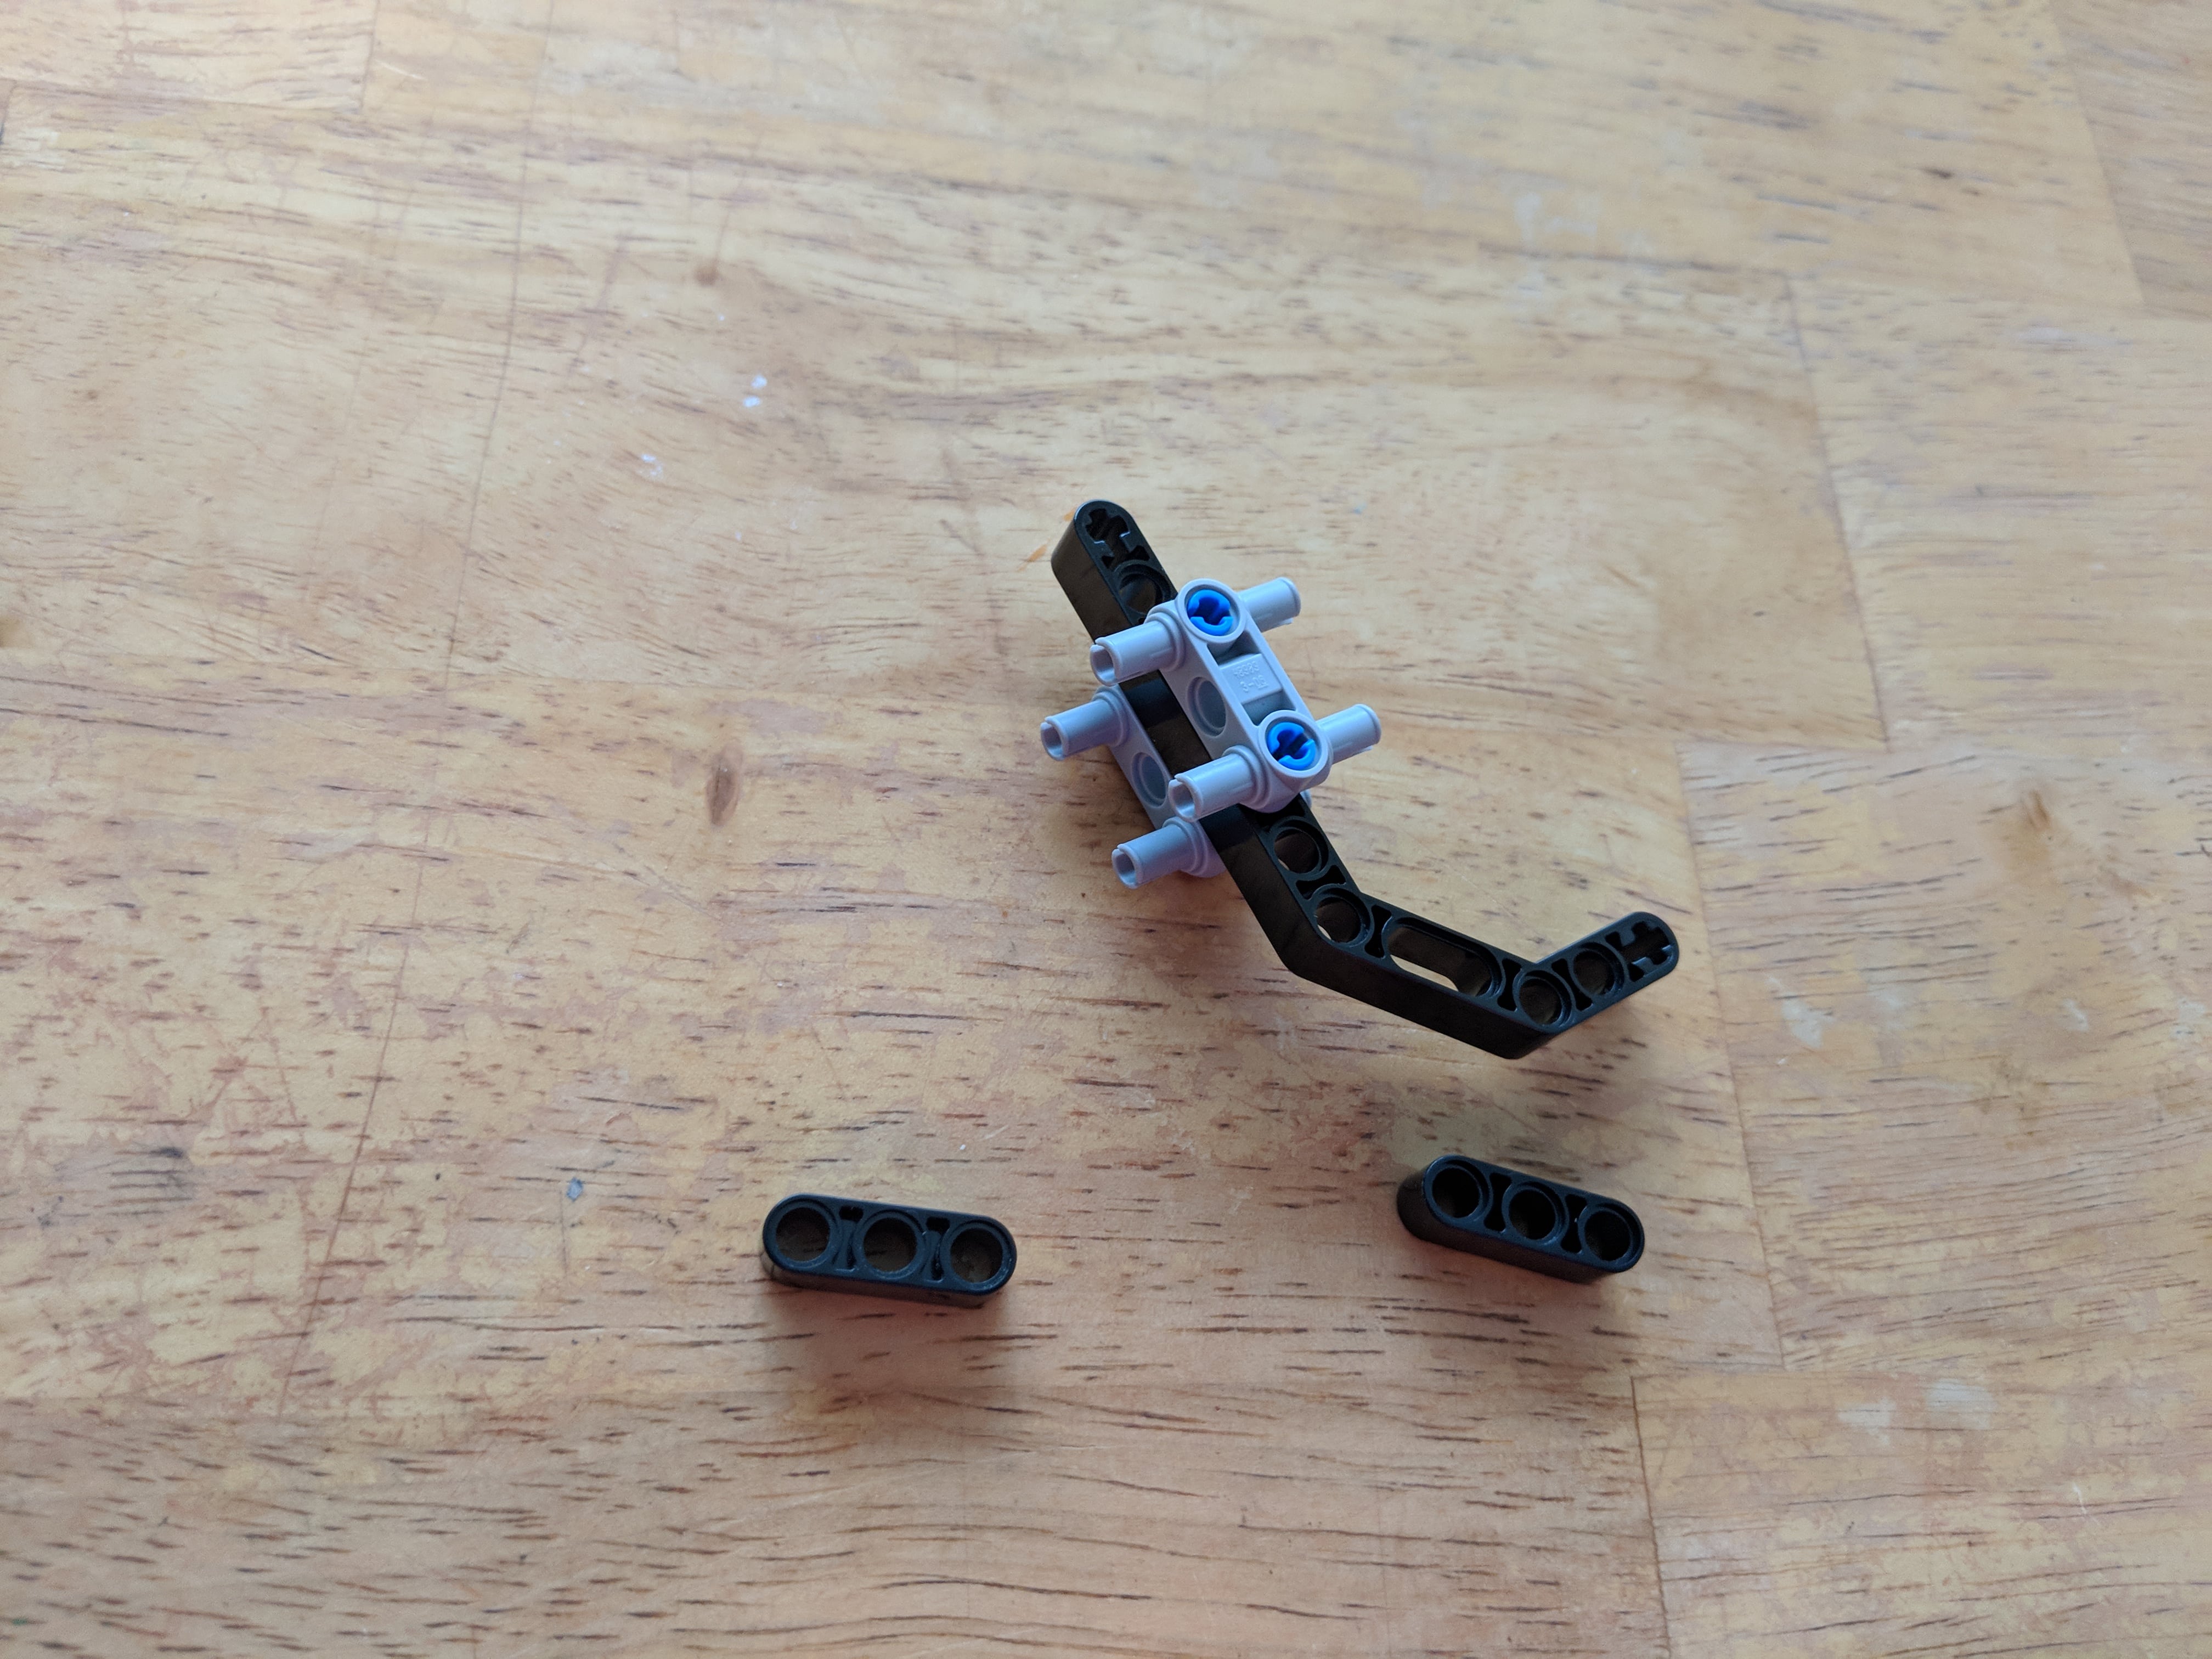

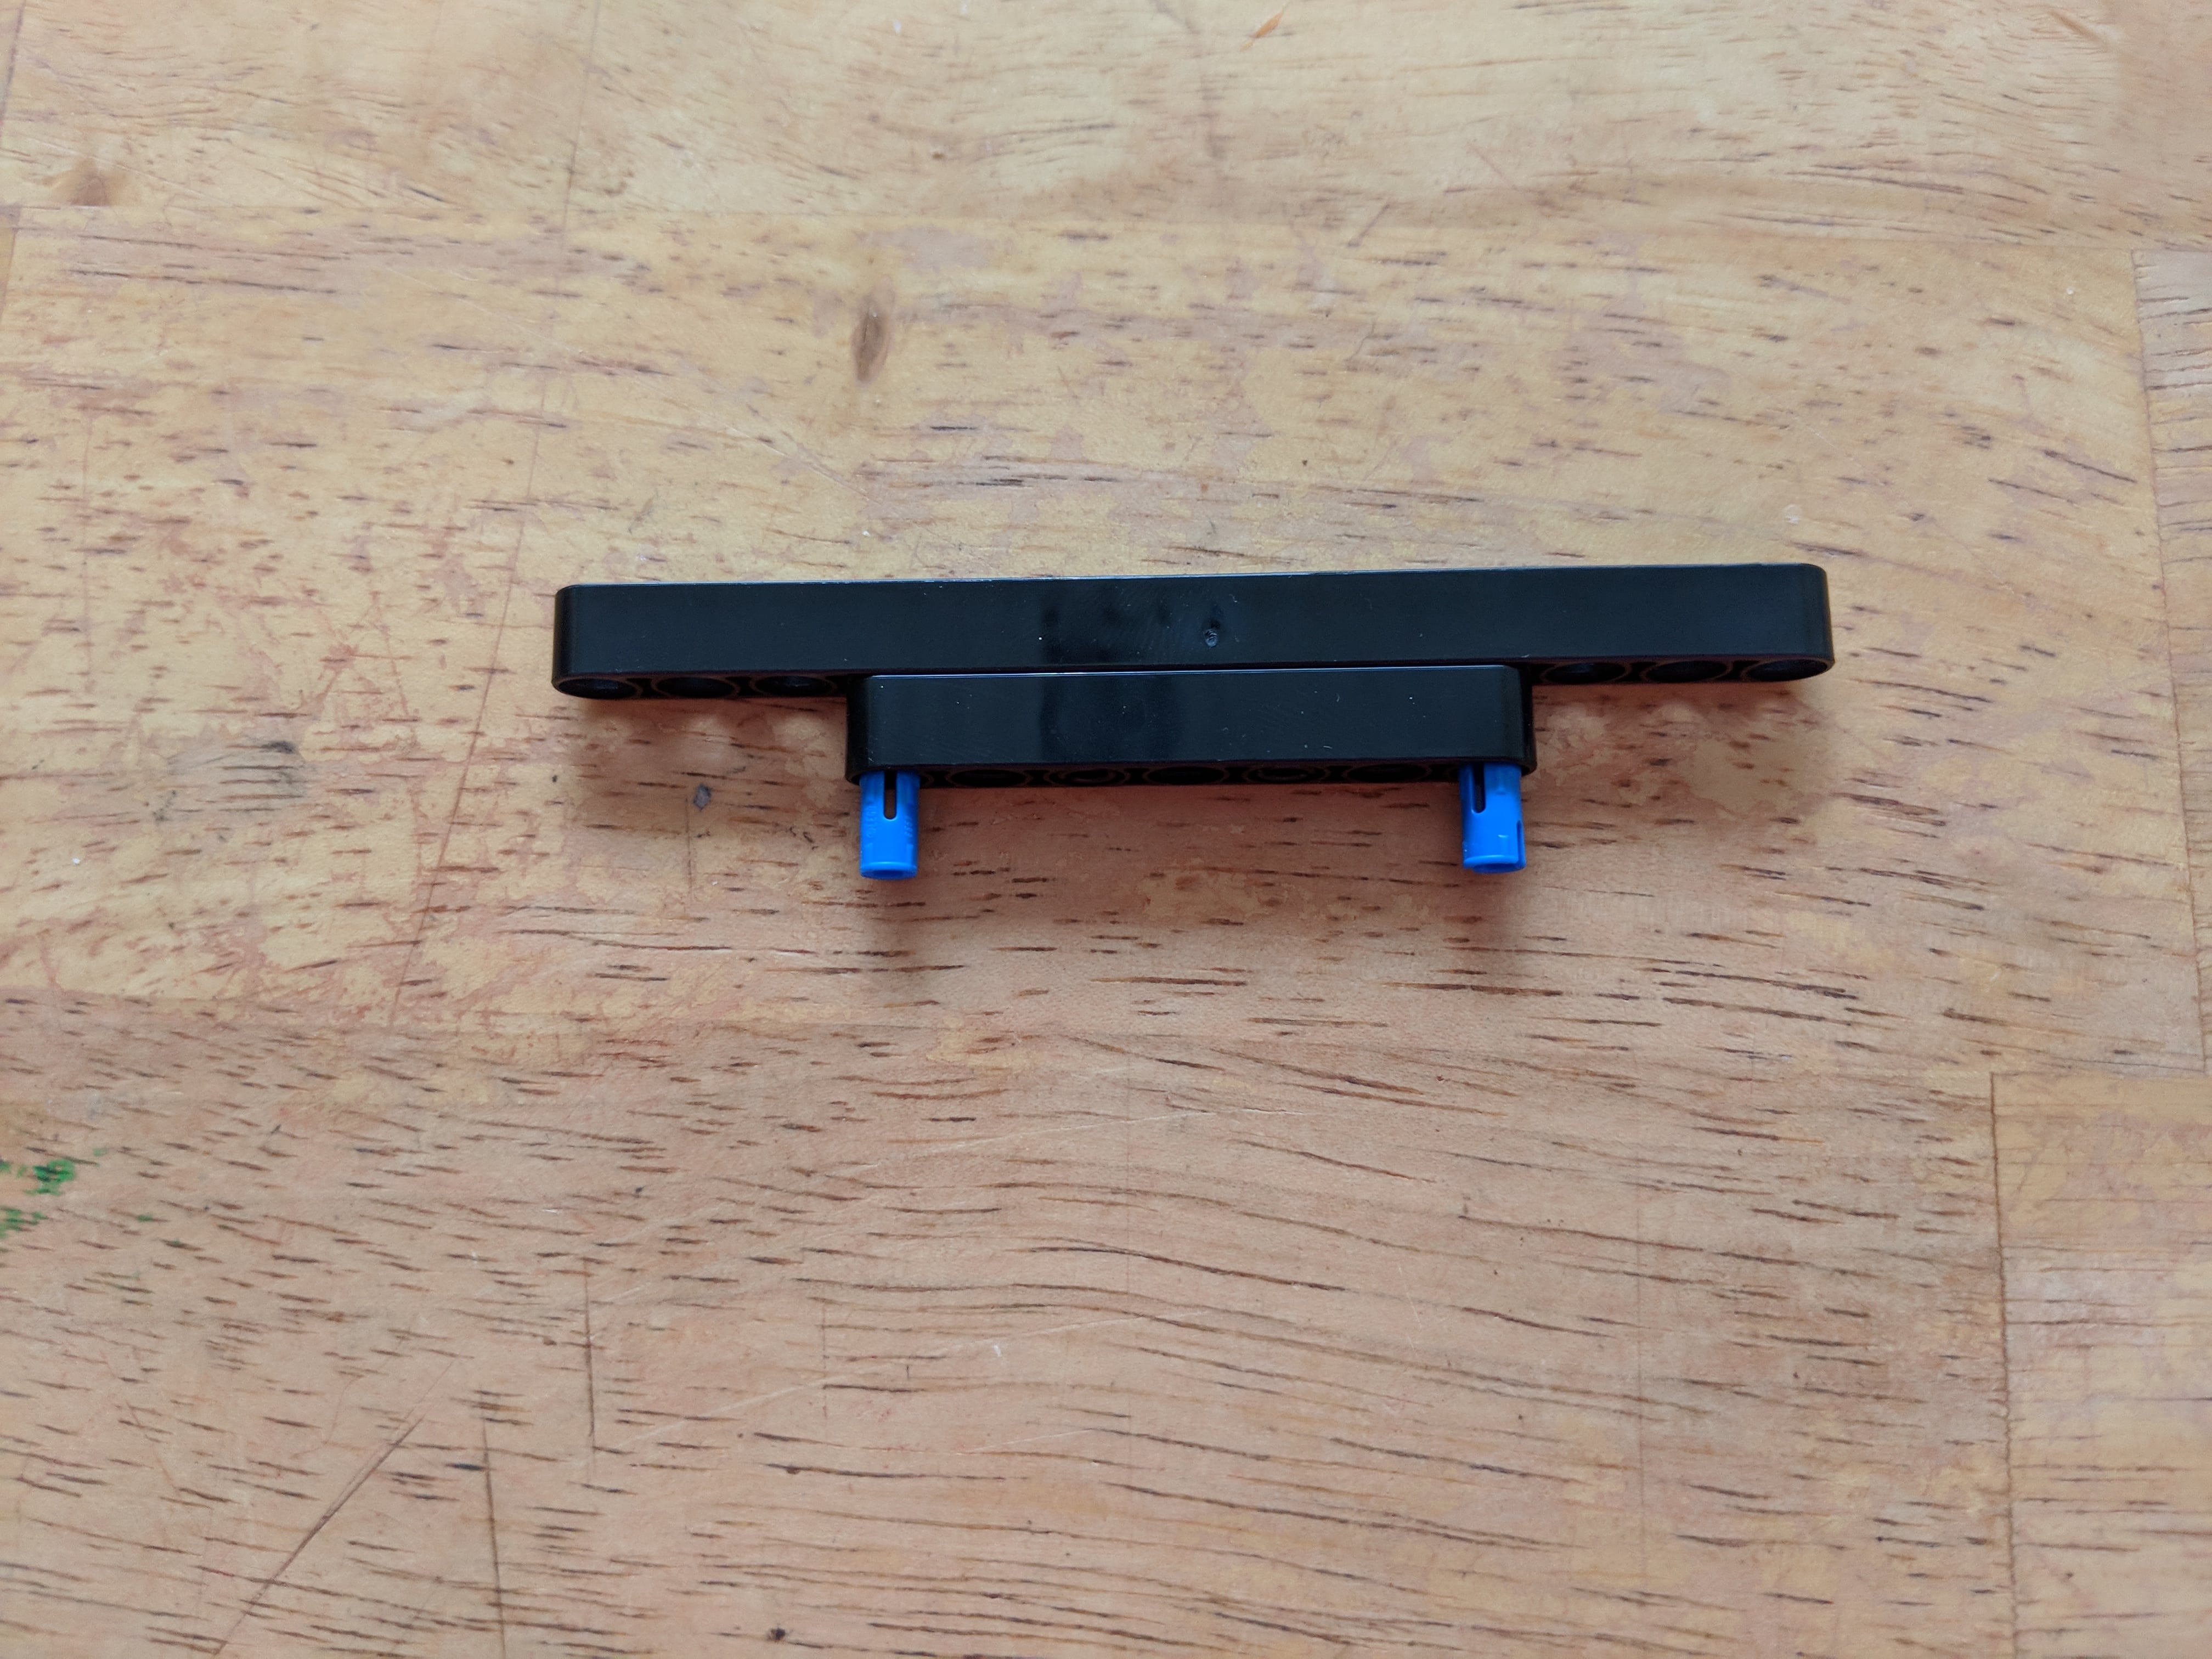
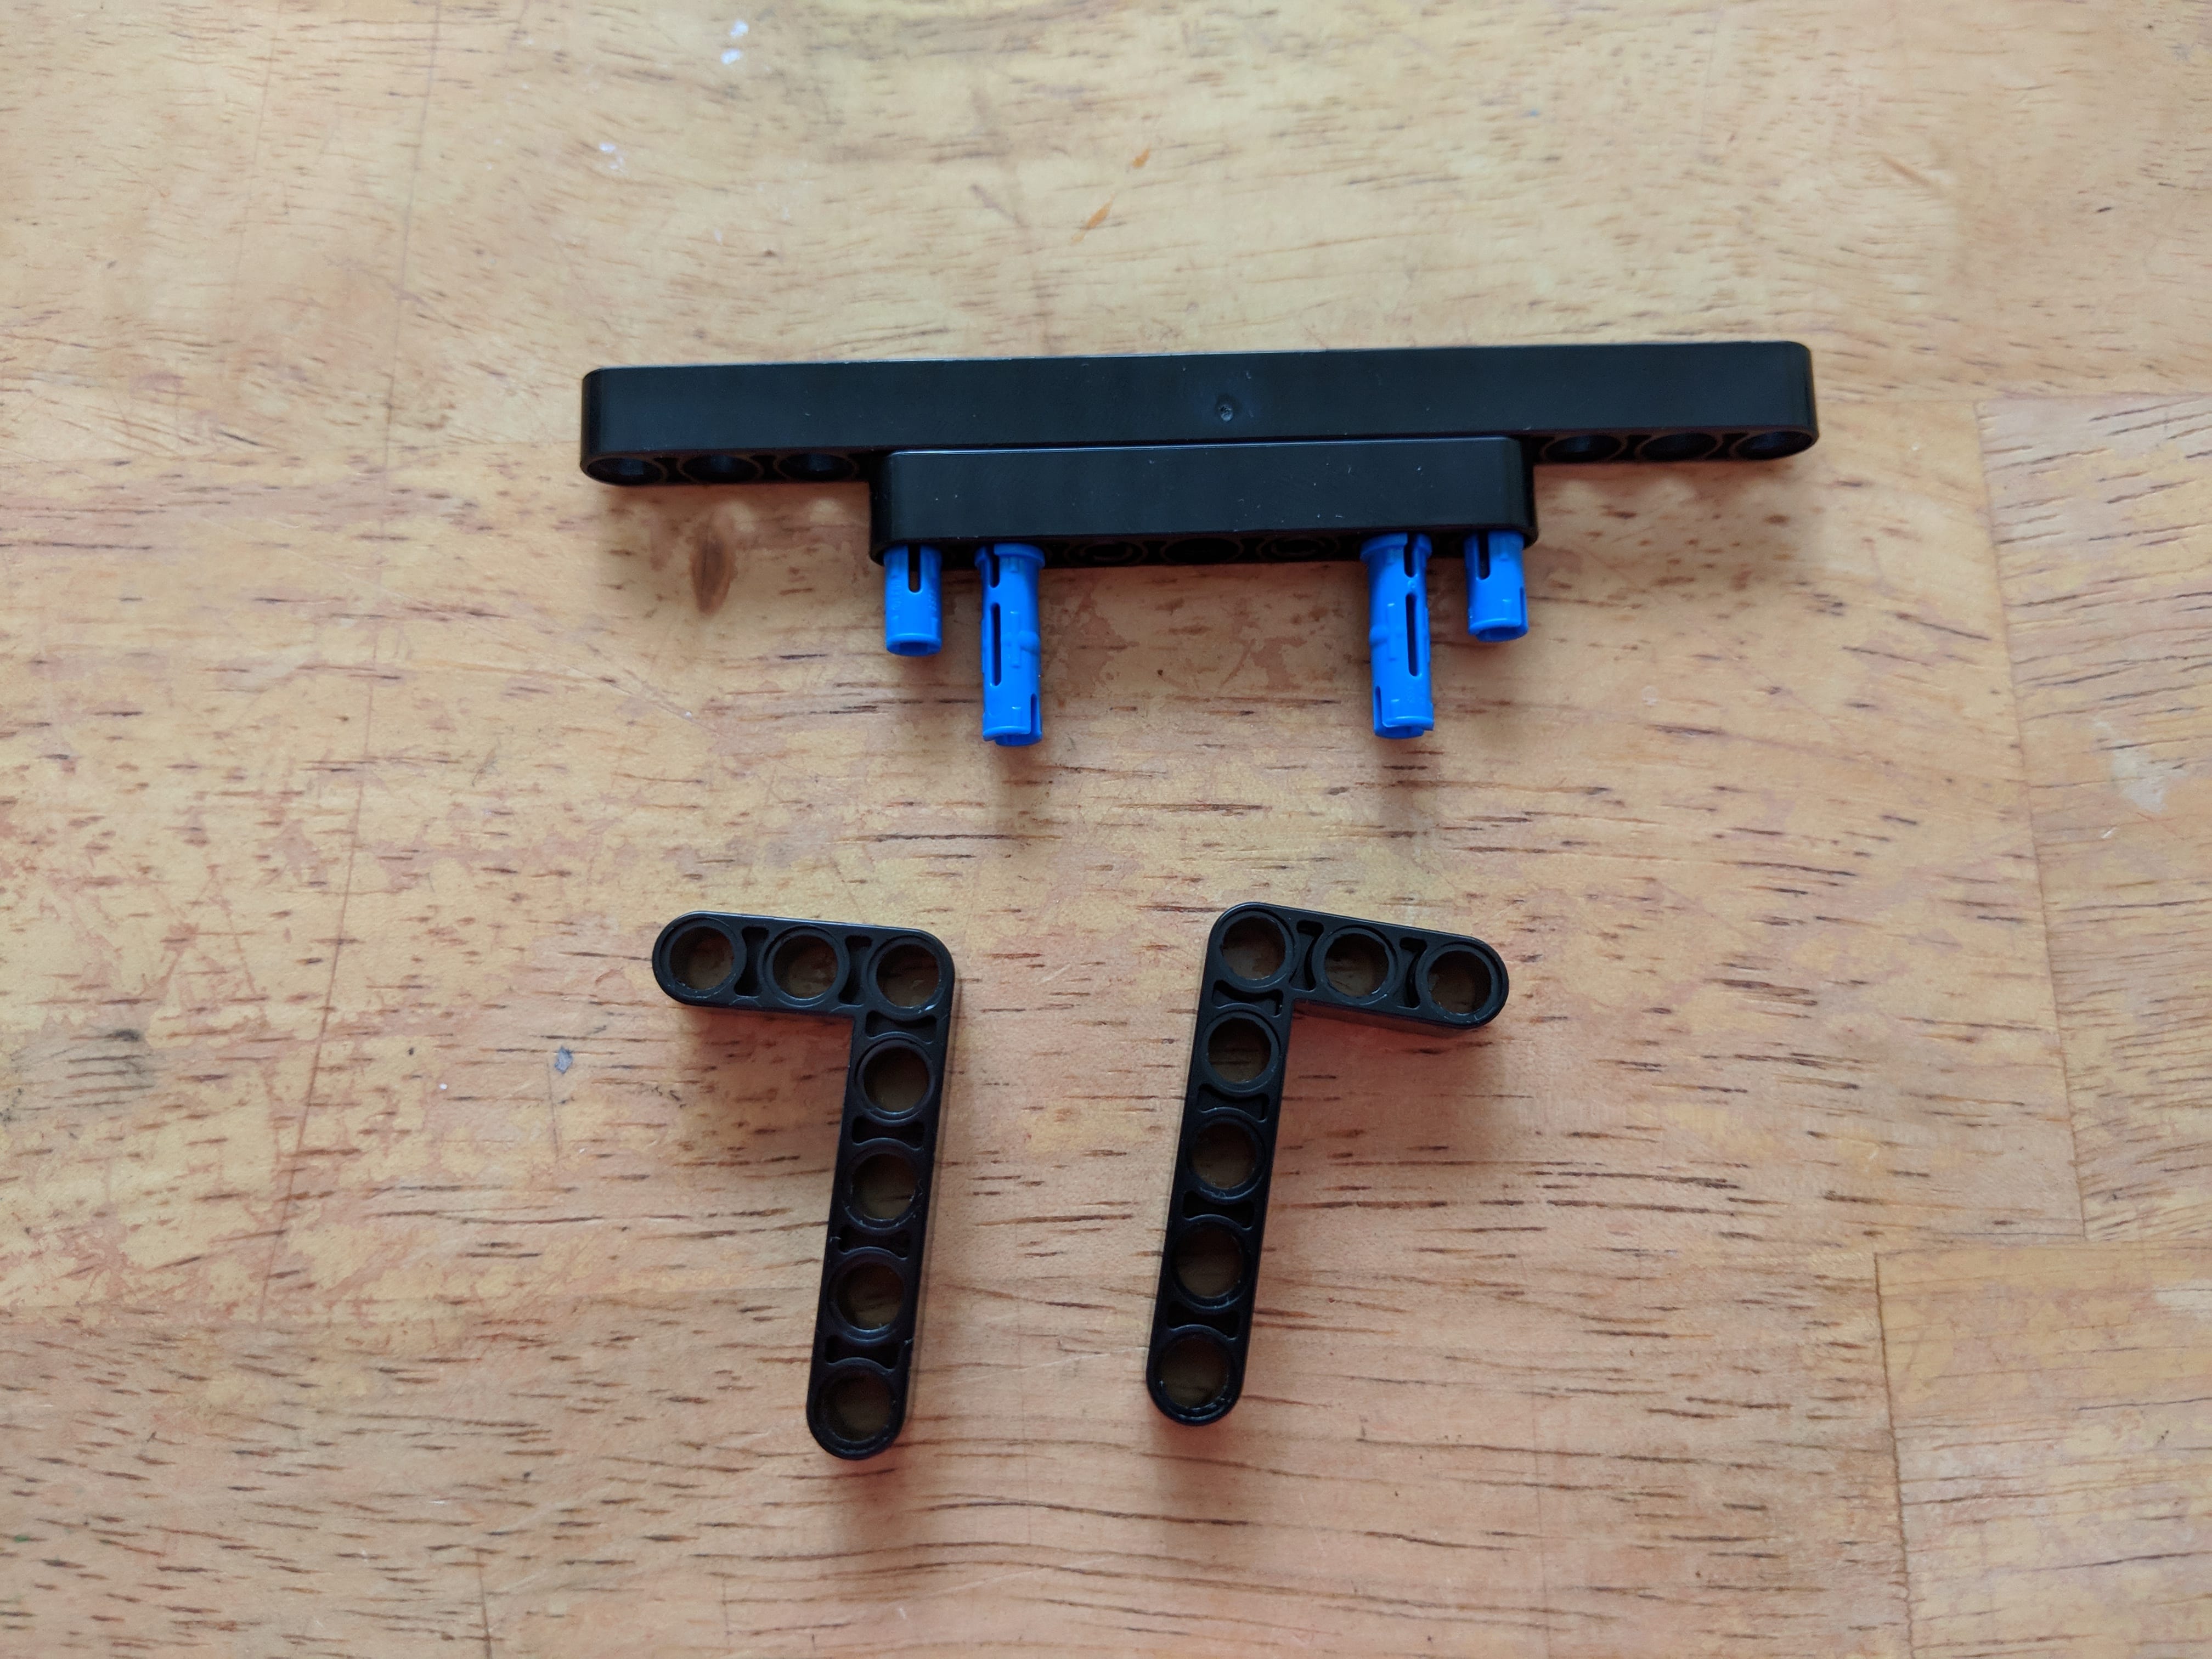
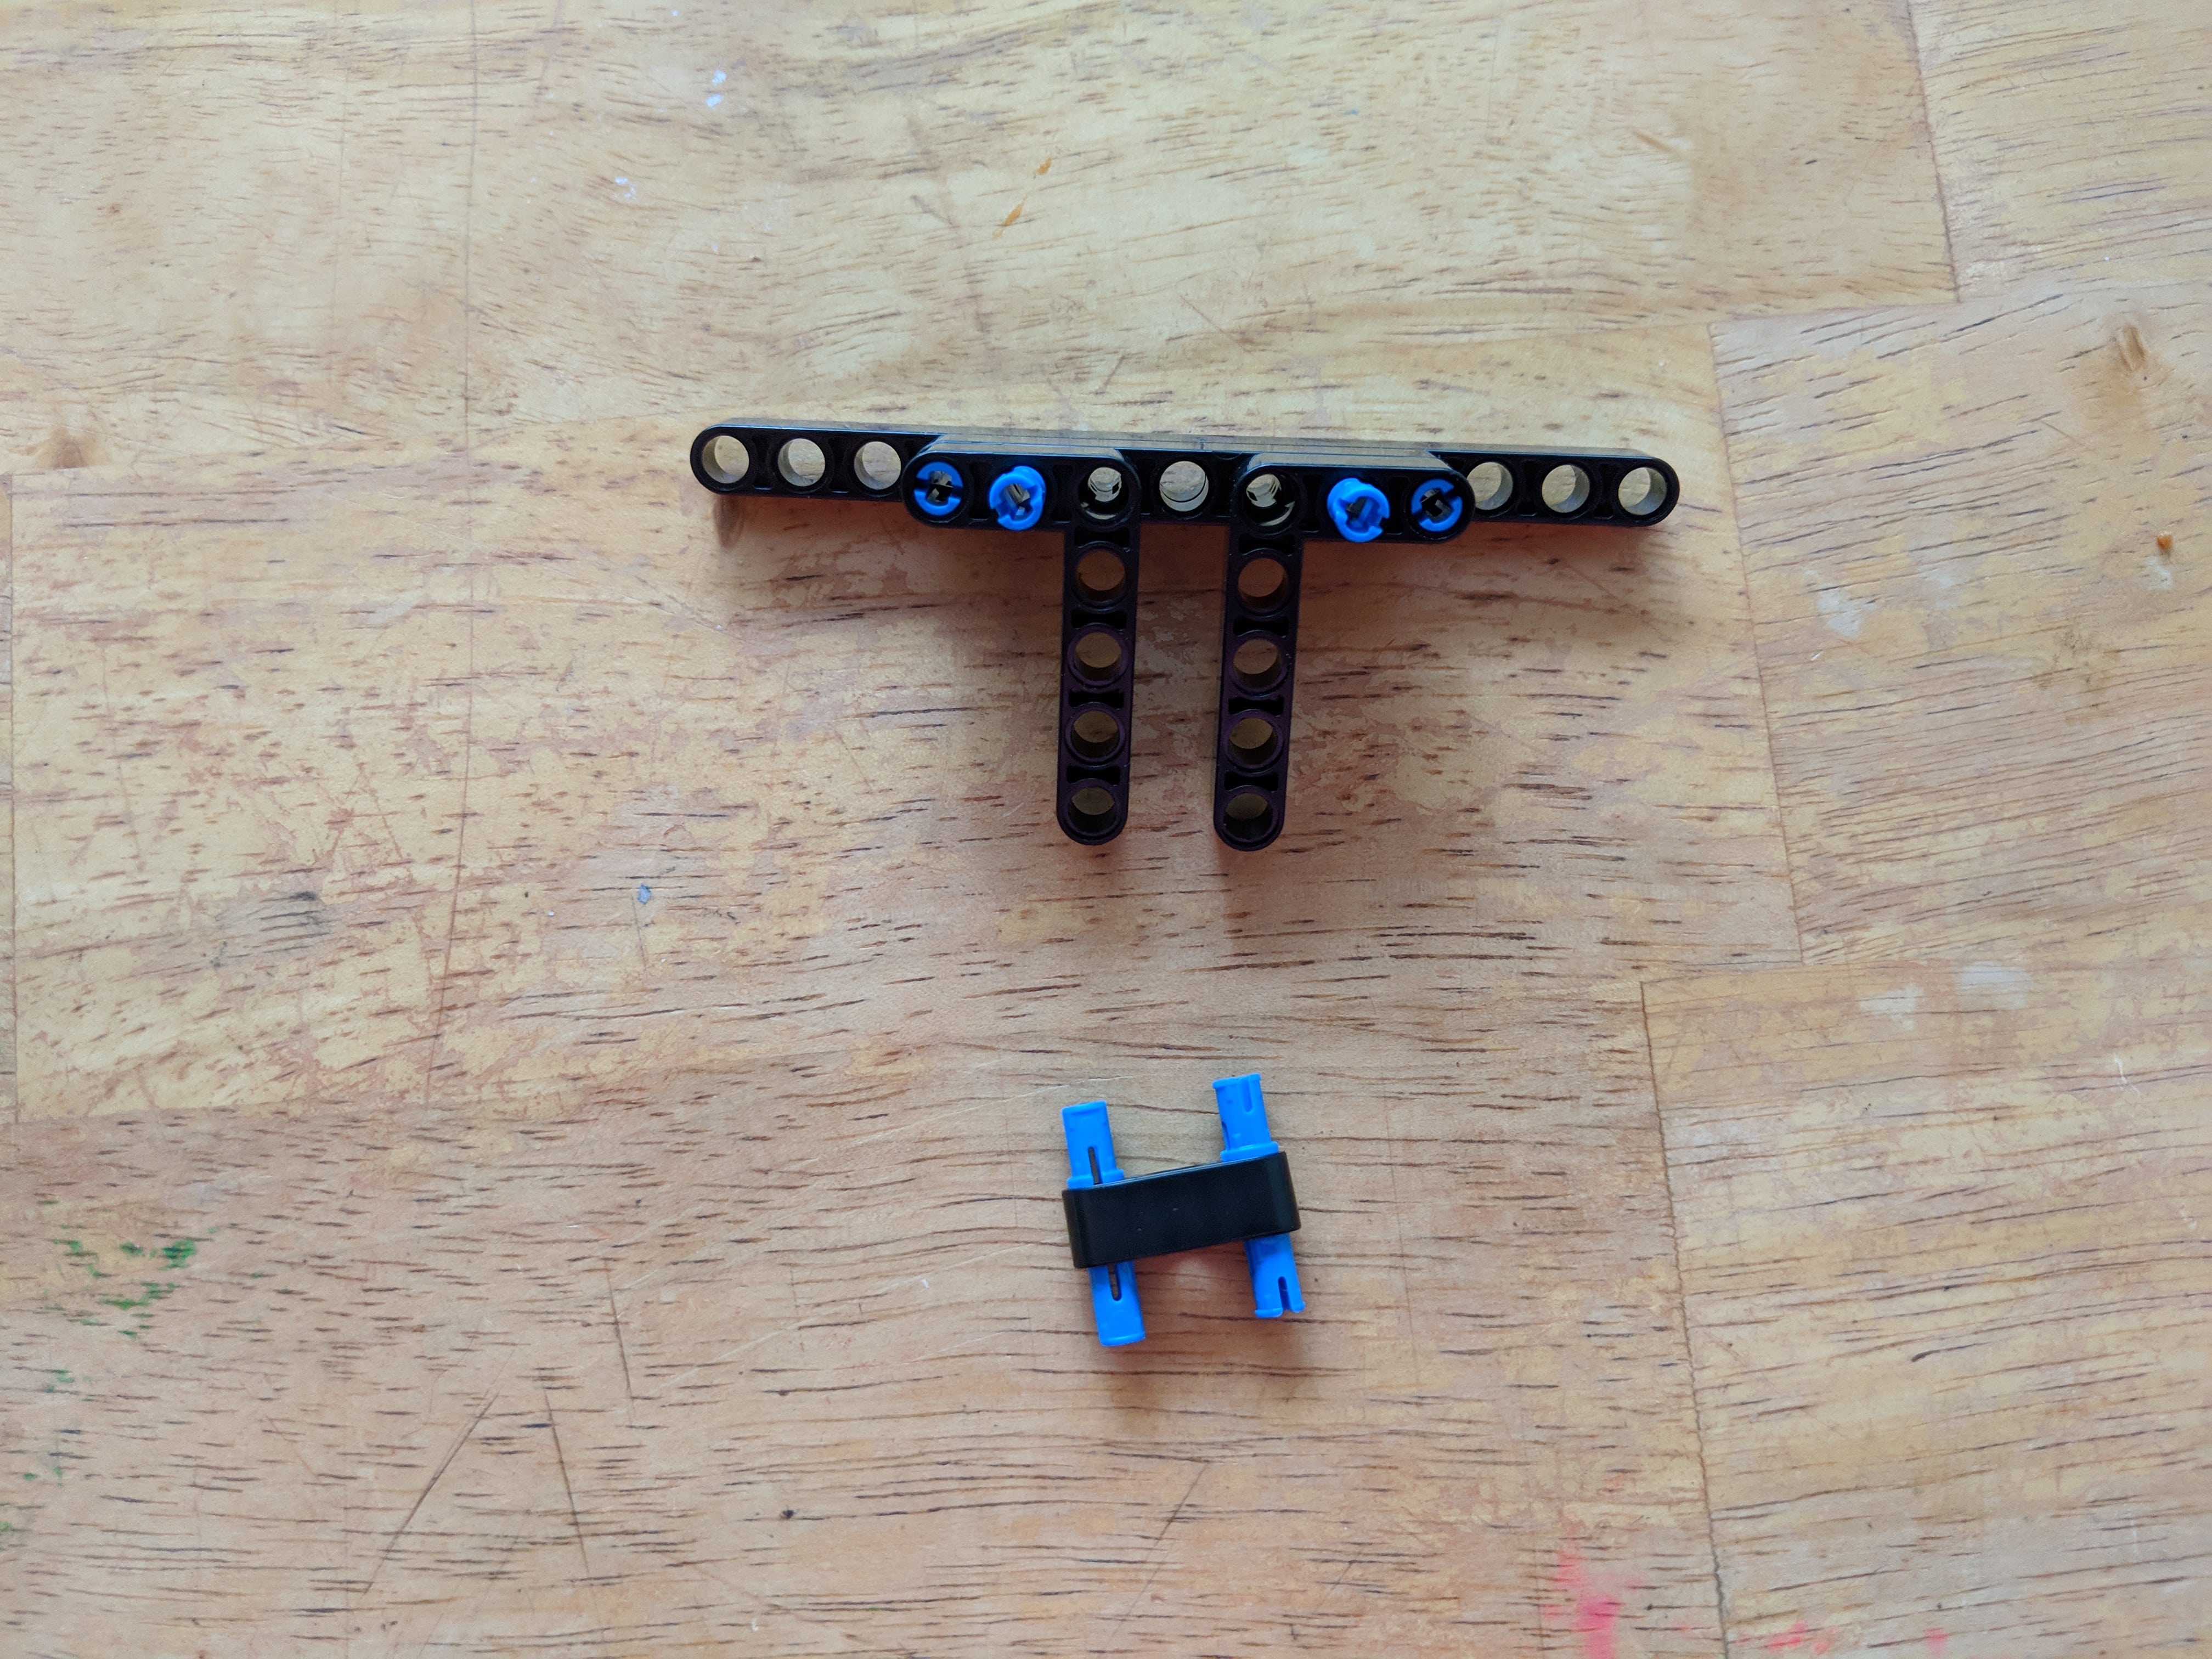
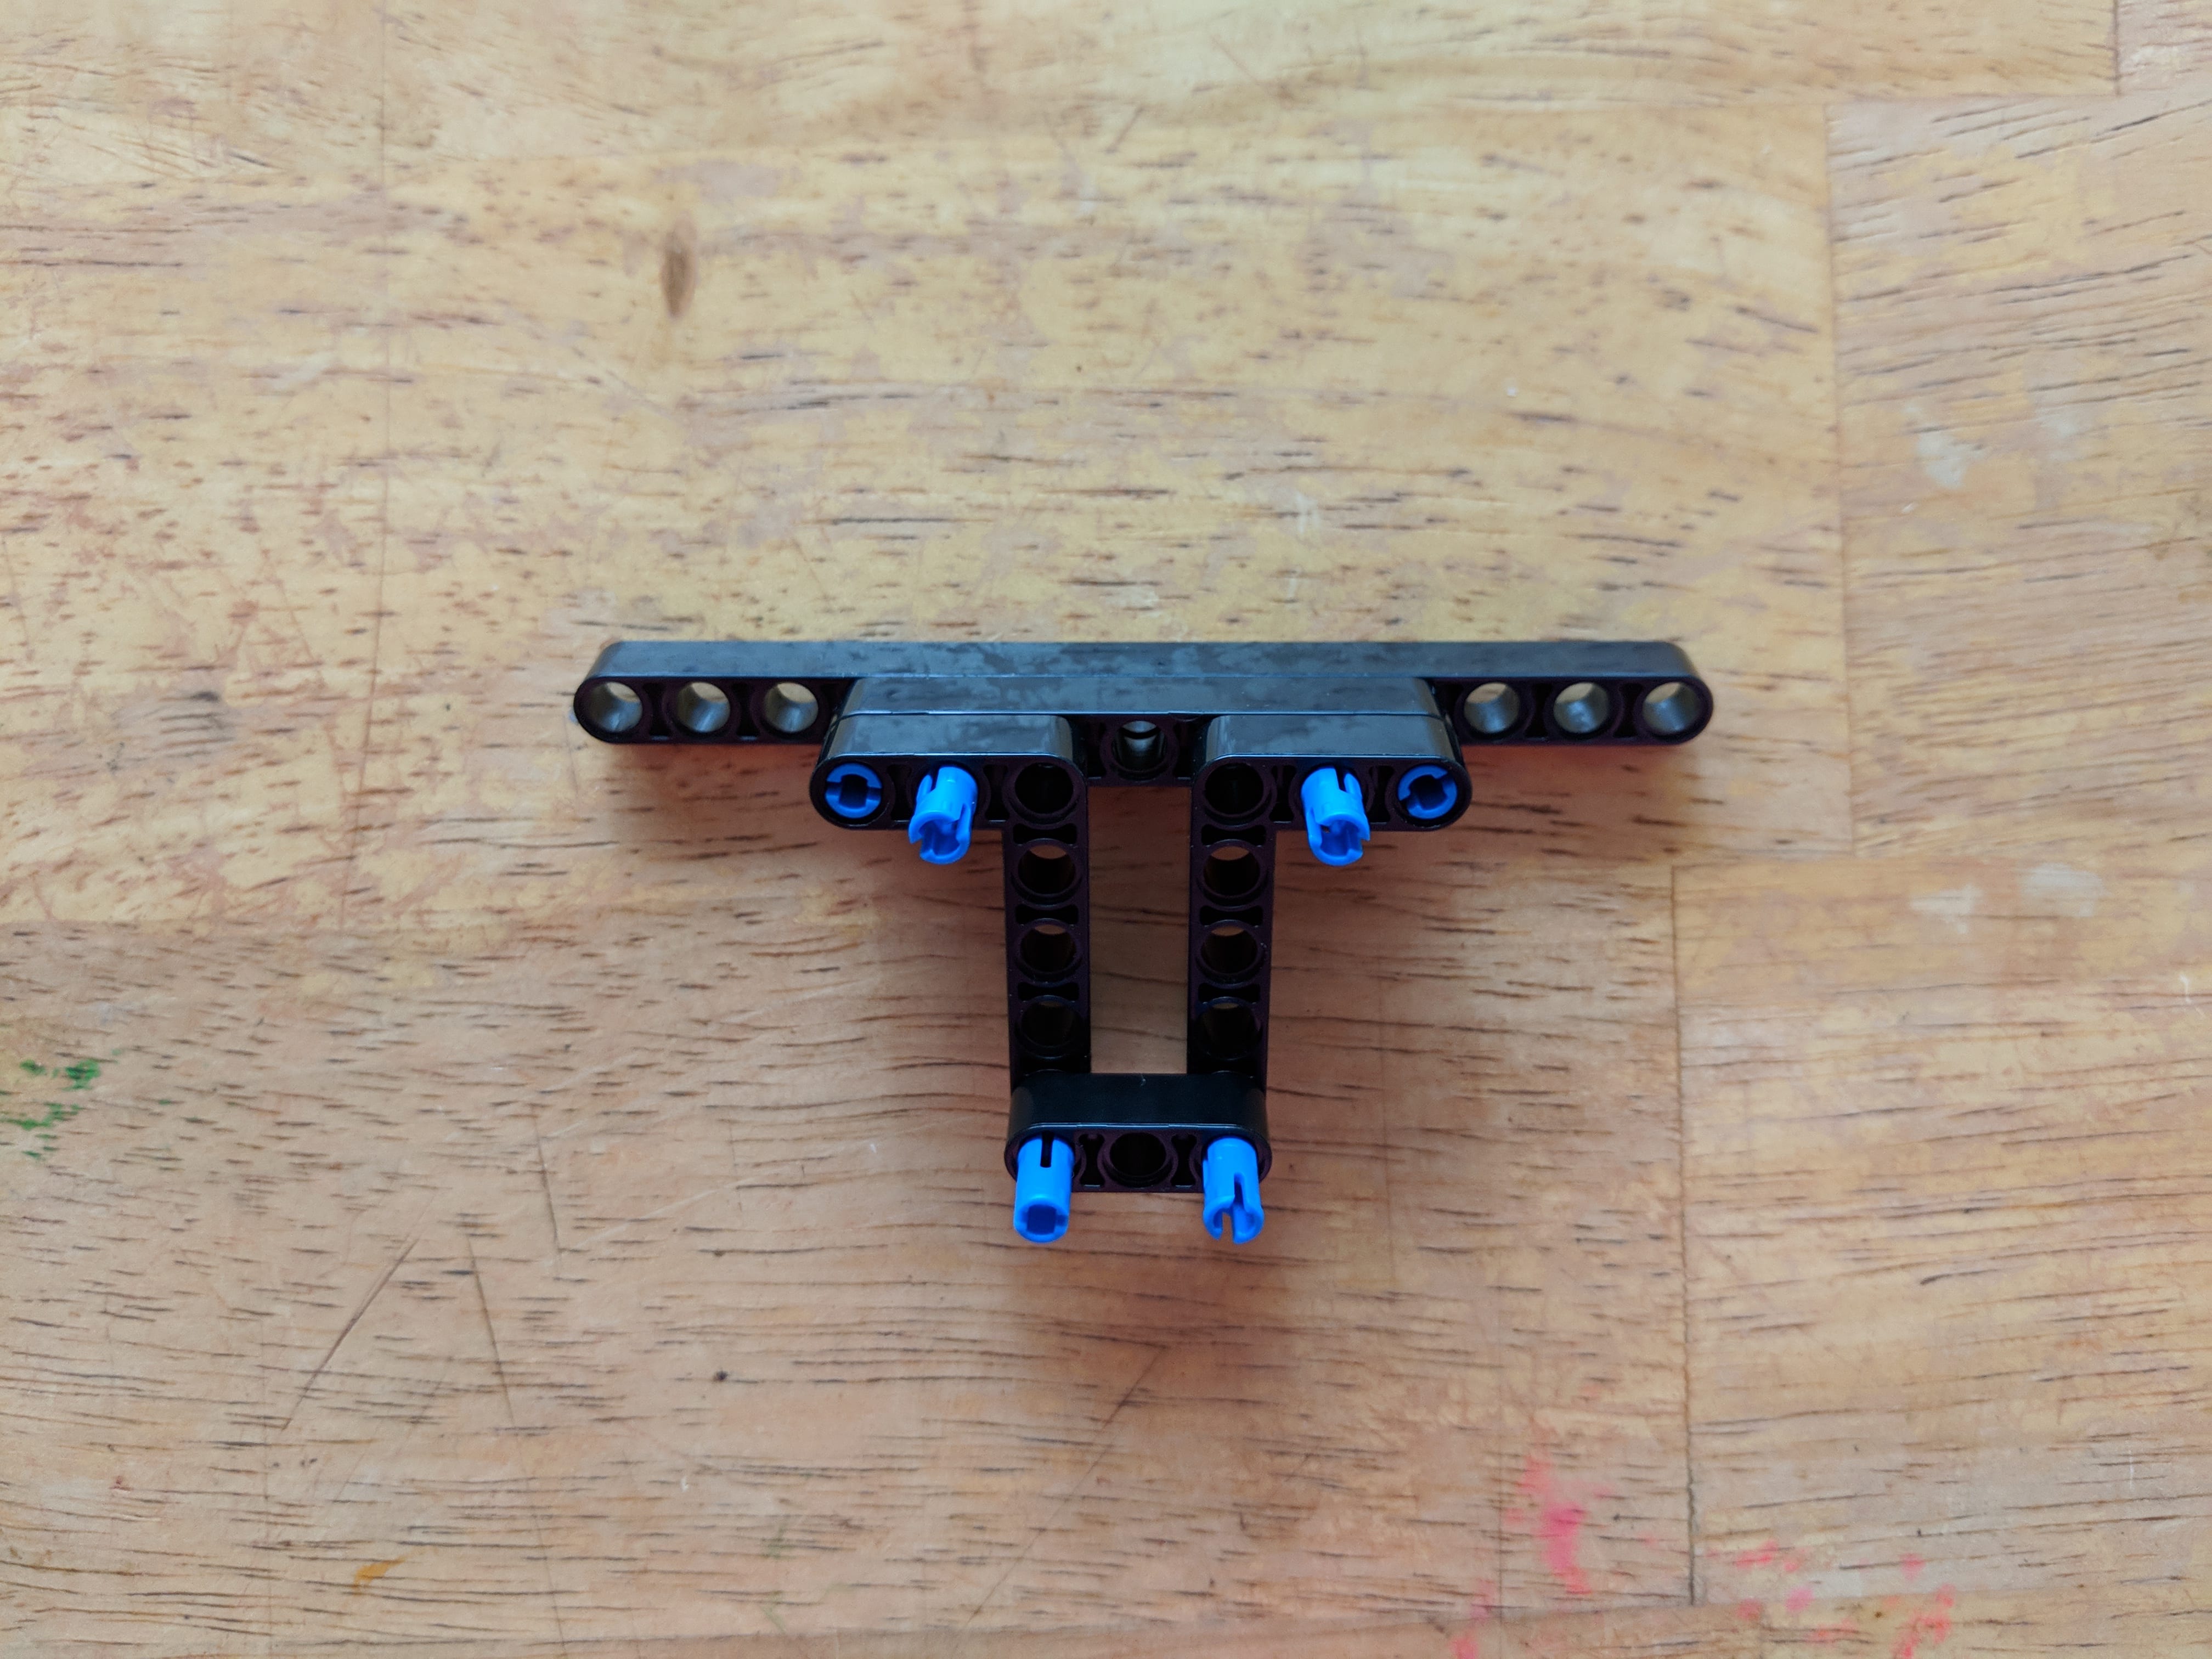
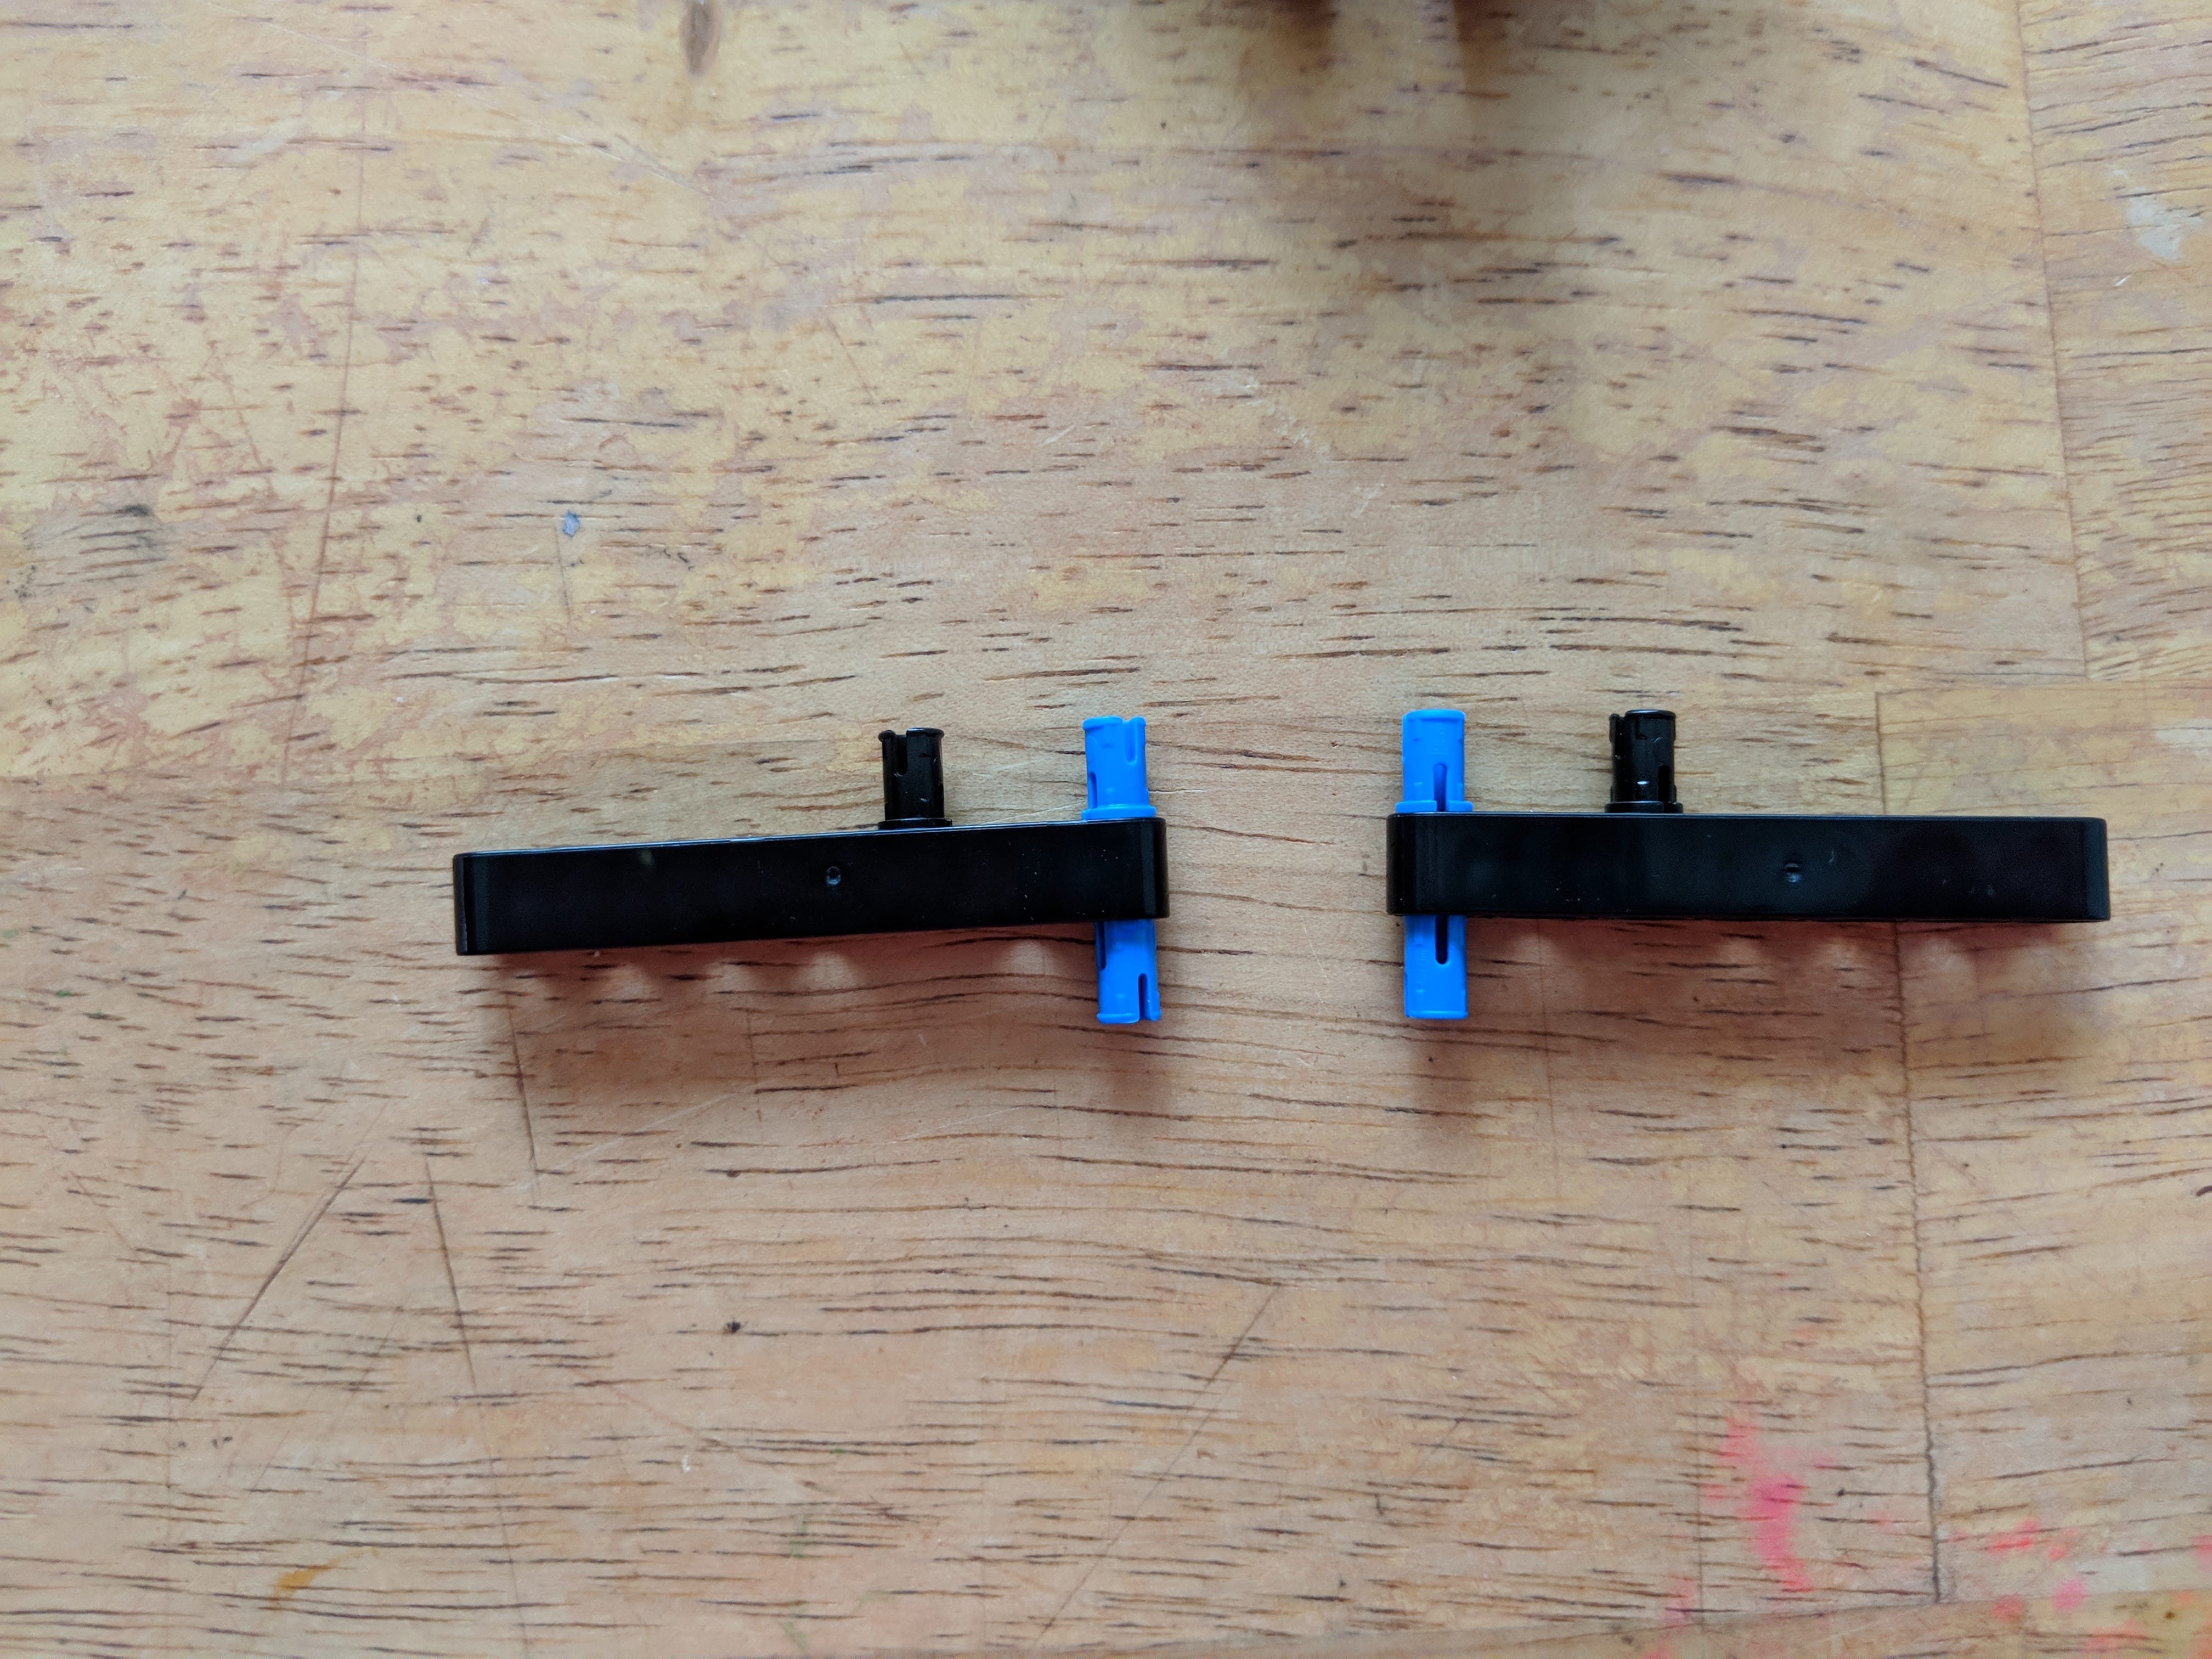
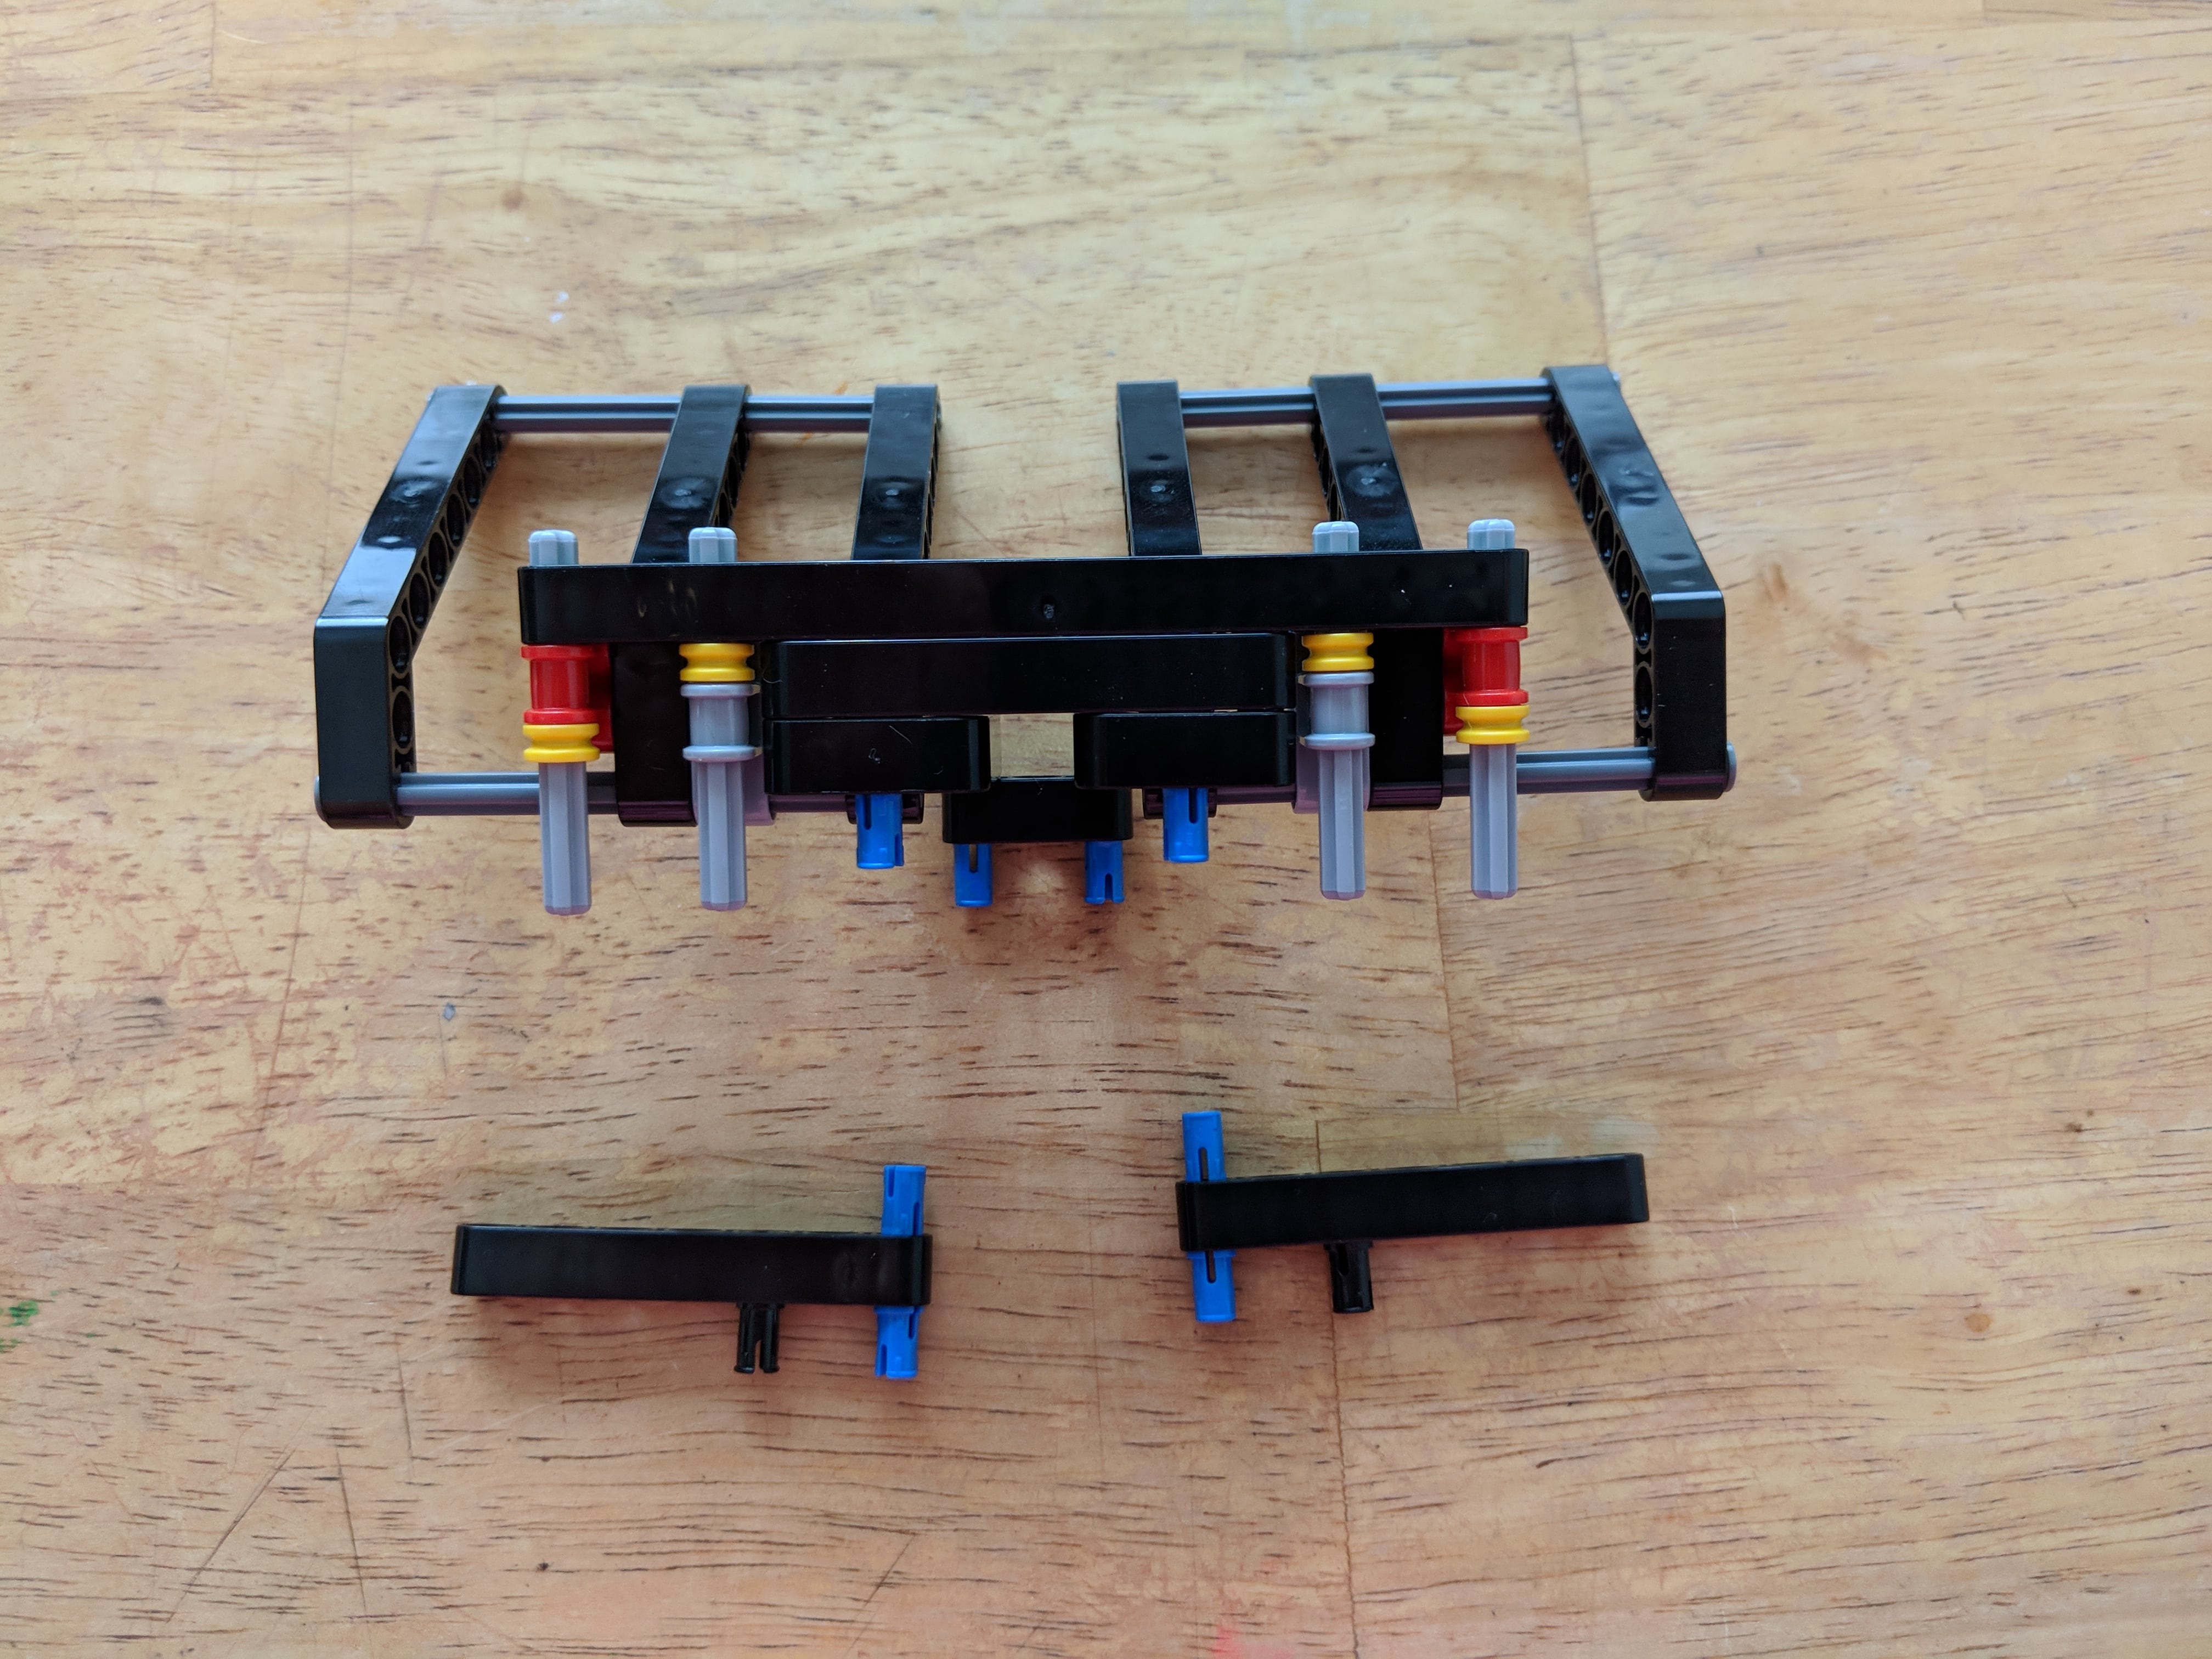
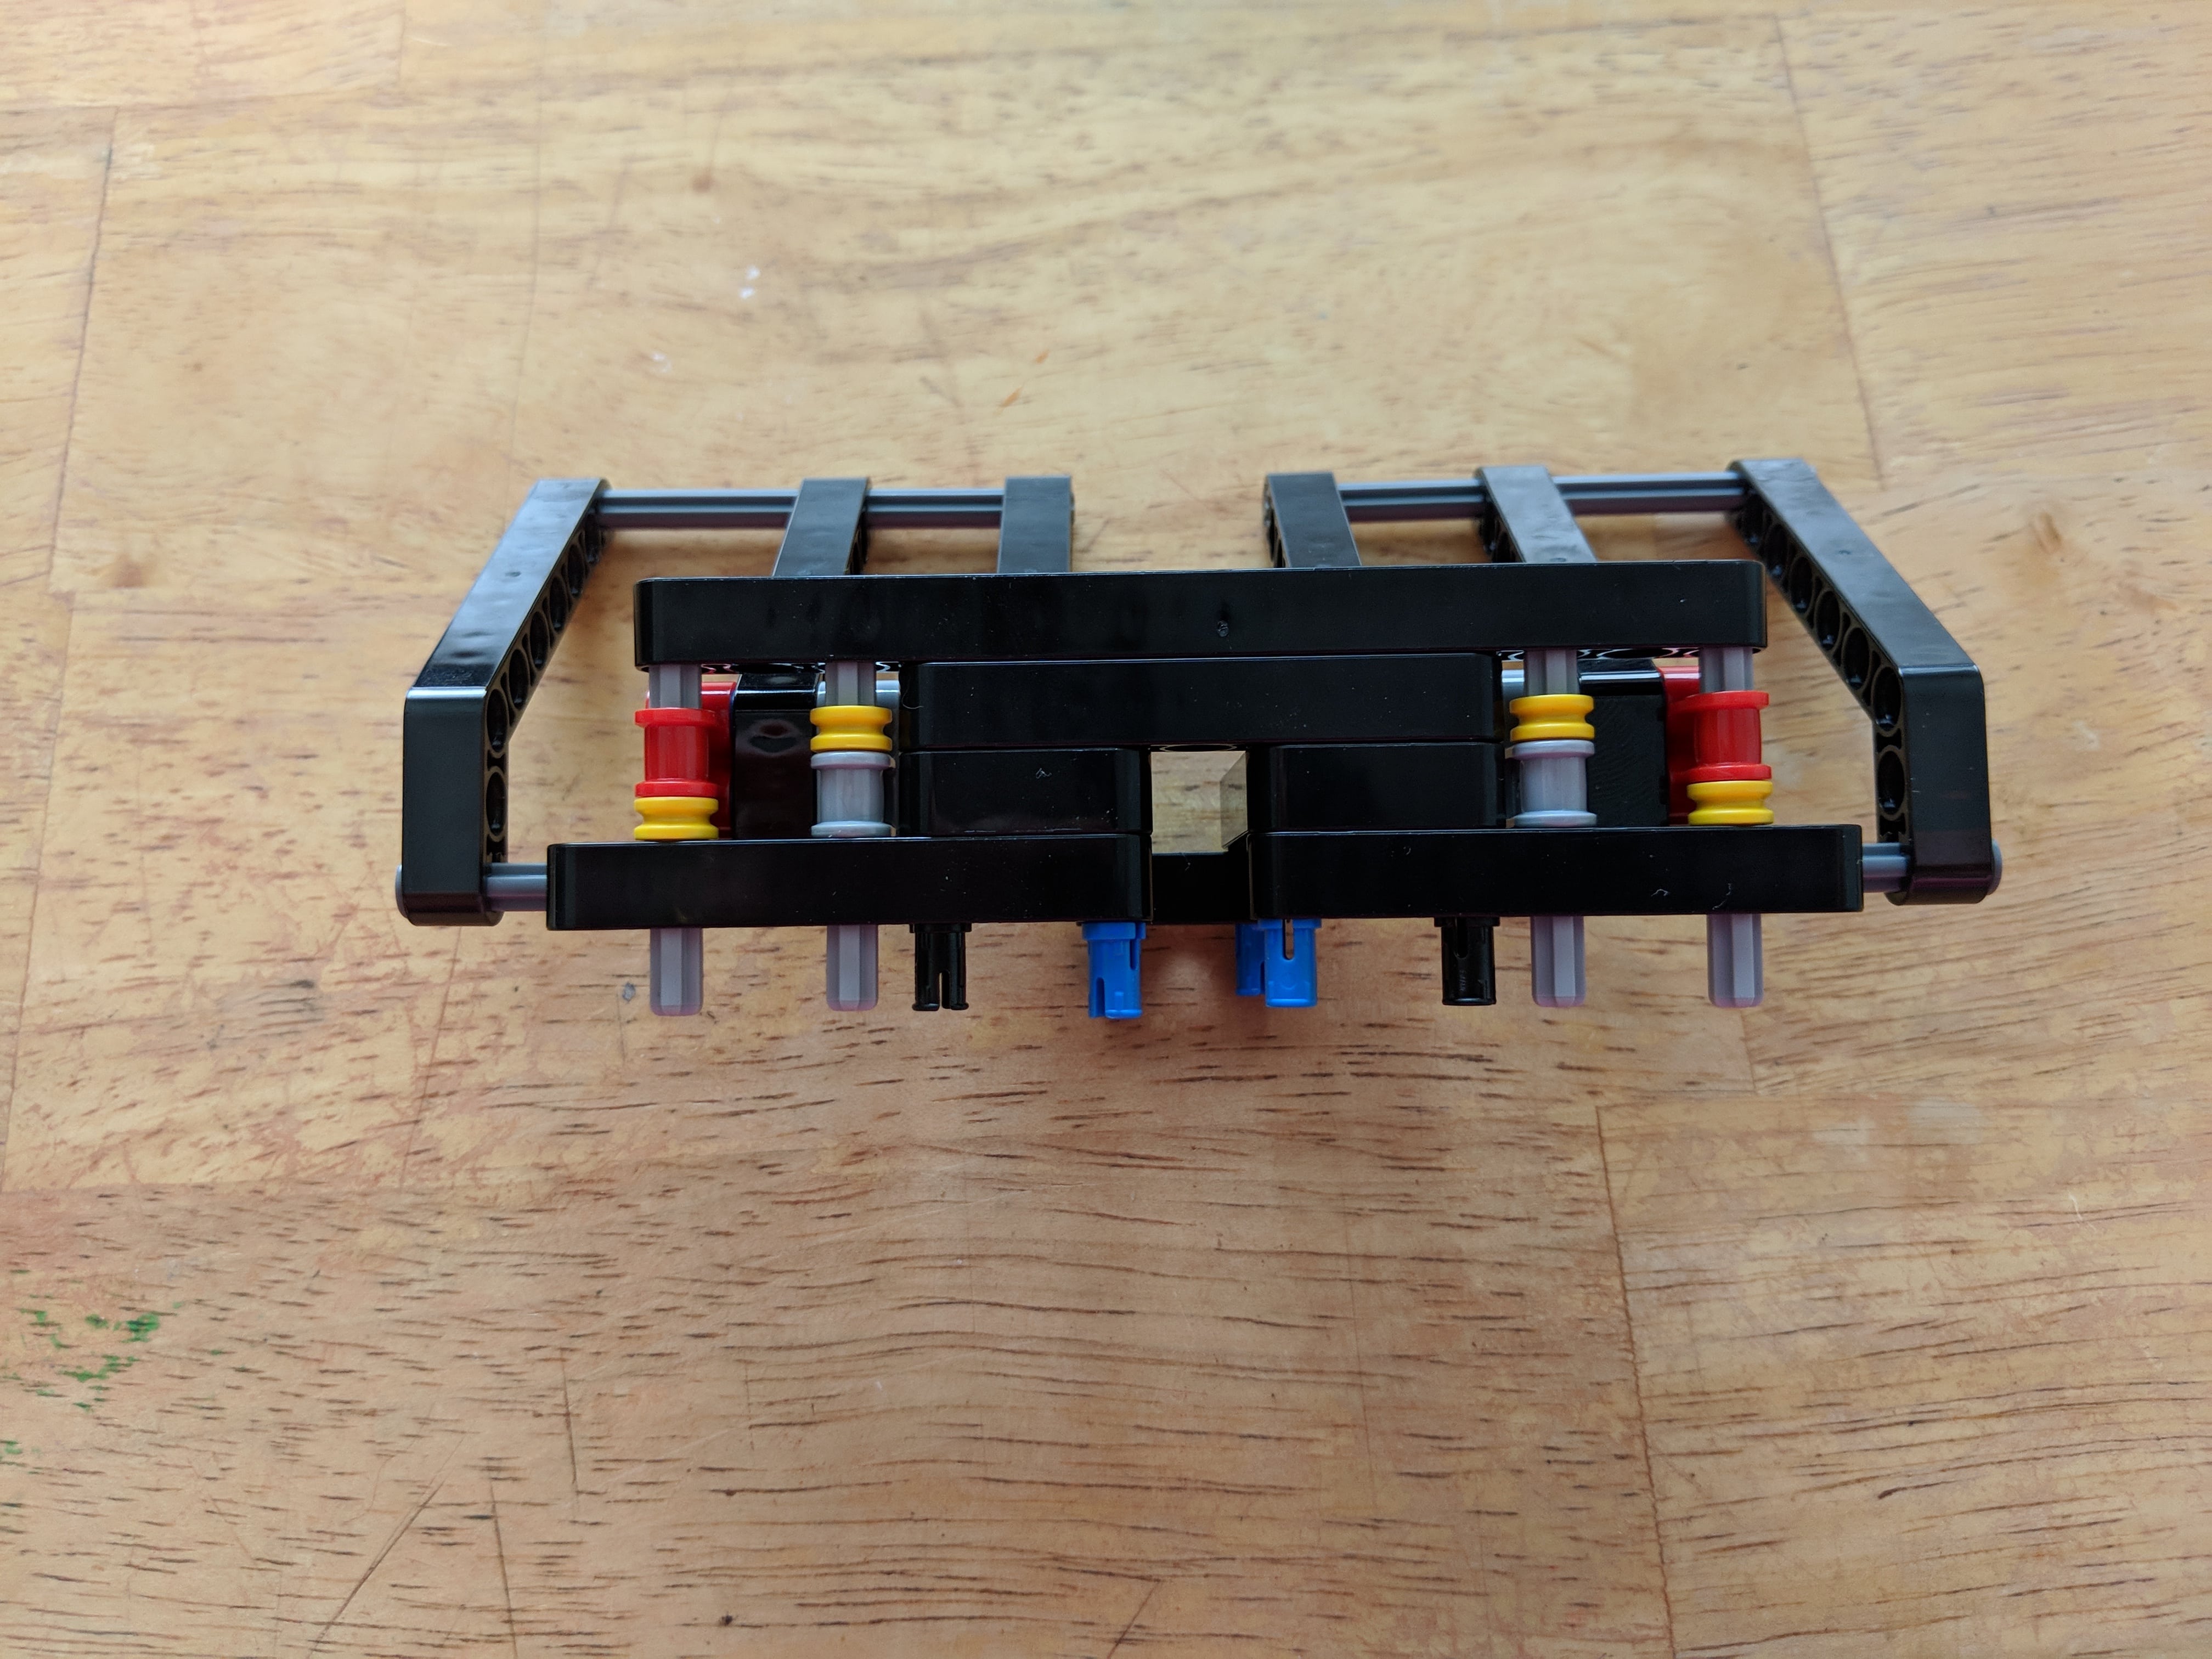
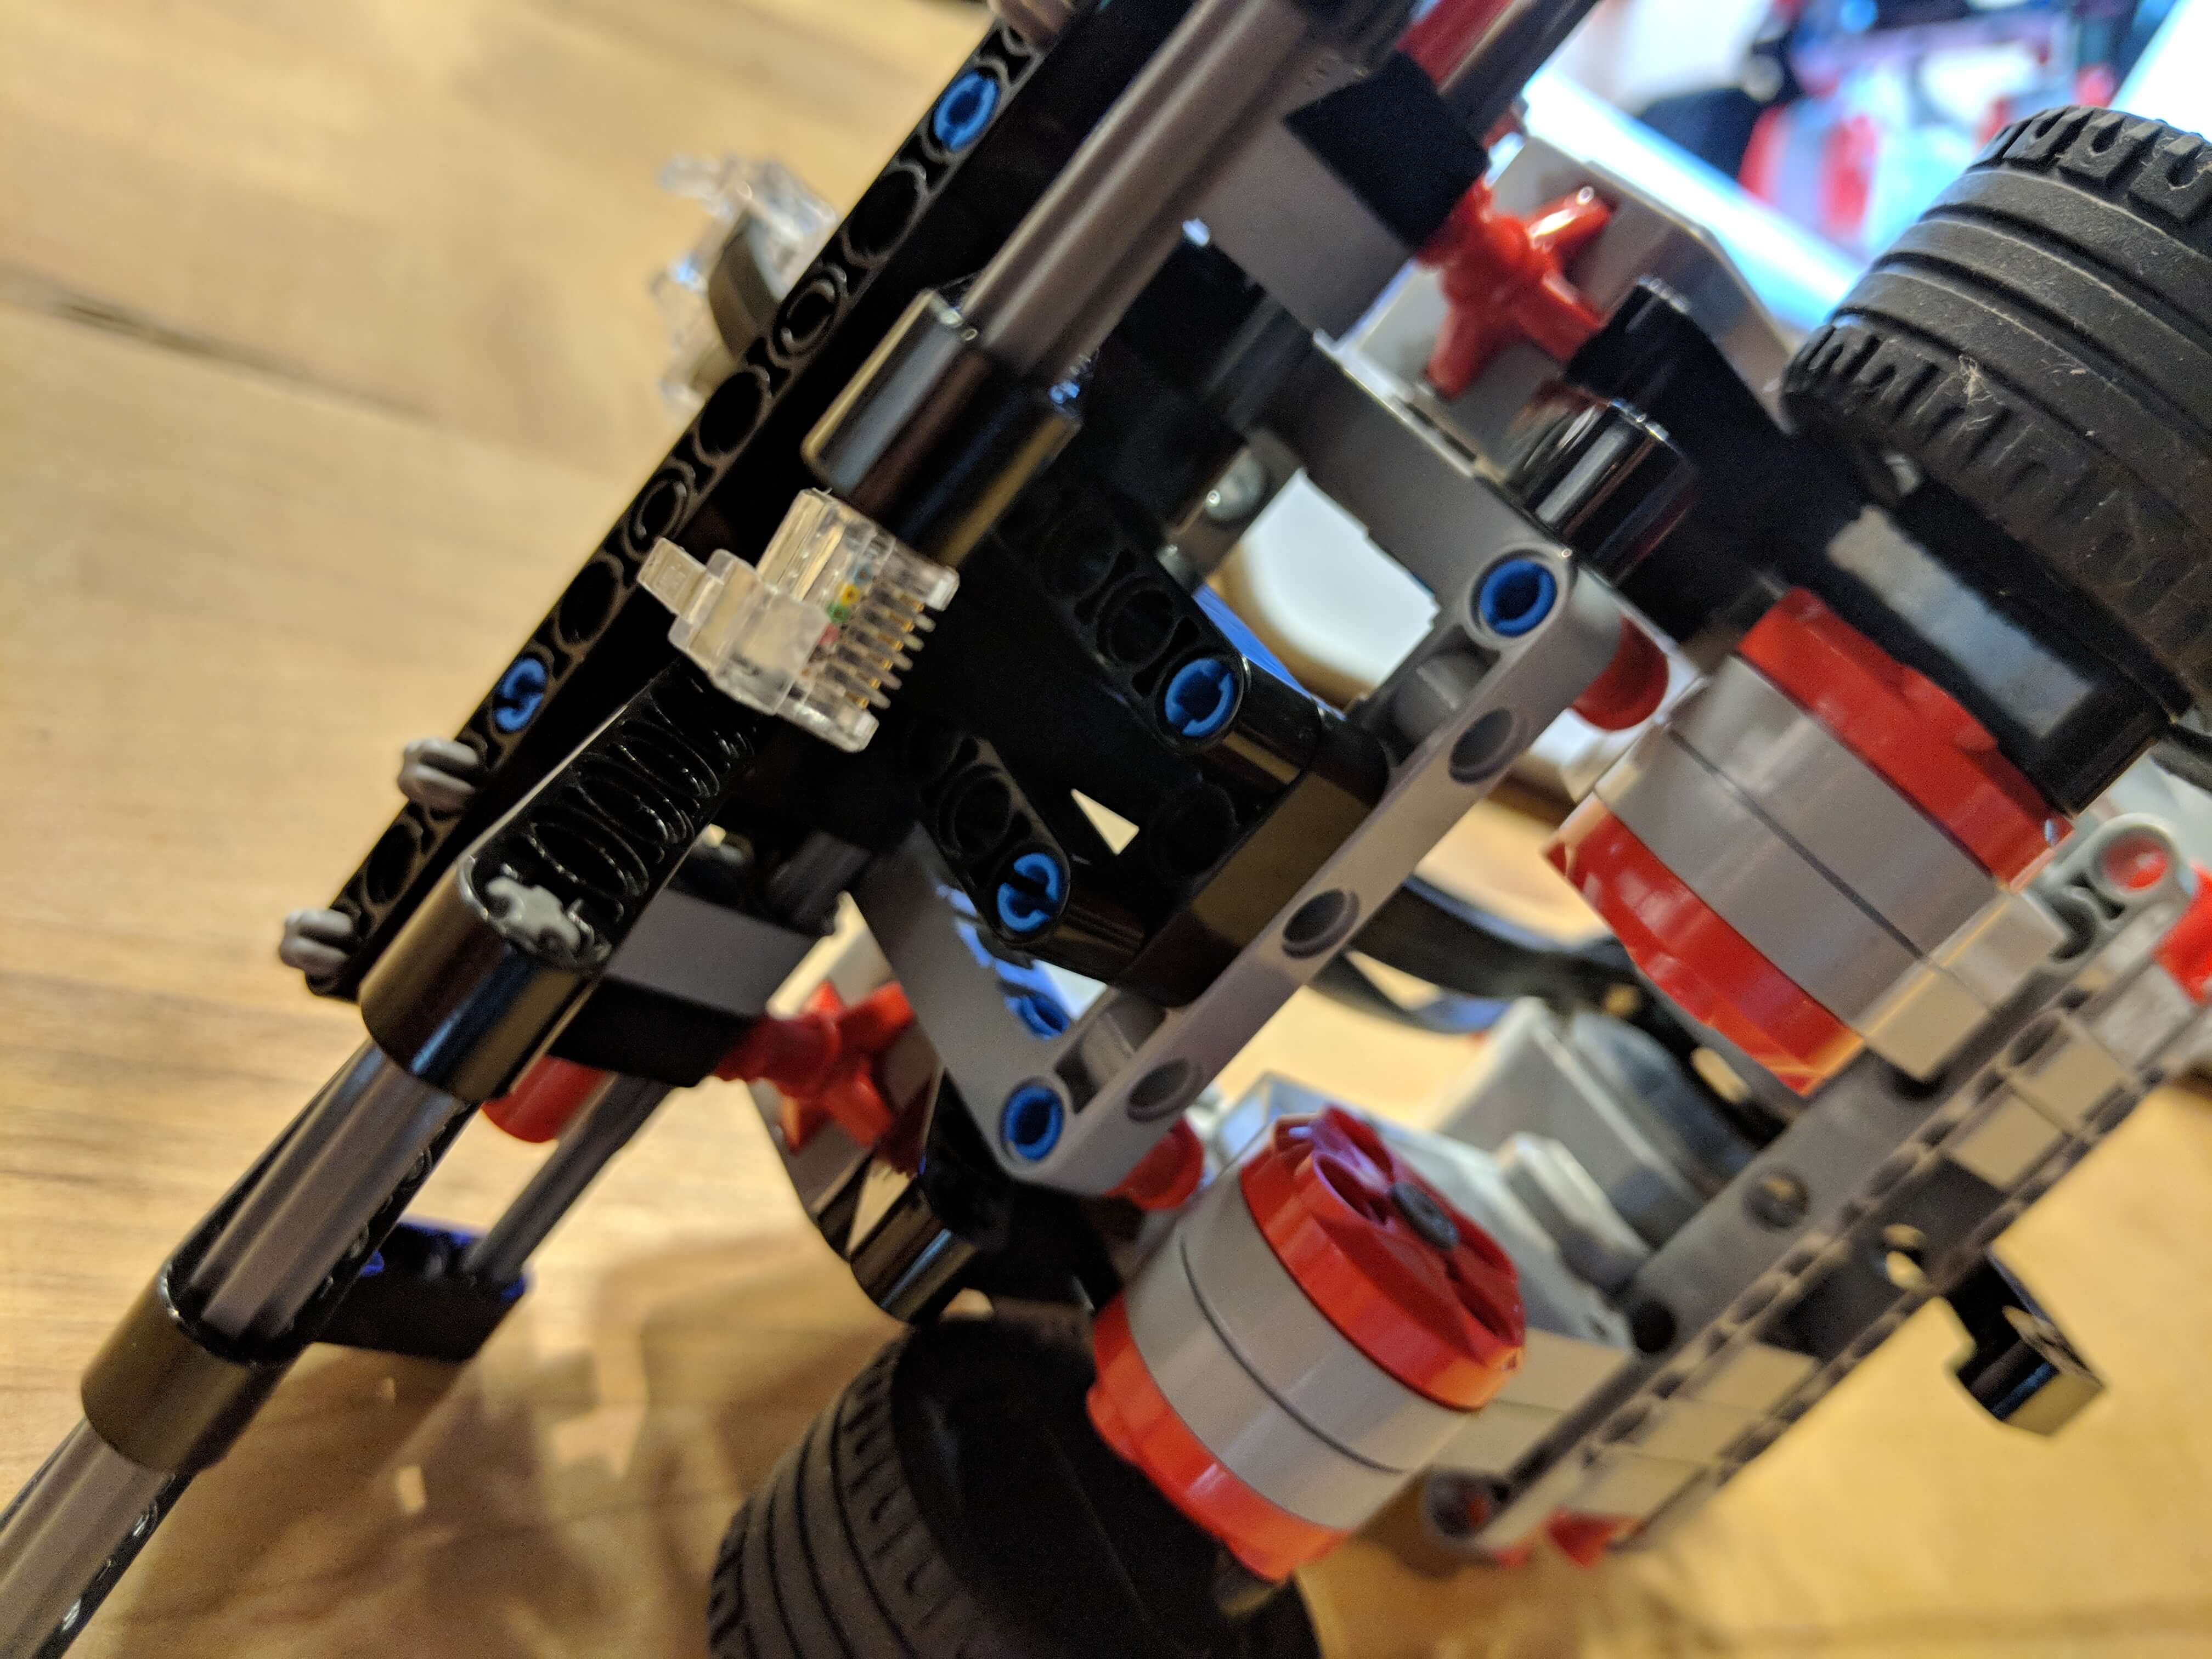
Bumper Assembly
First Bumper Assembly
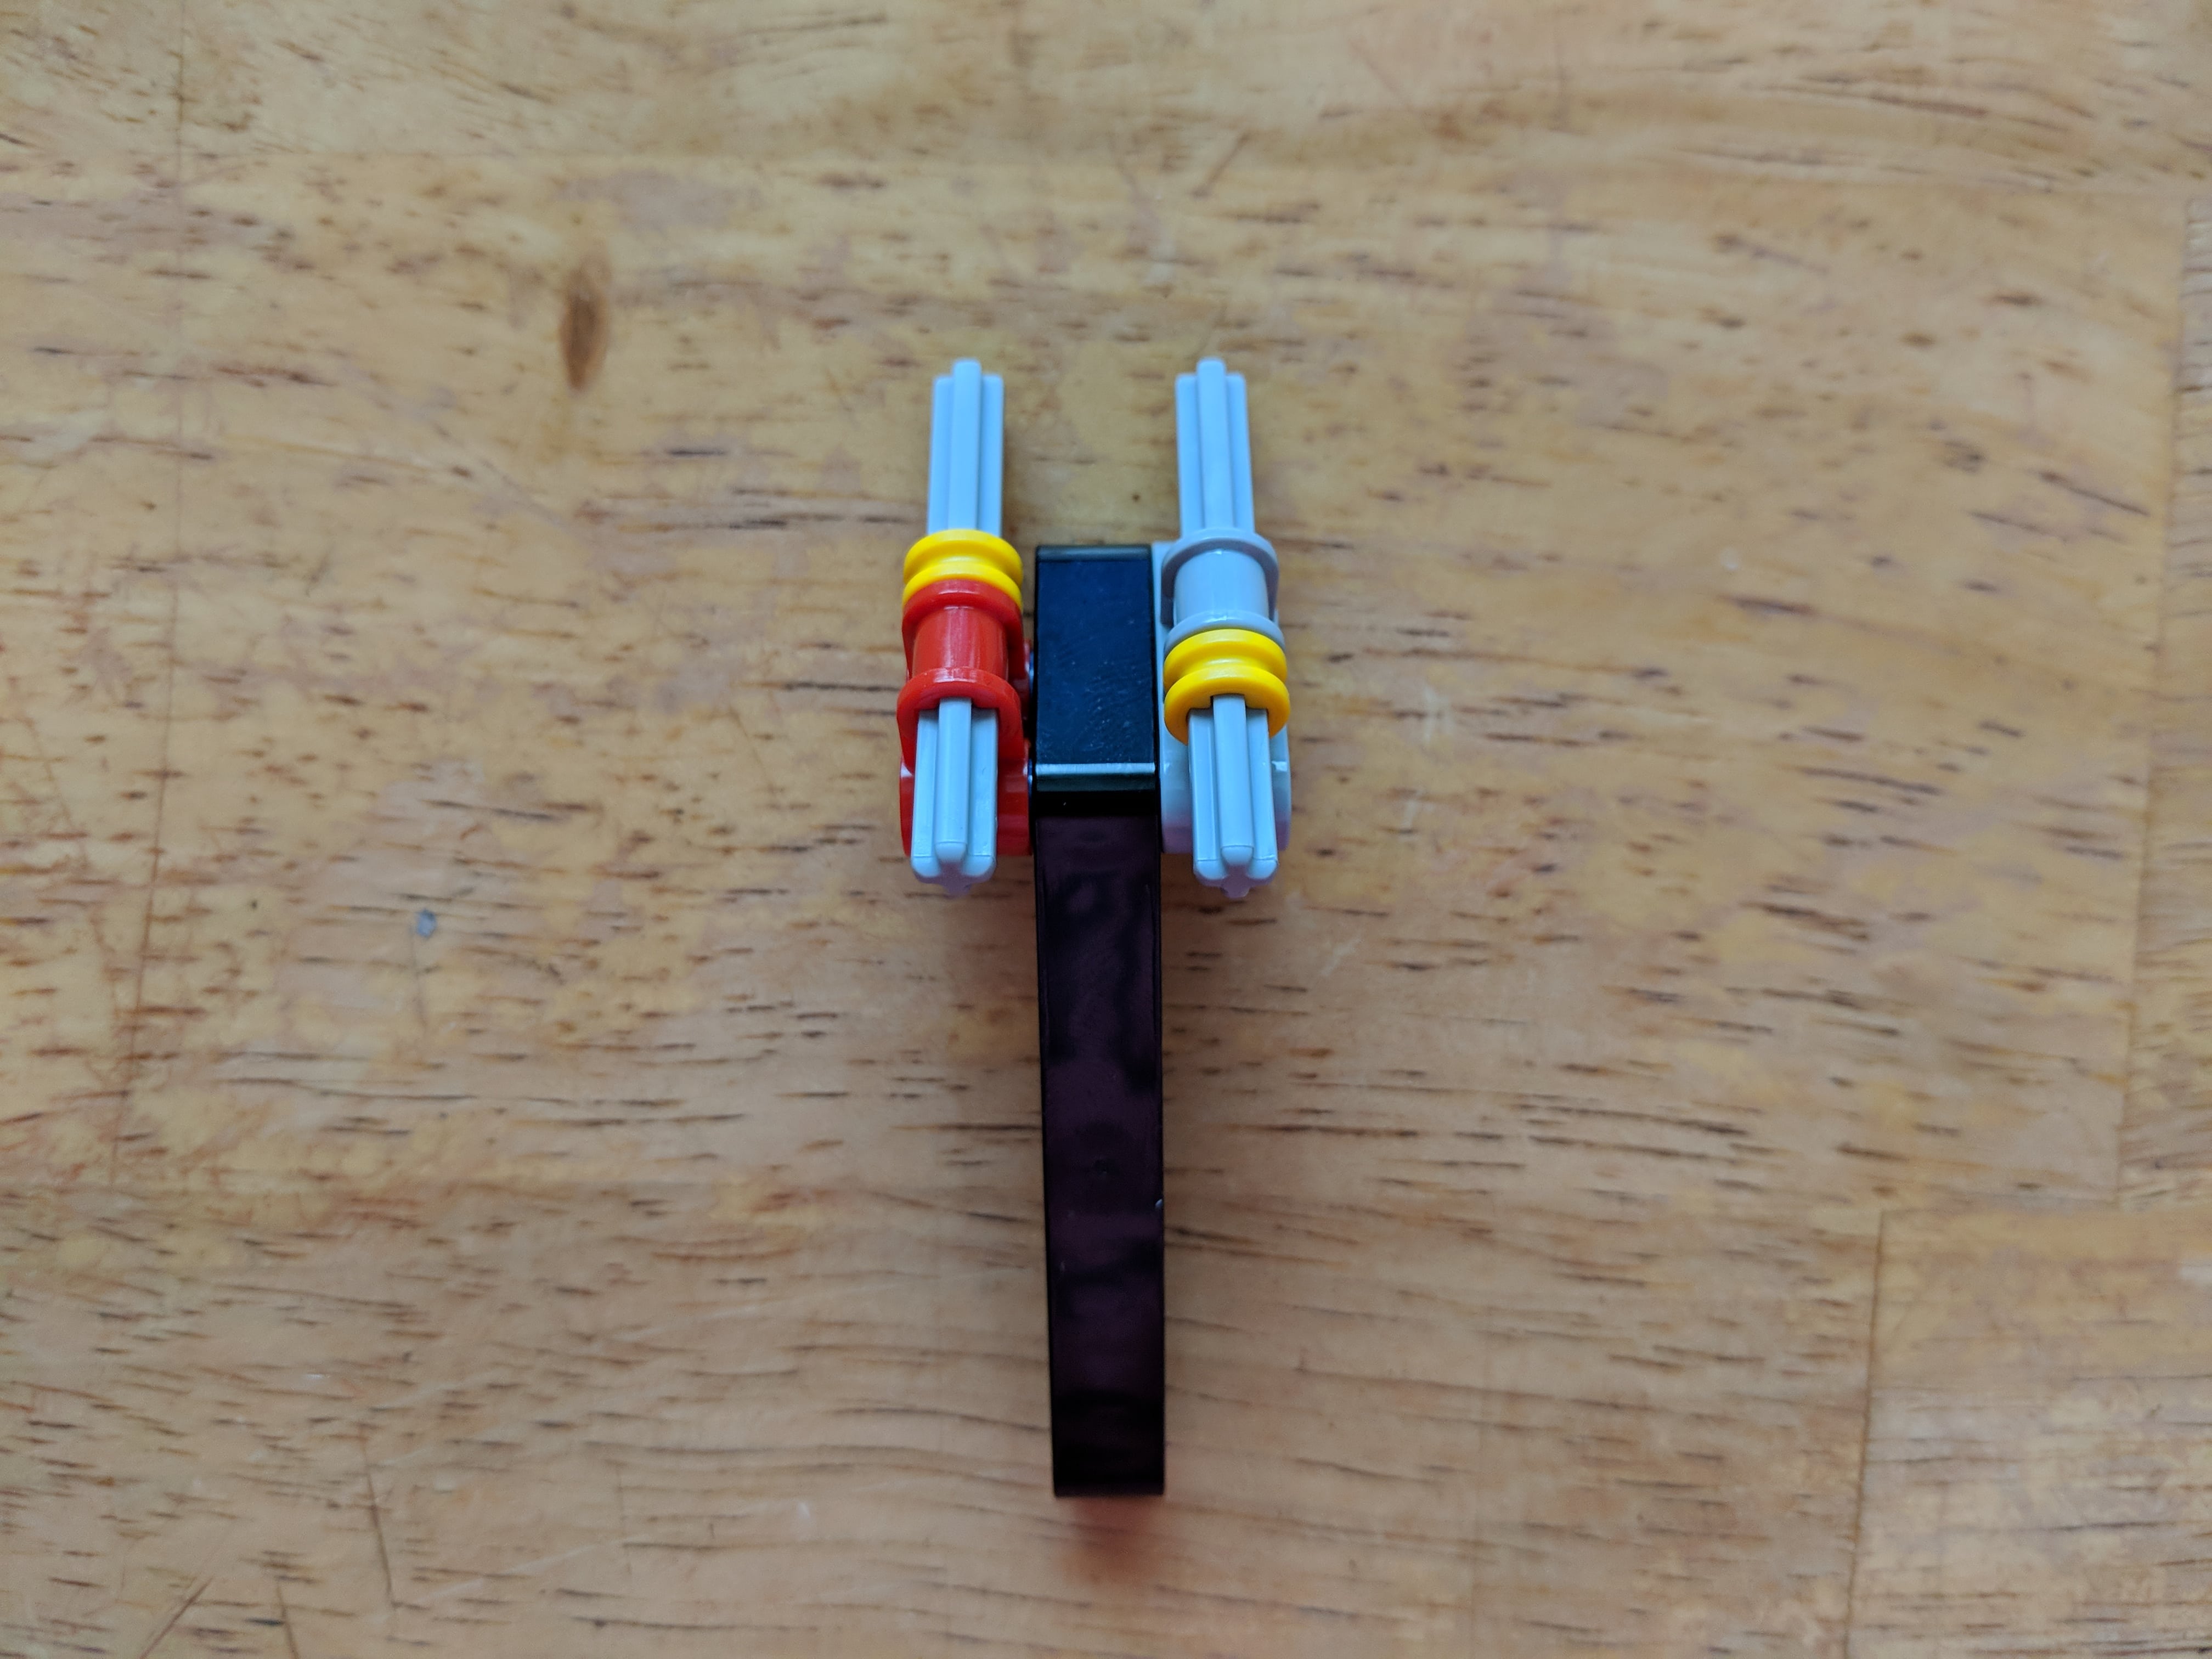
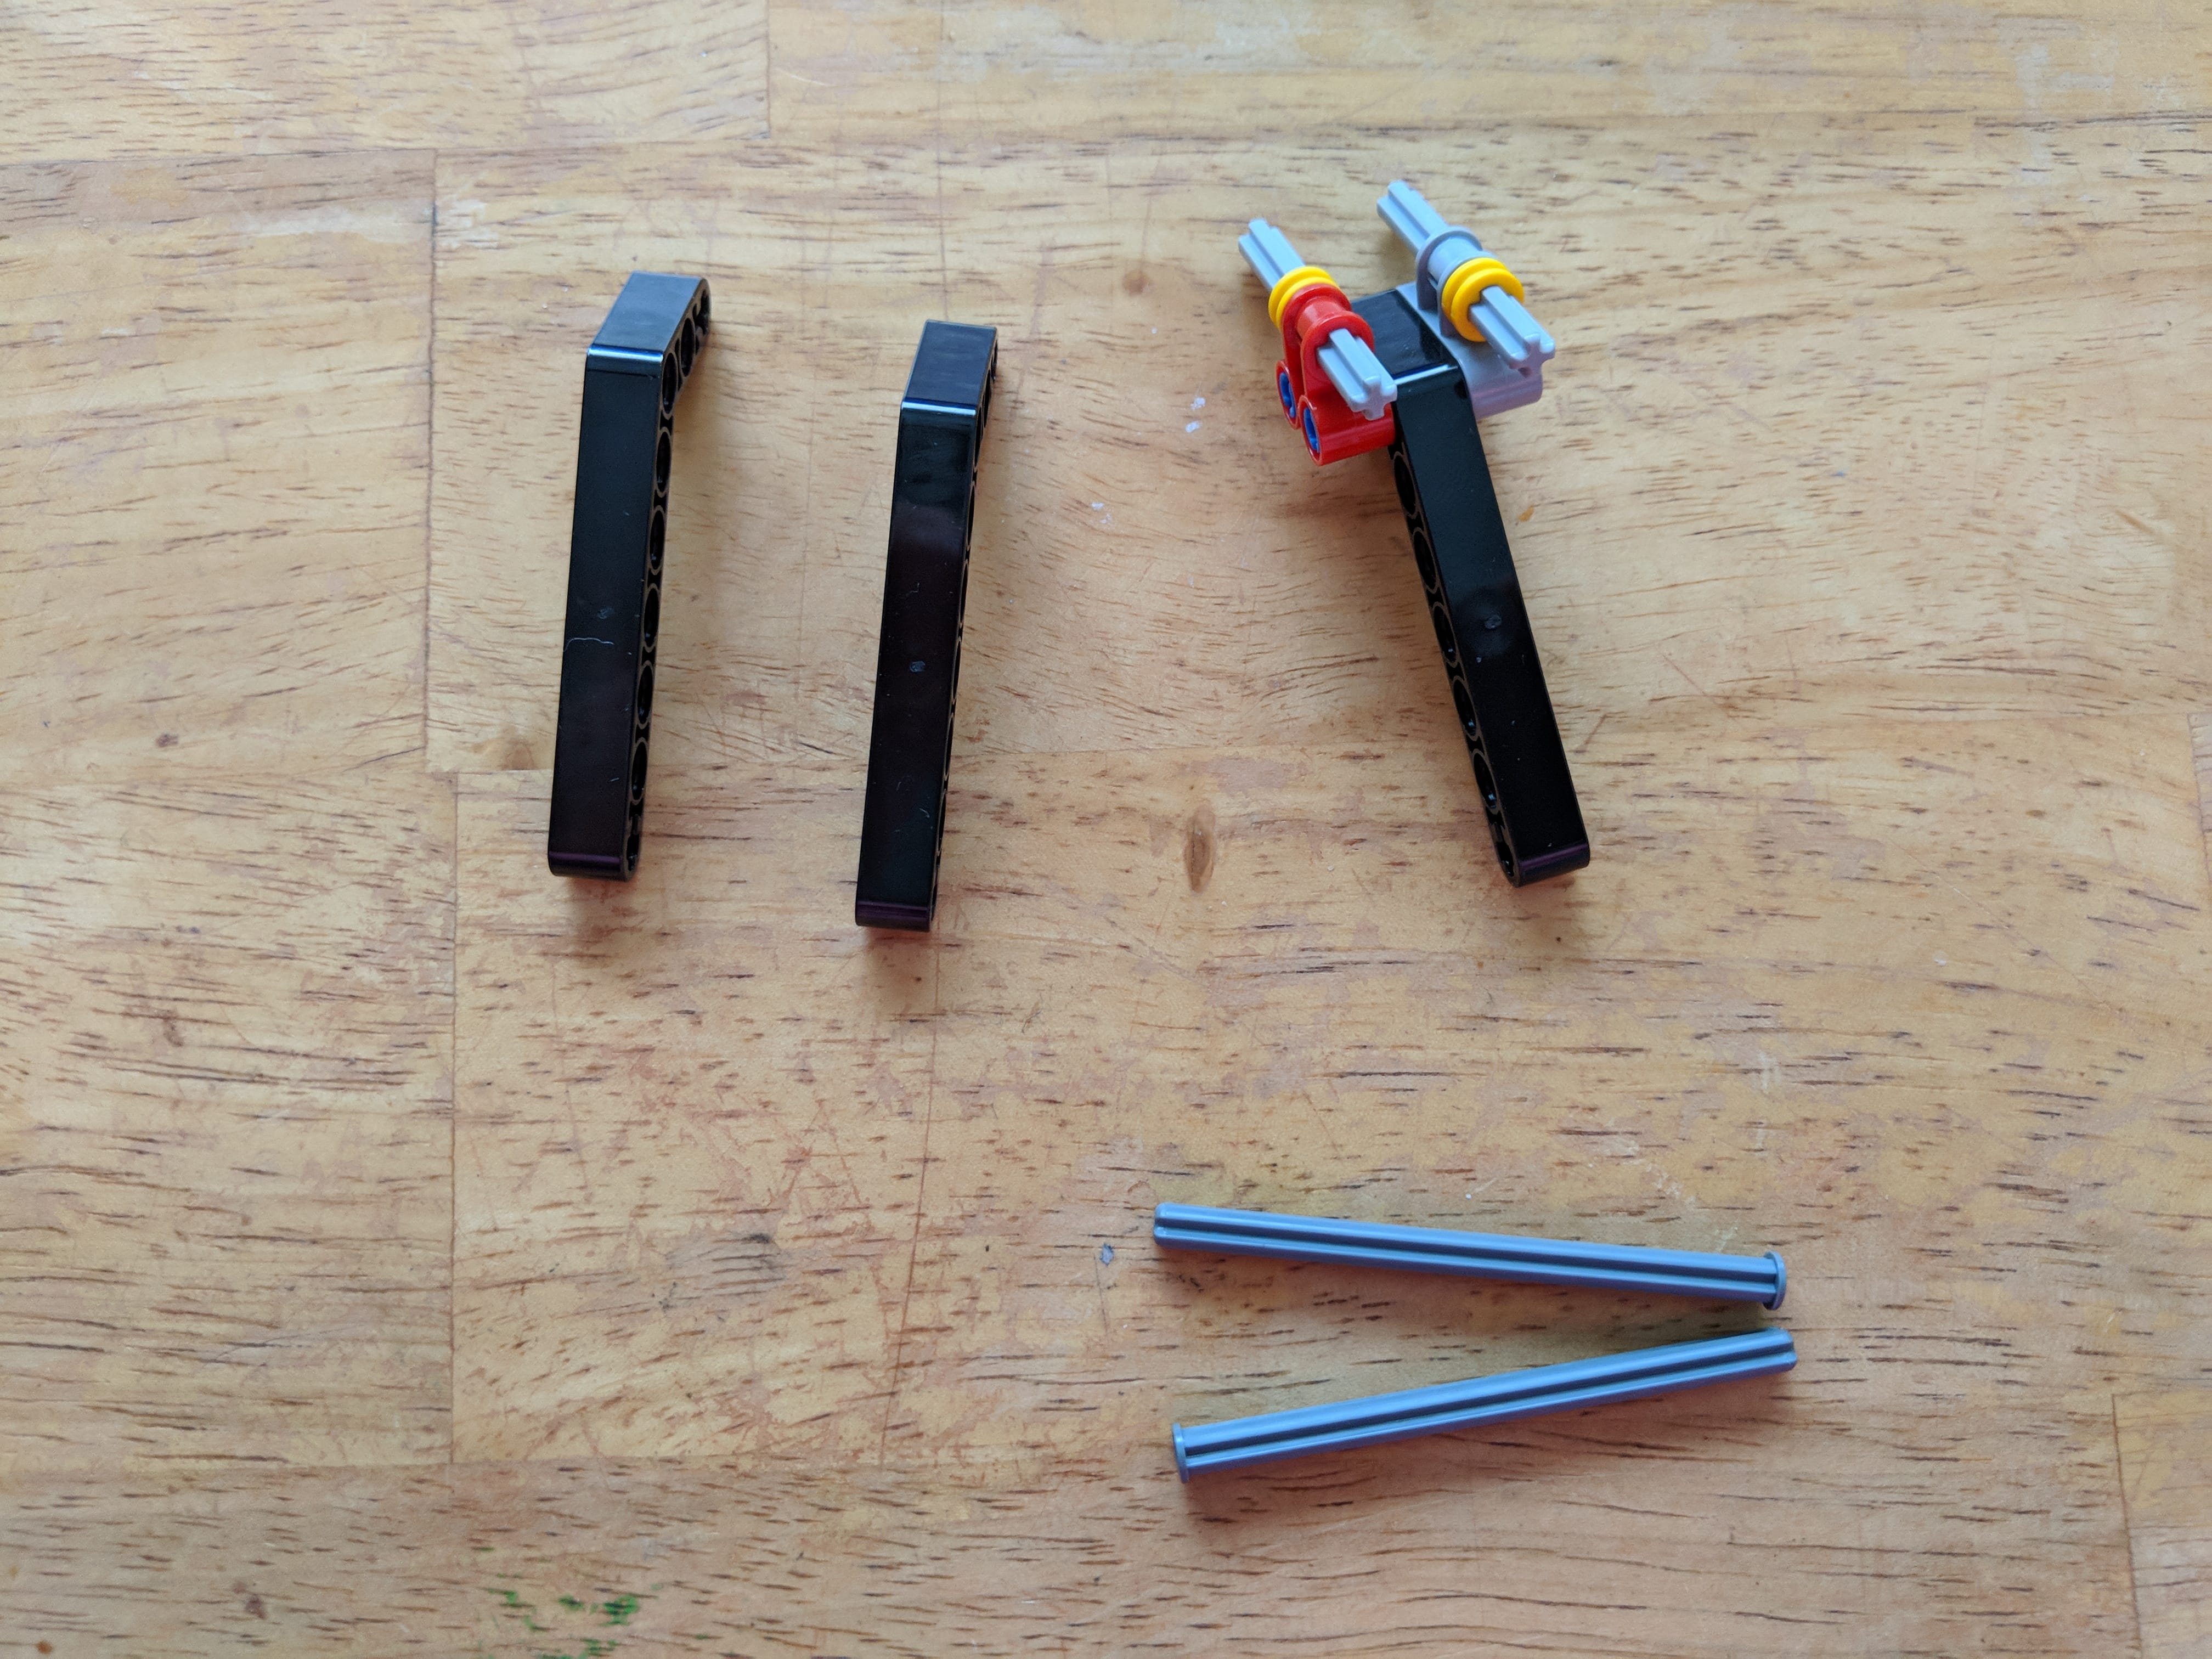
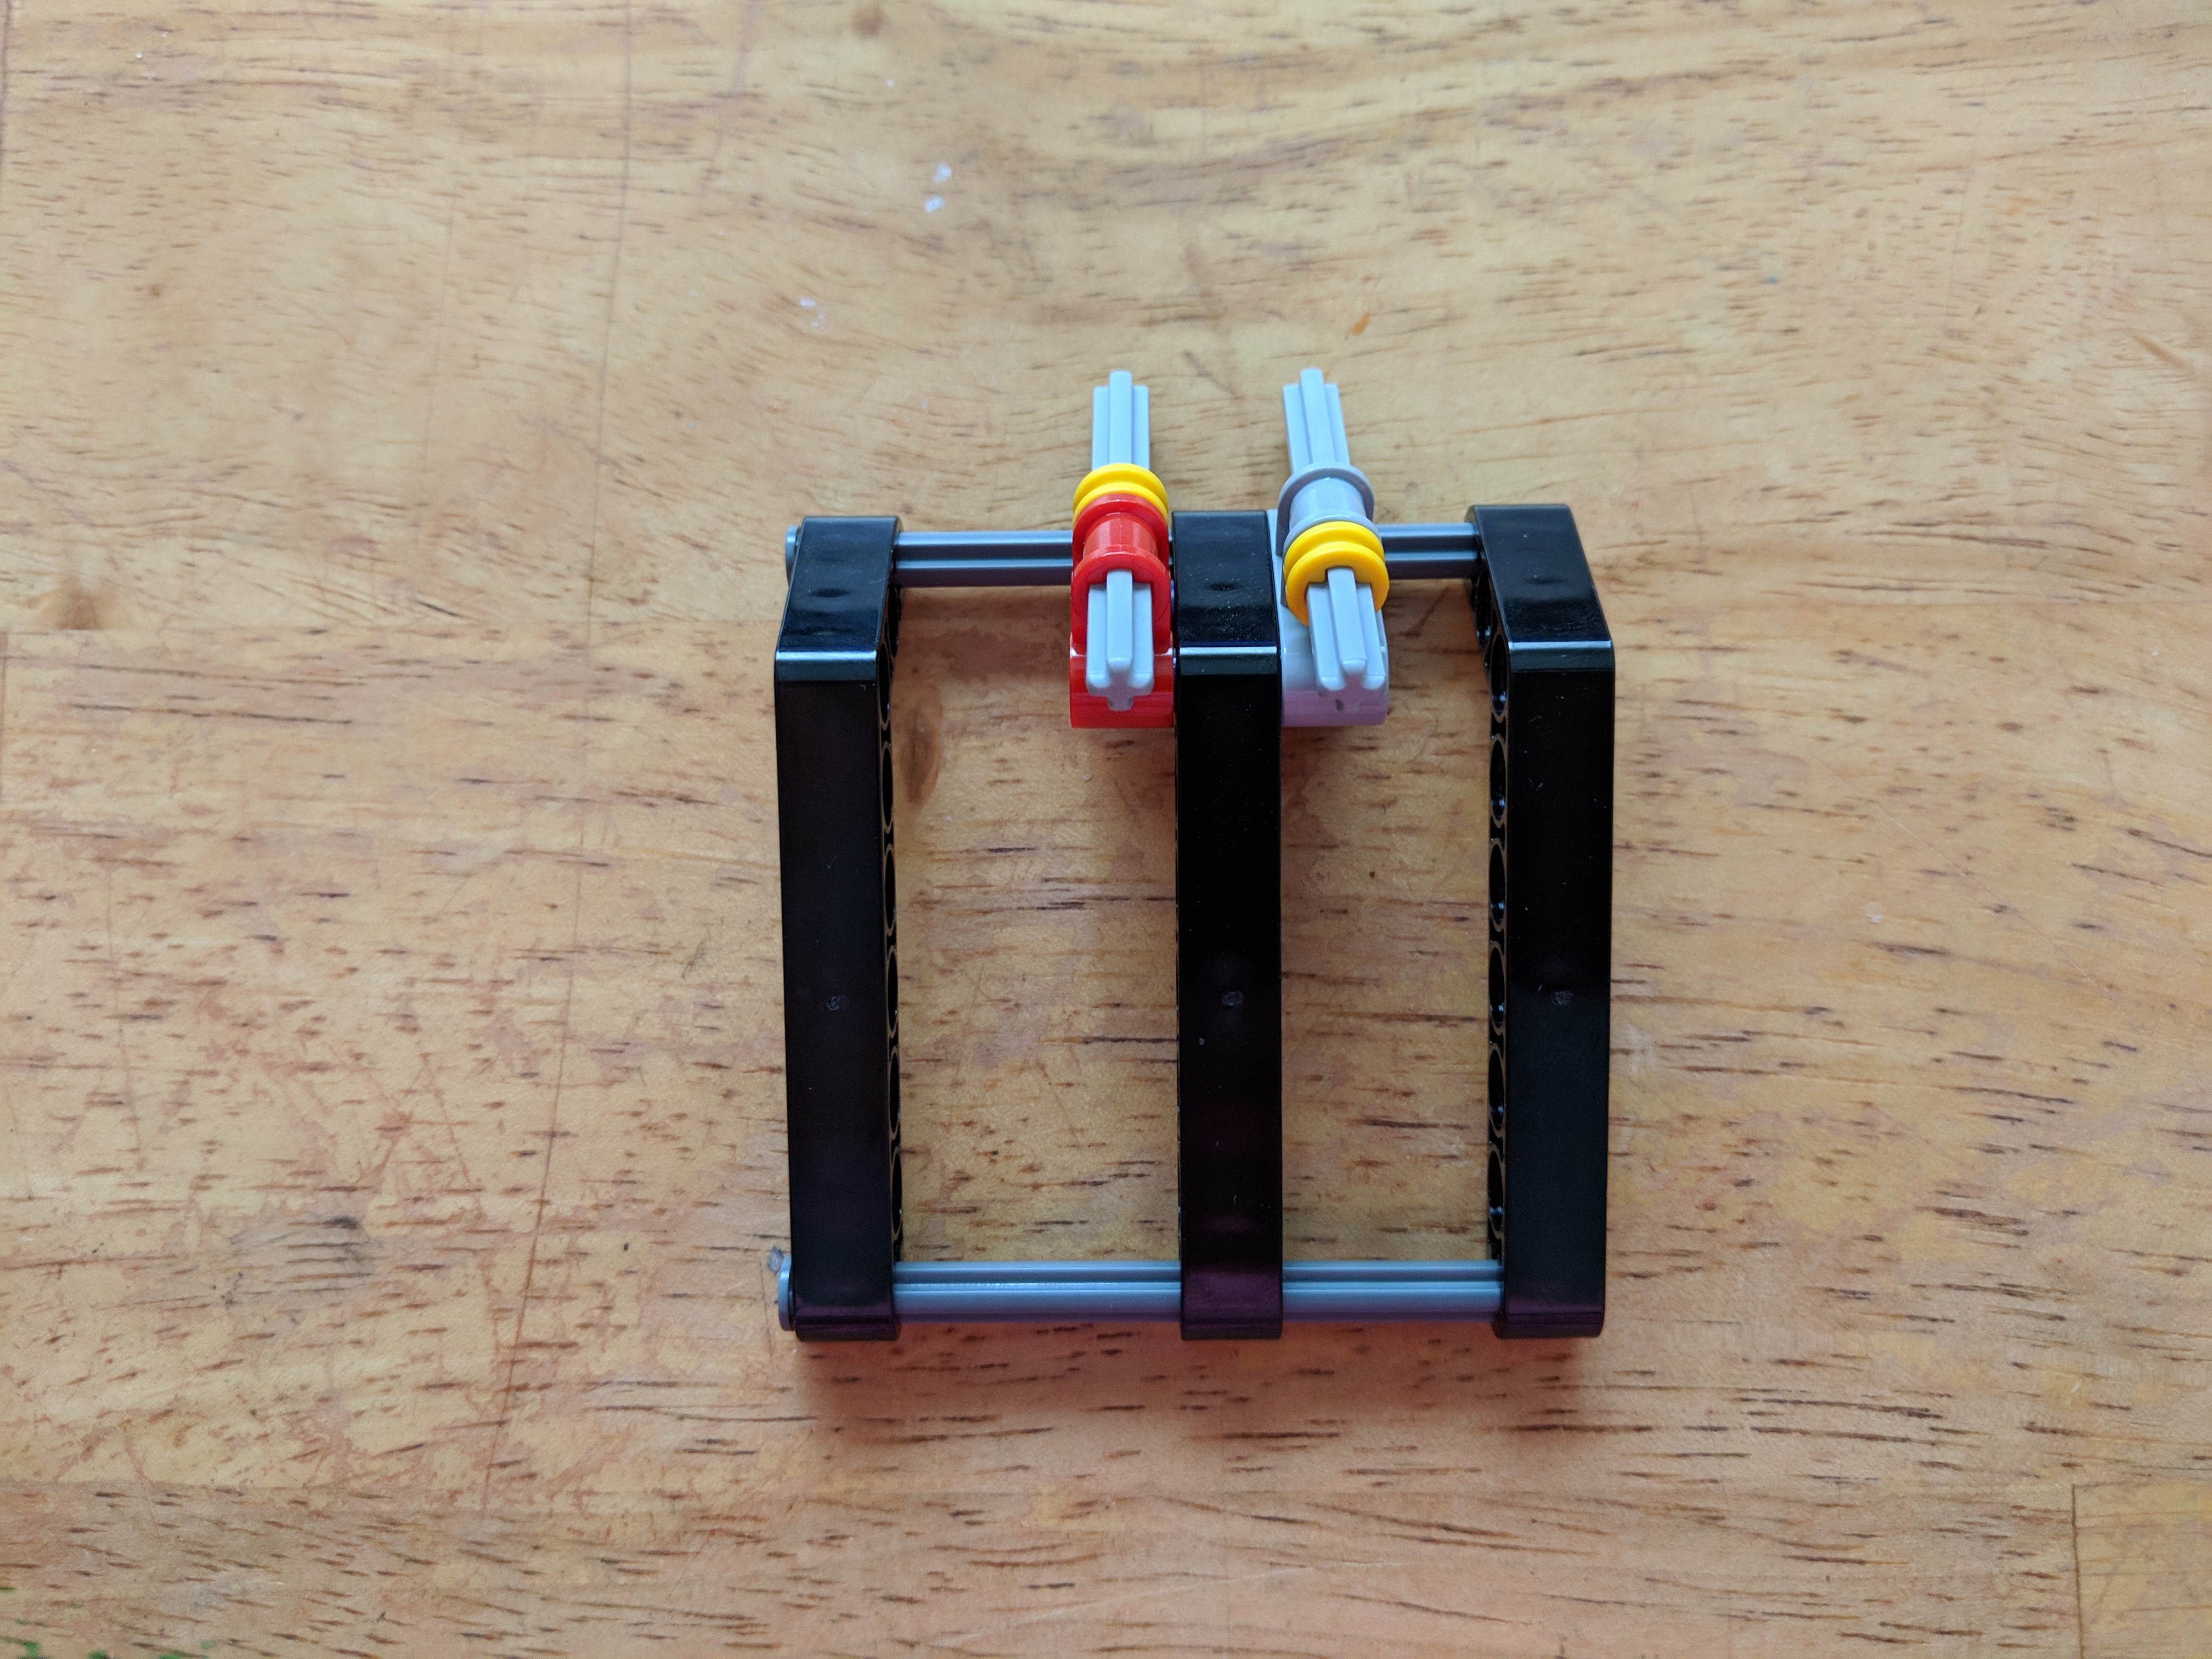
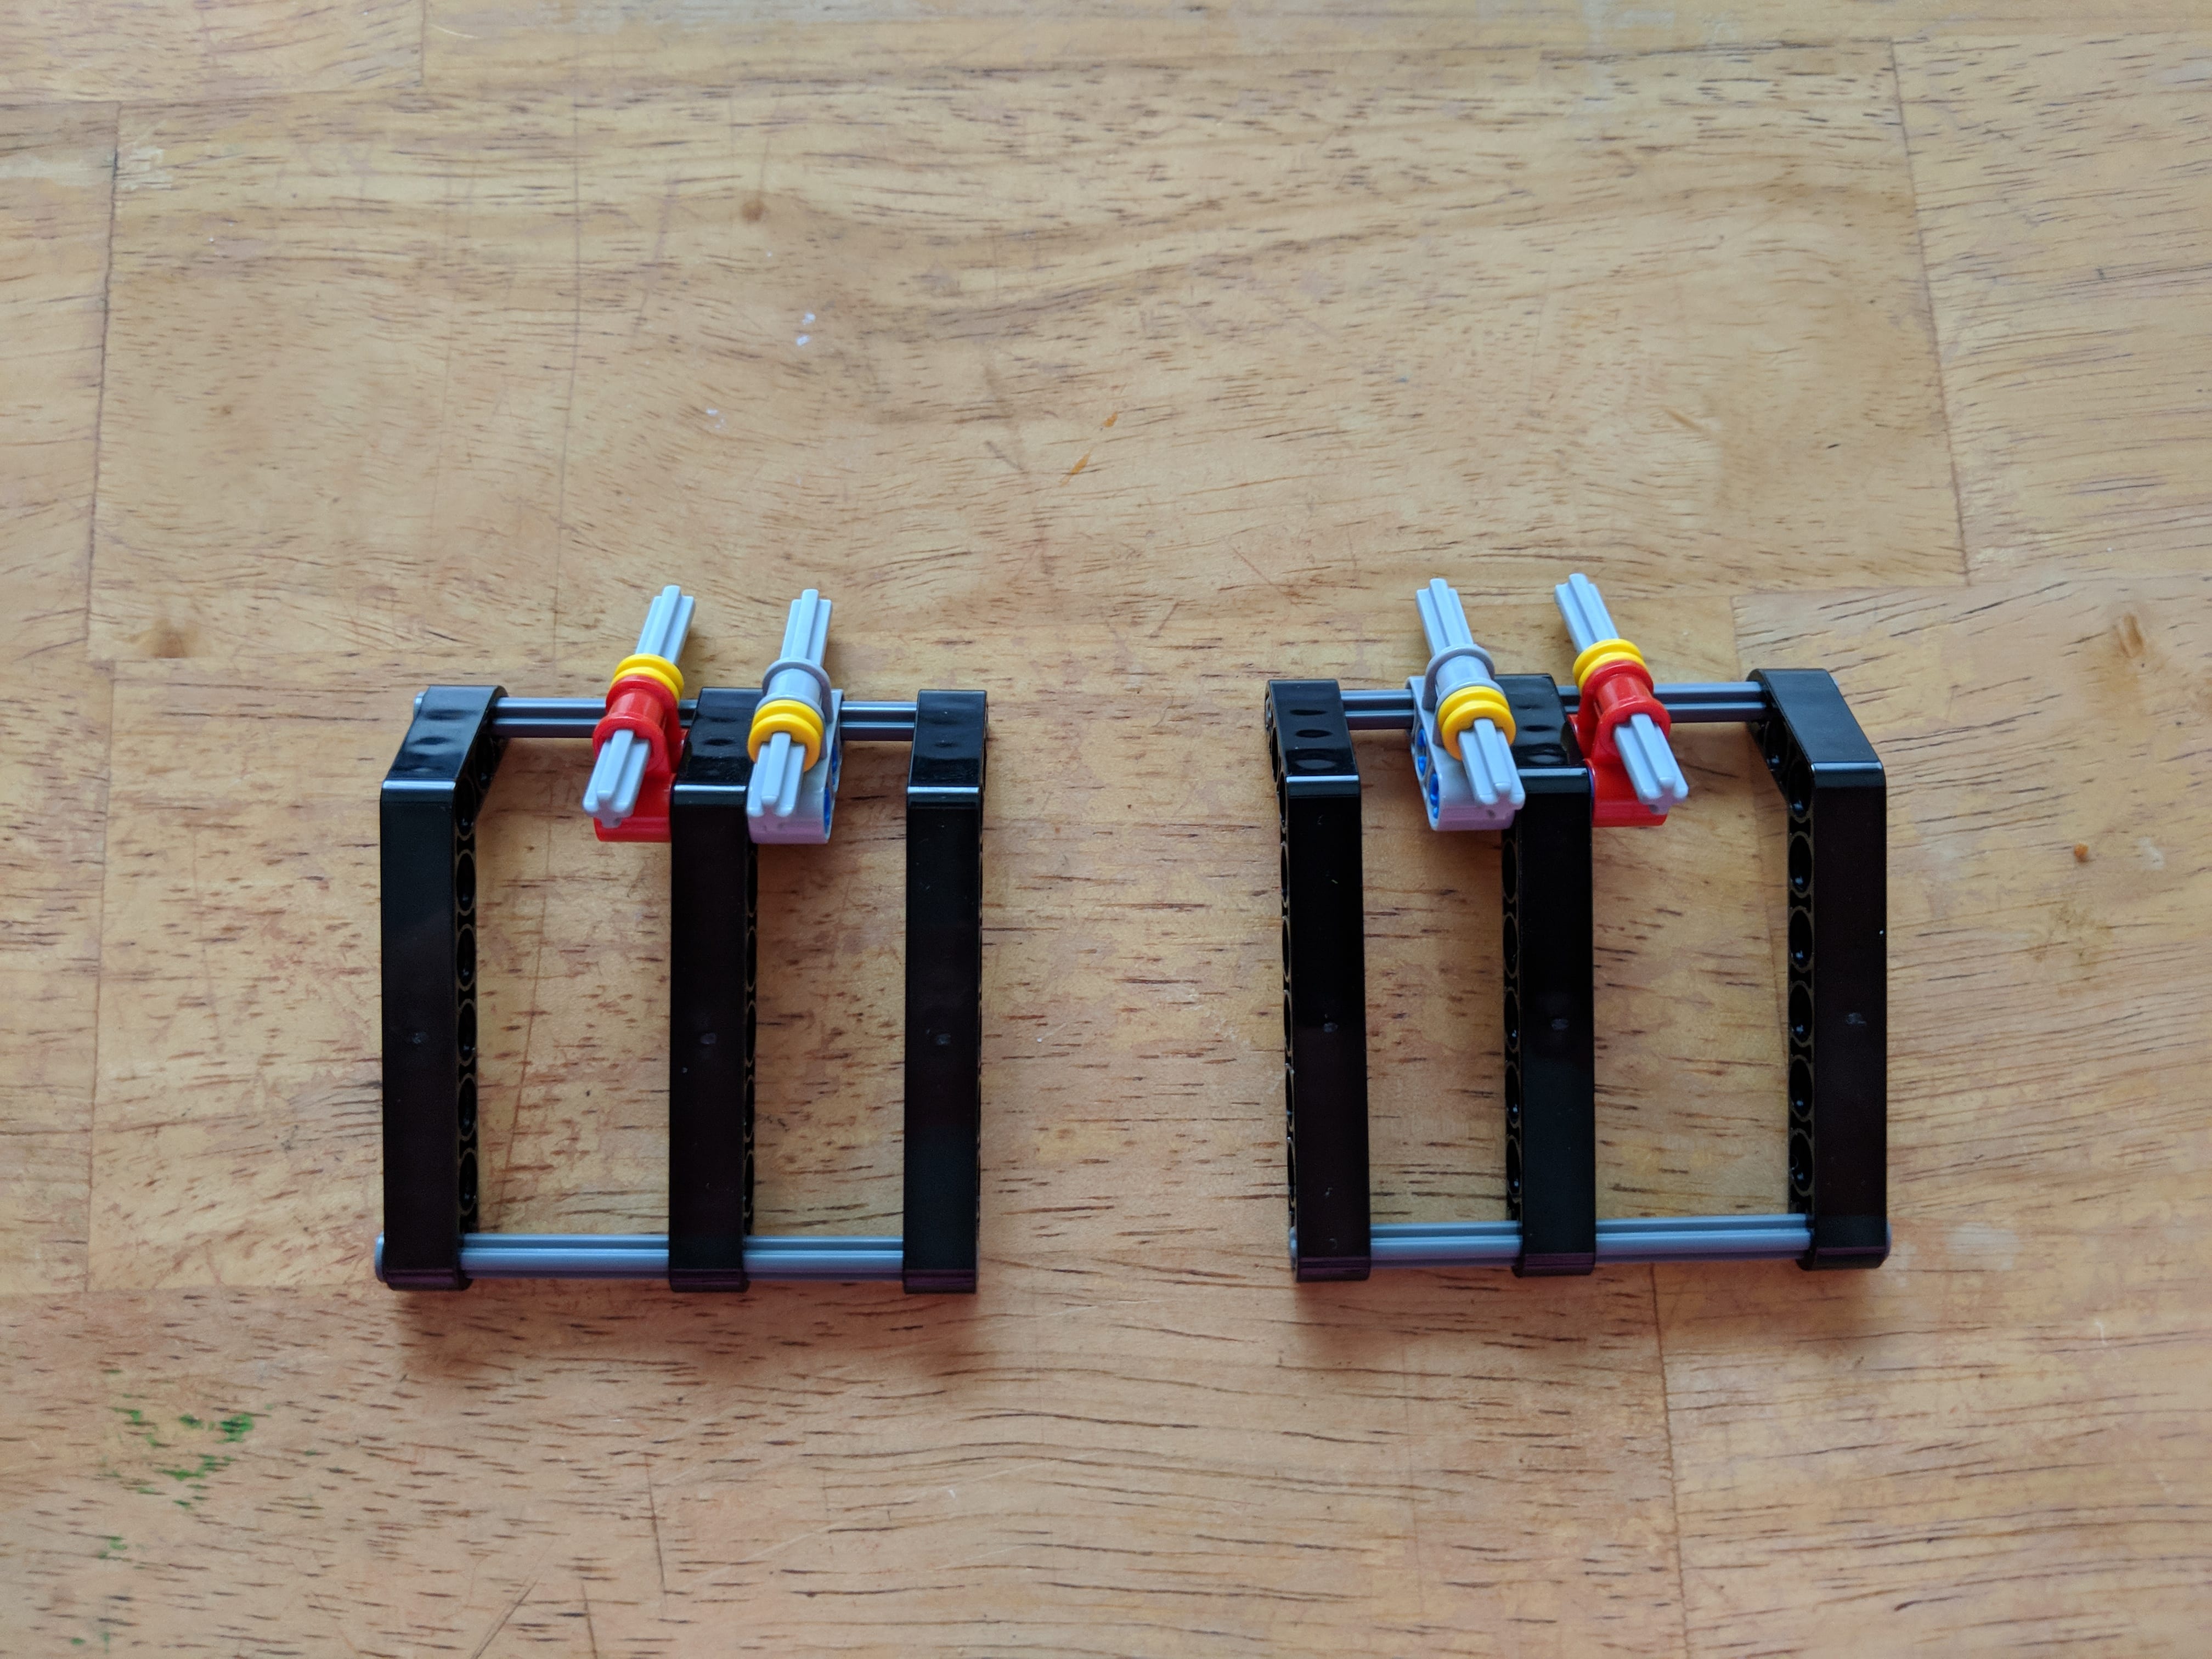
Second Bumper Assembly
Build a second front bumper as a mirror image of the first.

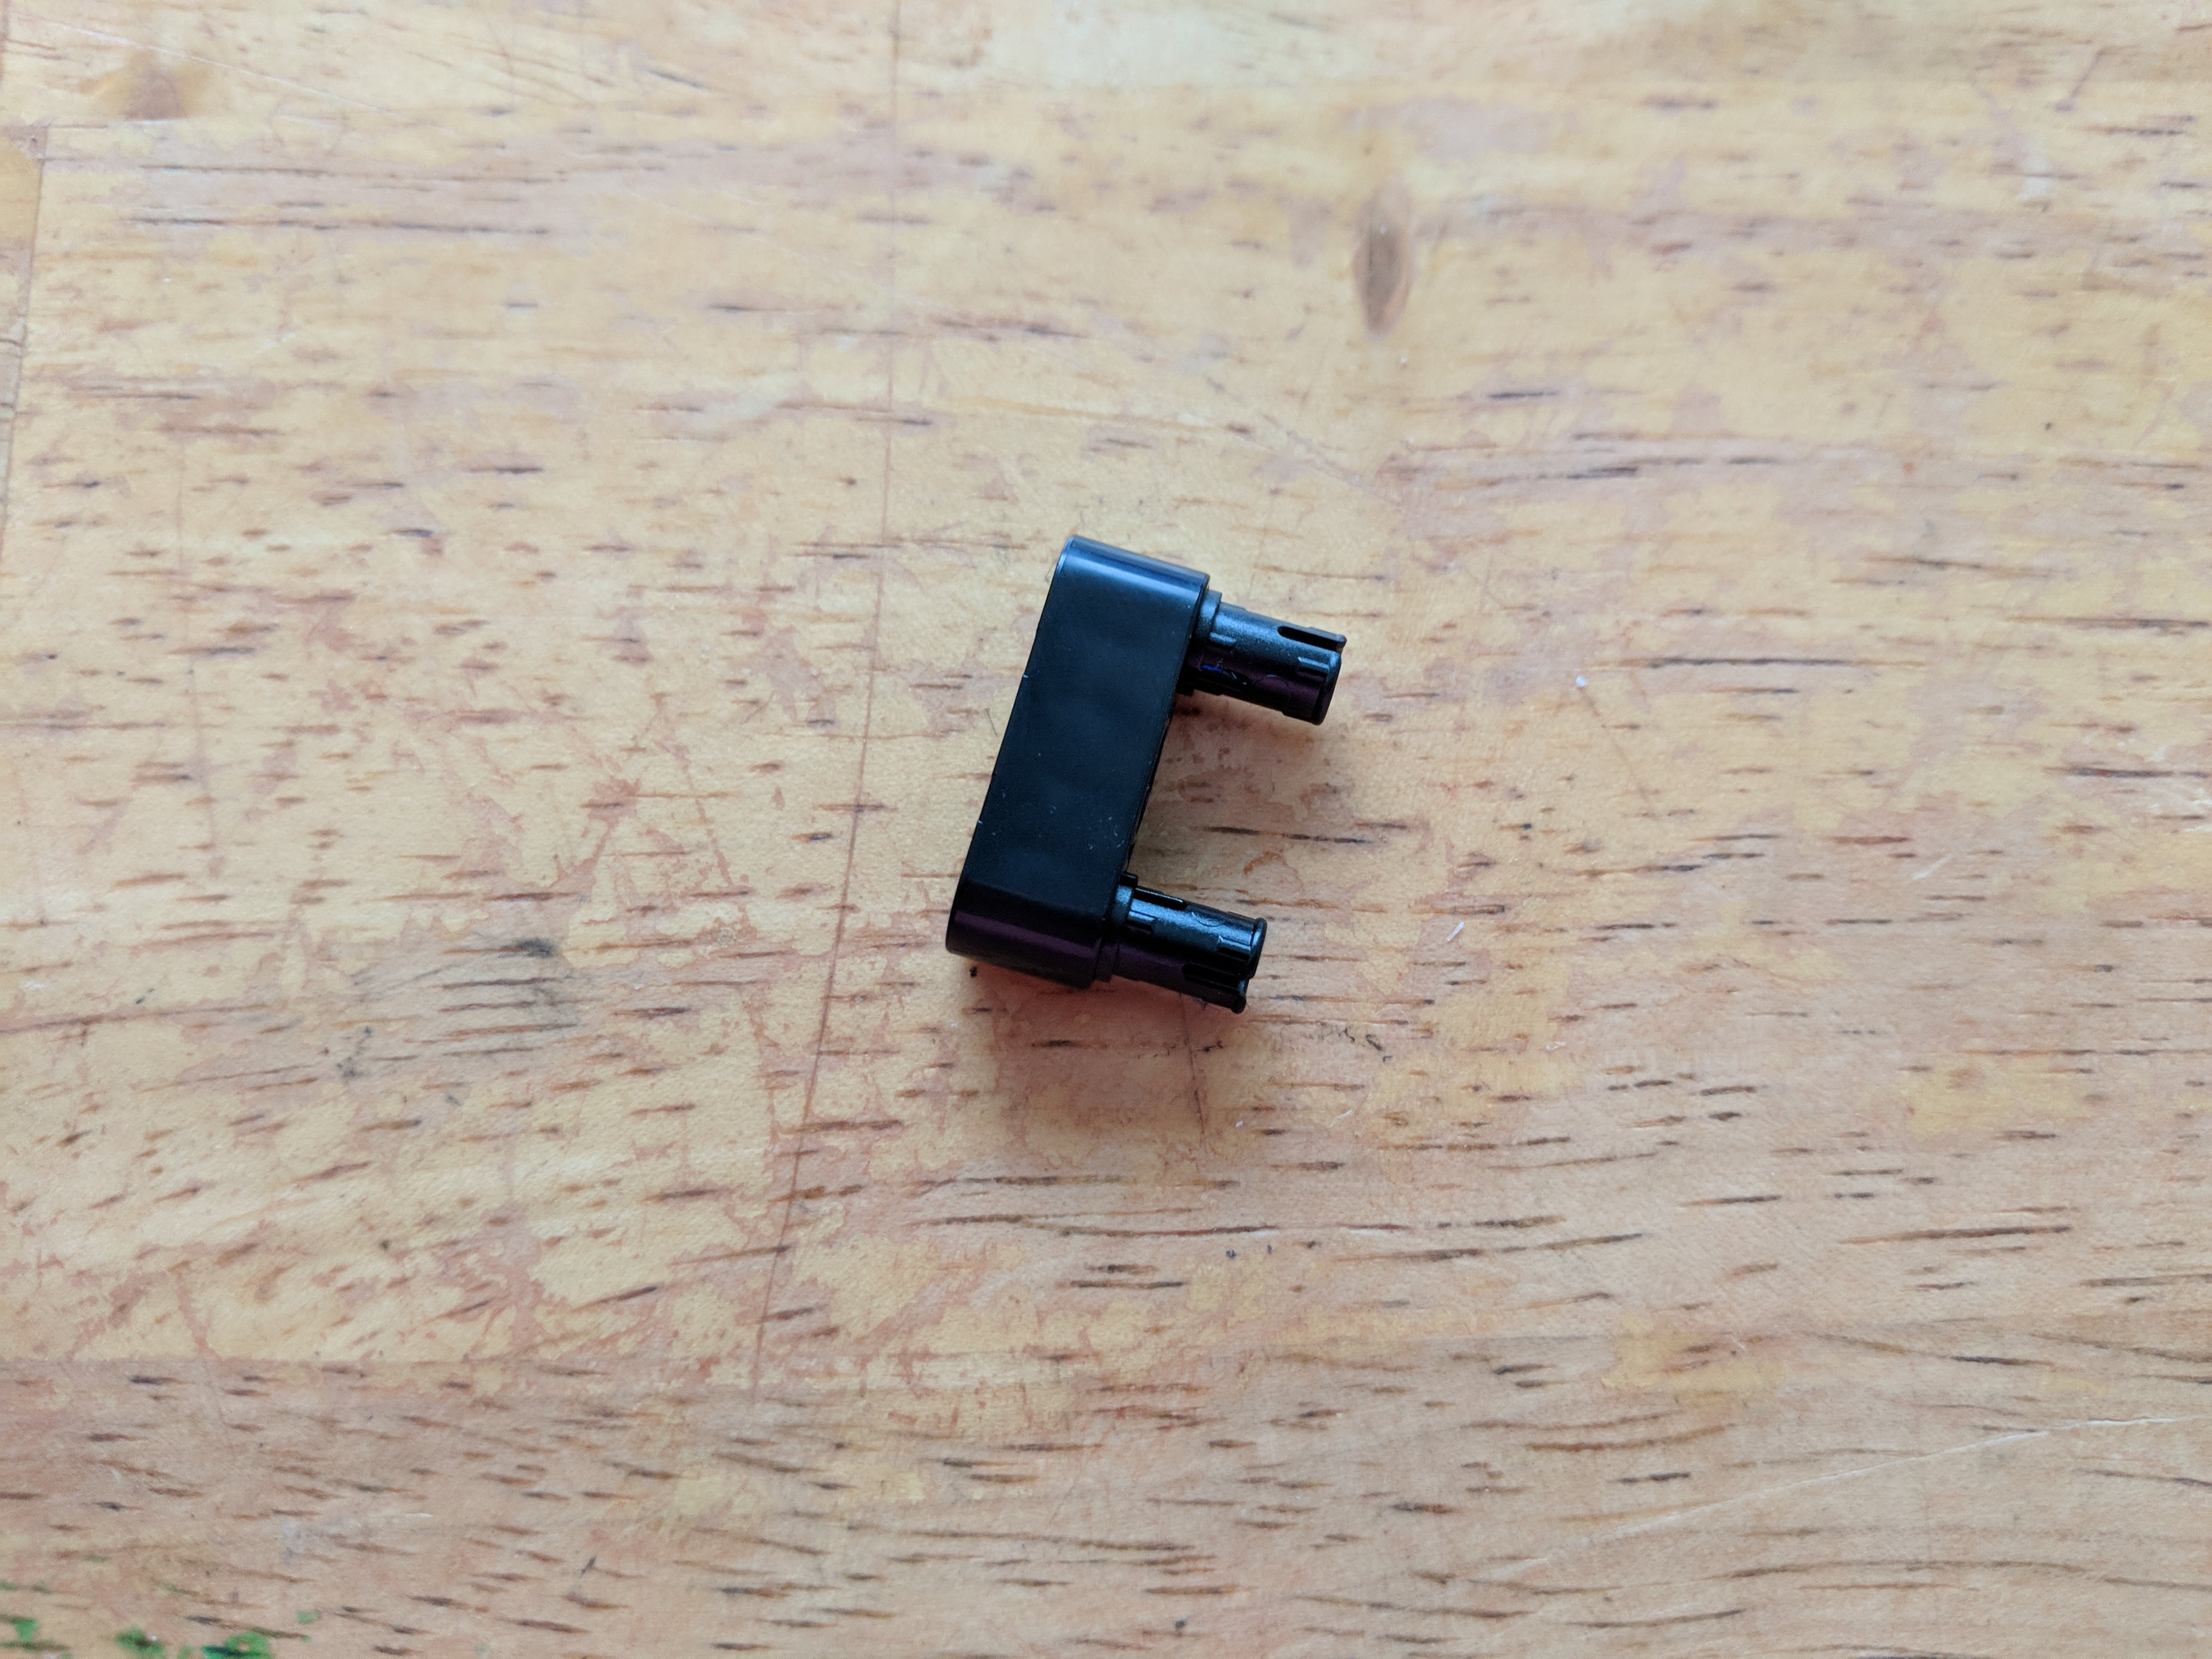
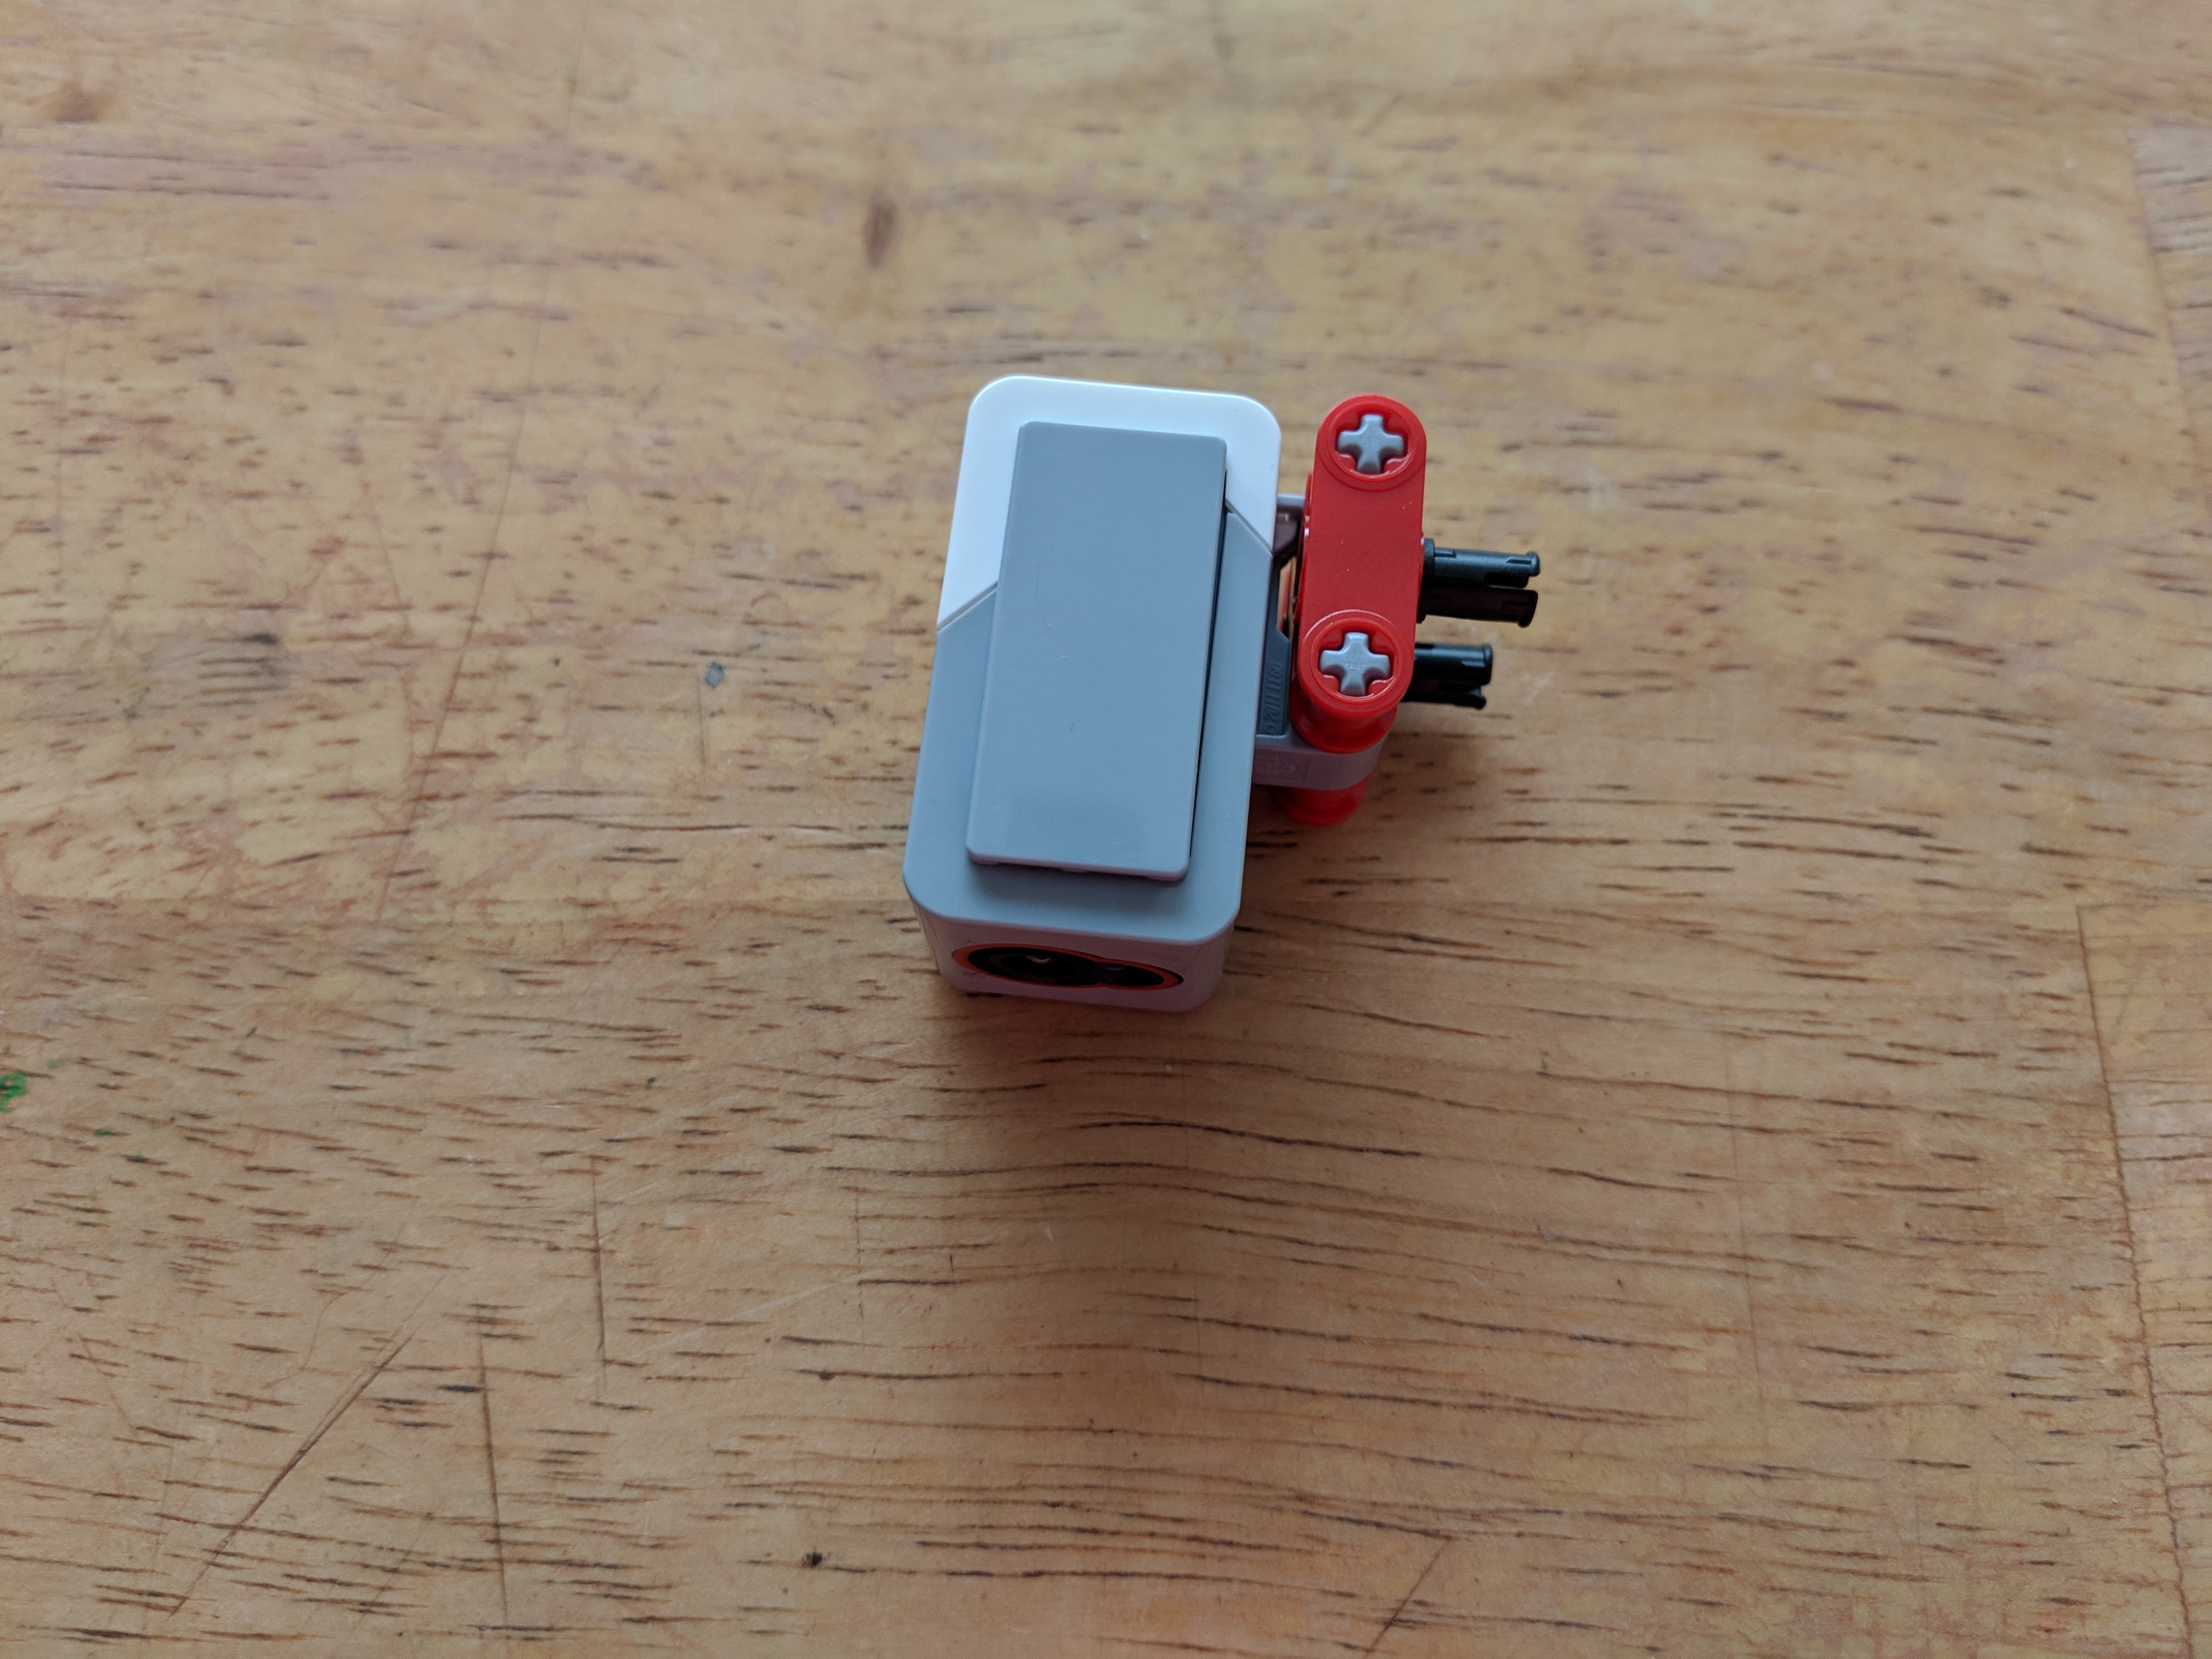
Touch Sensor Module
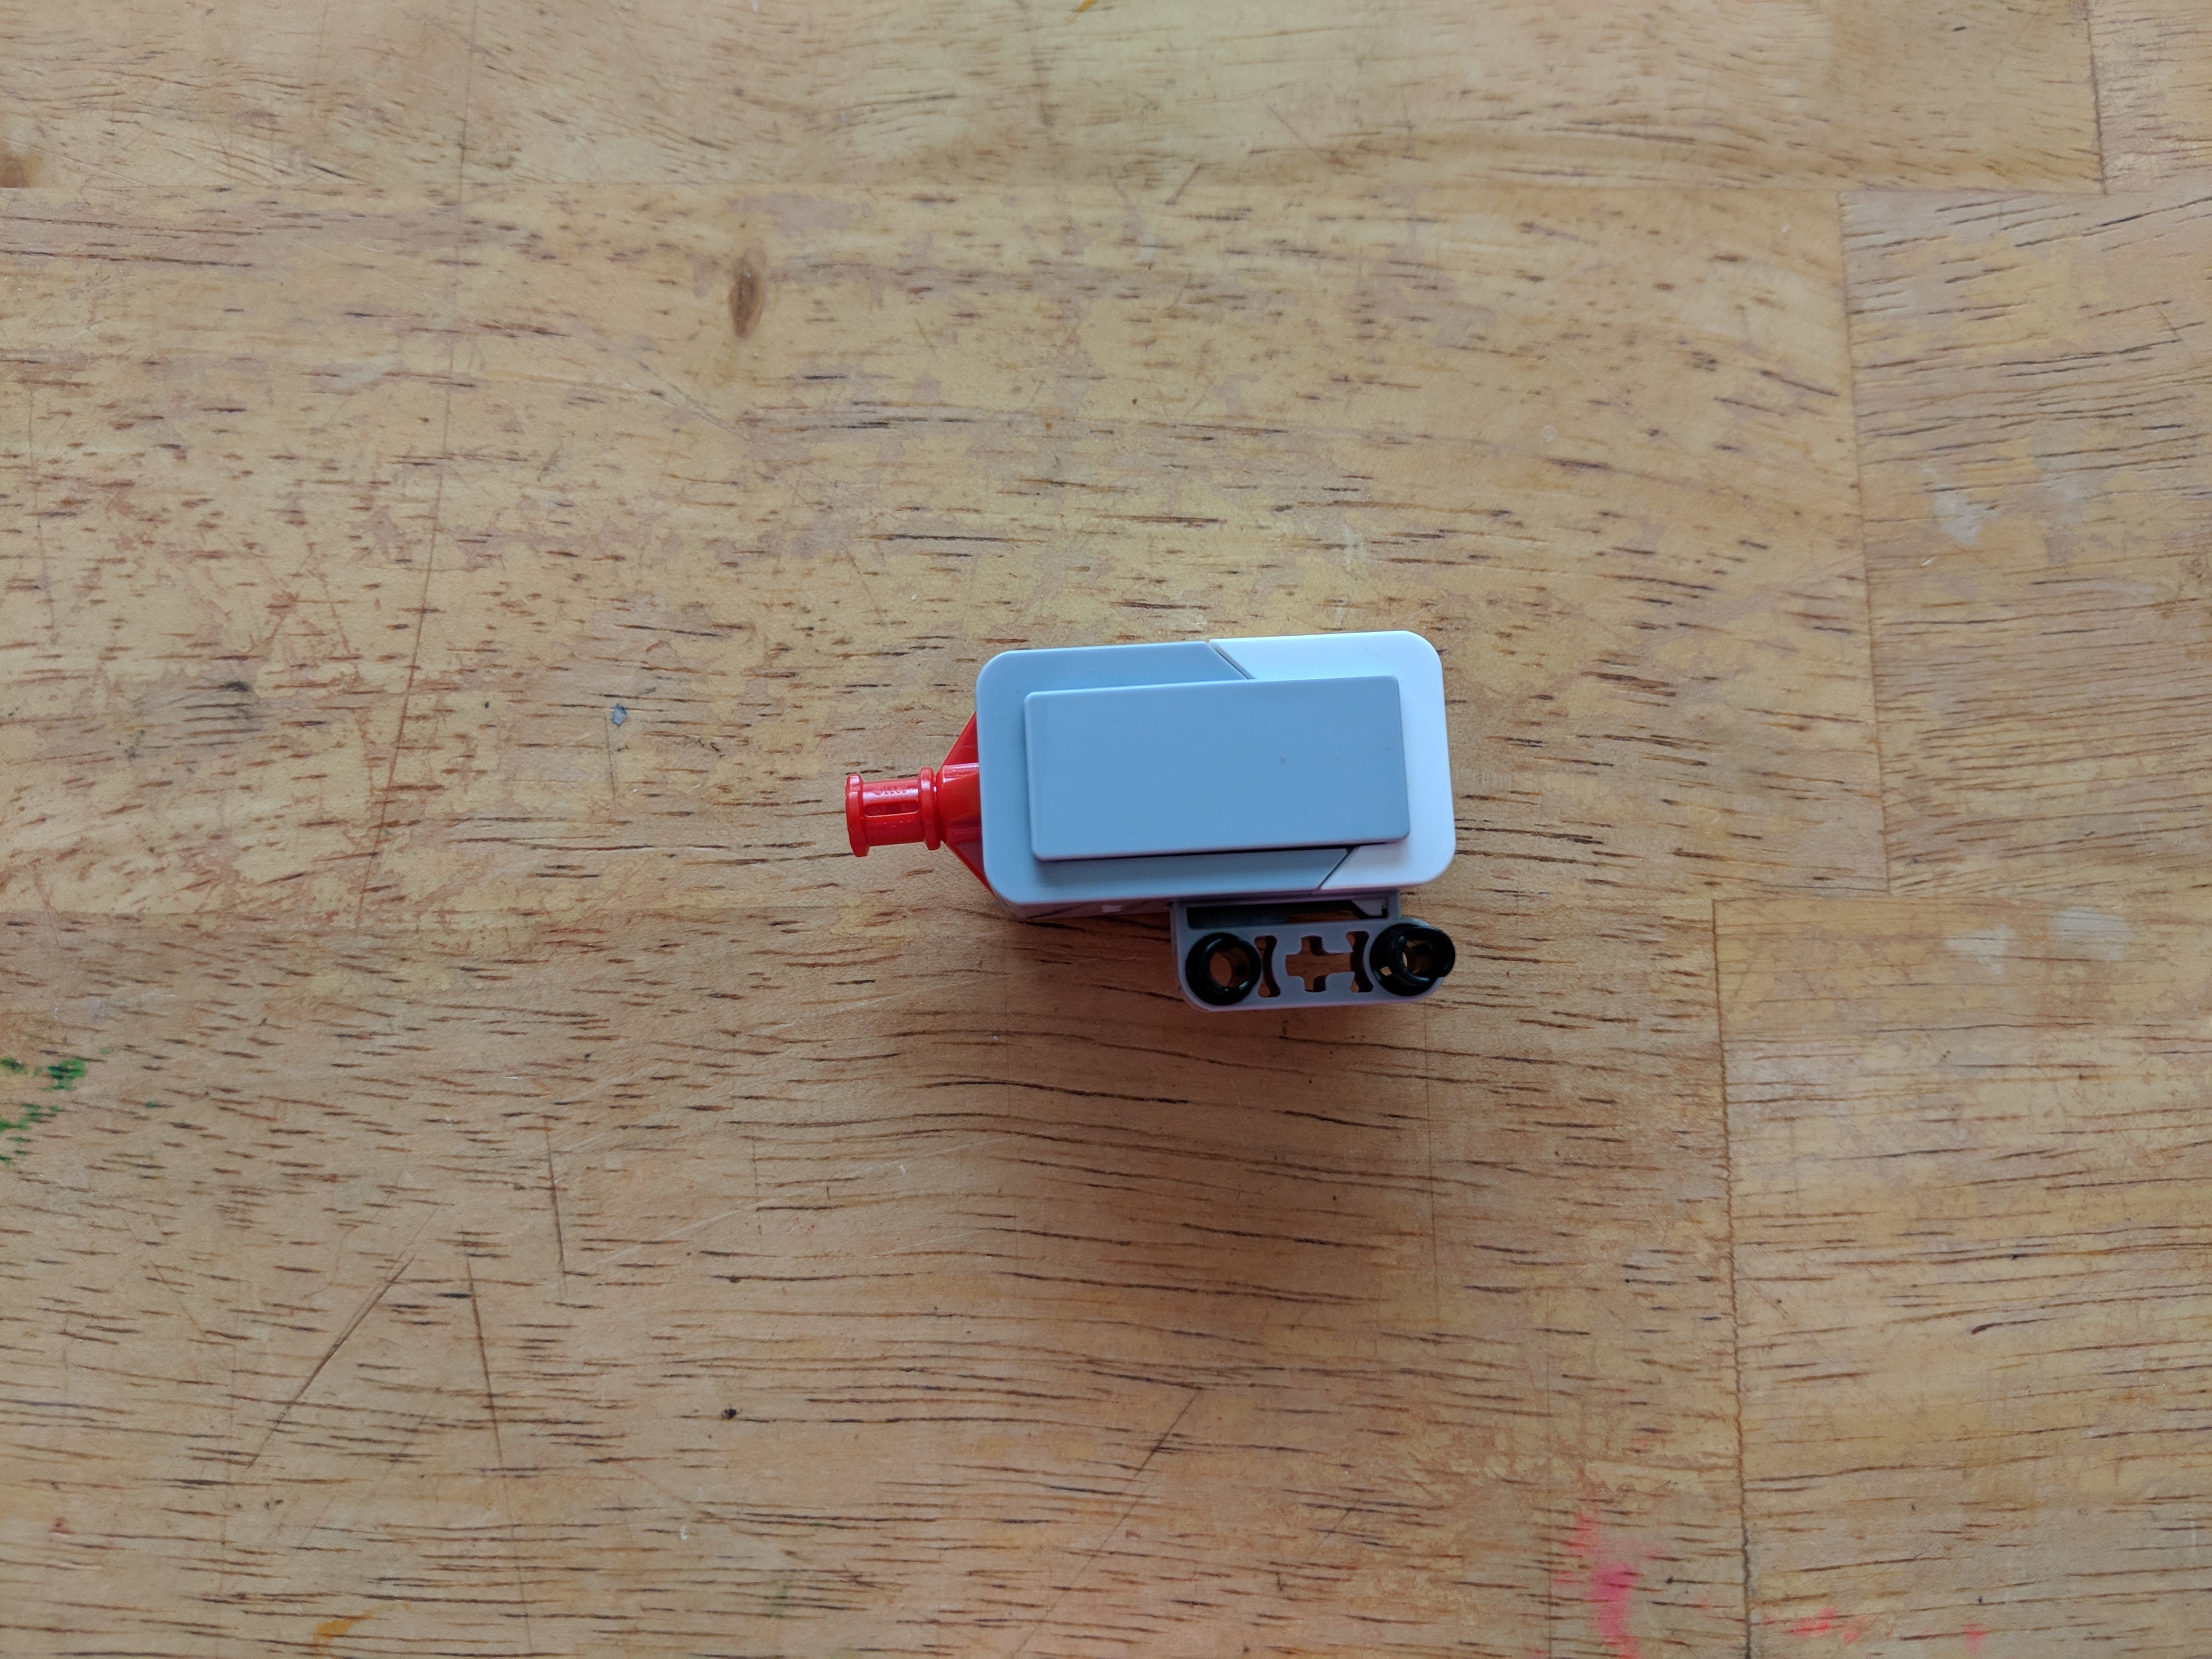
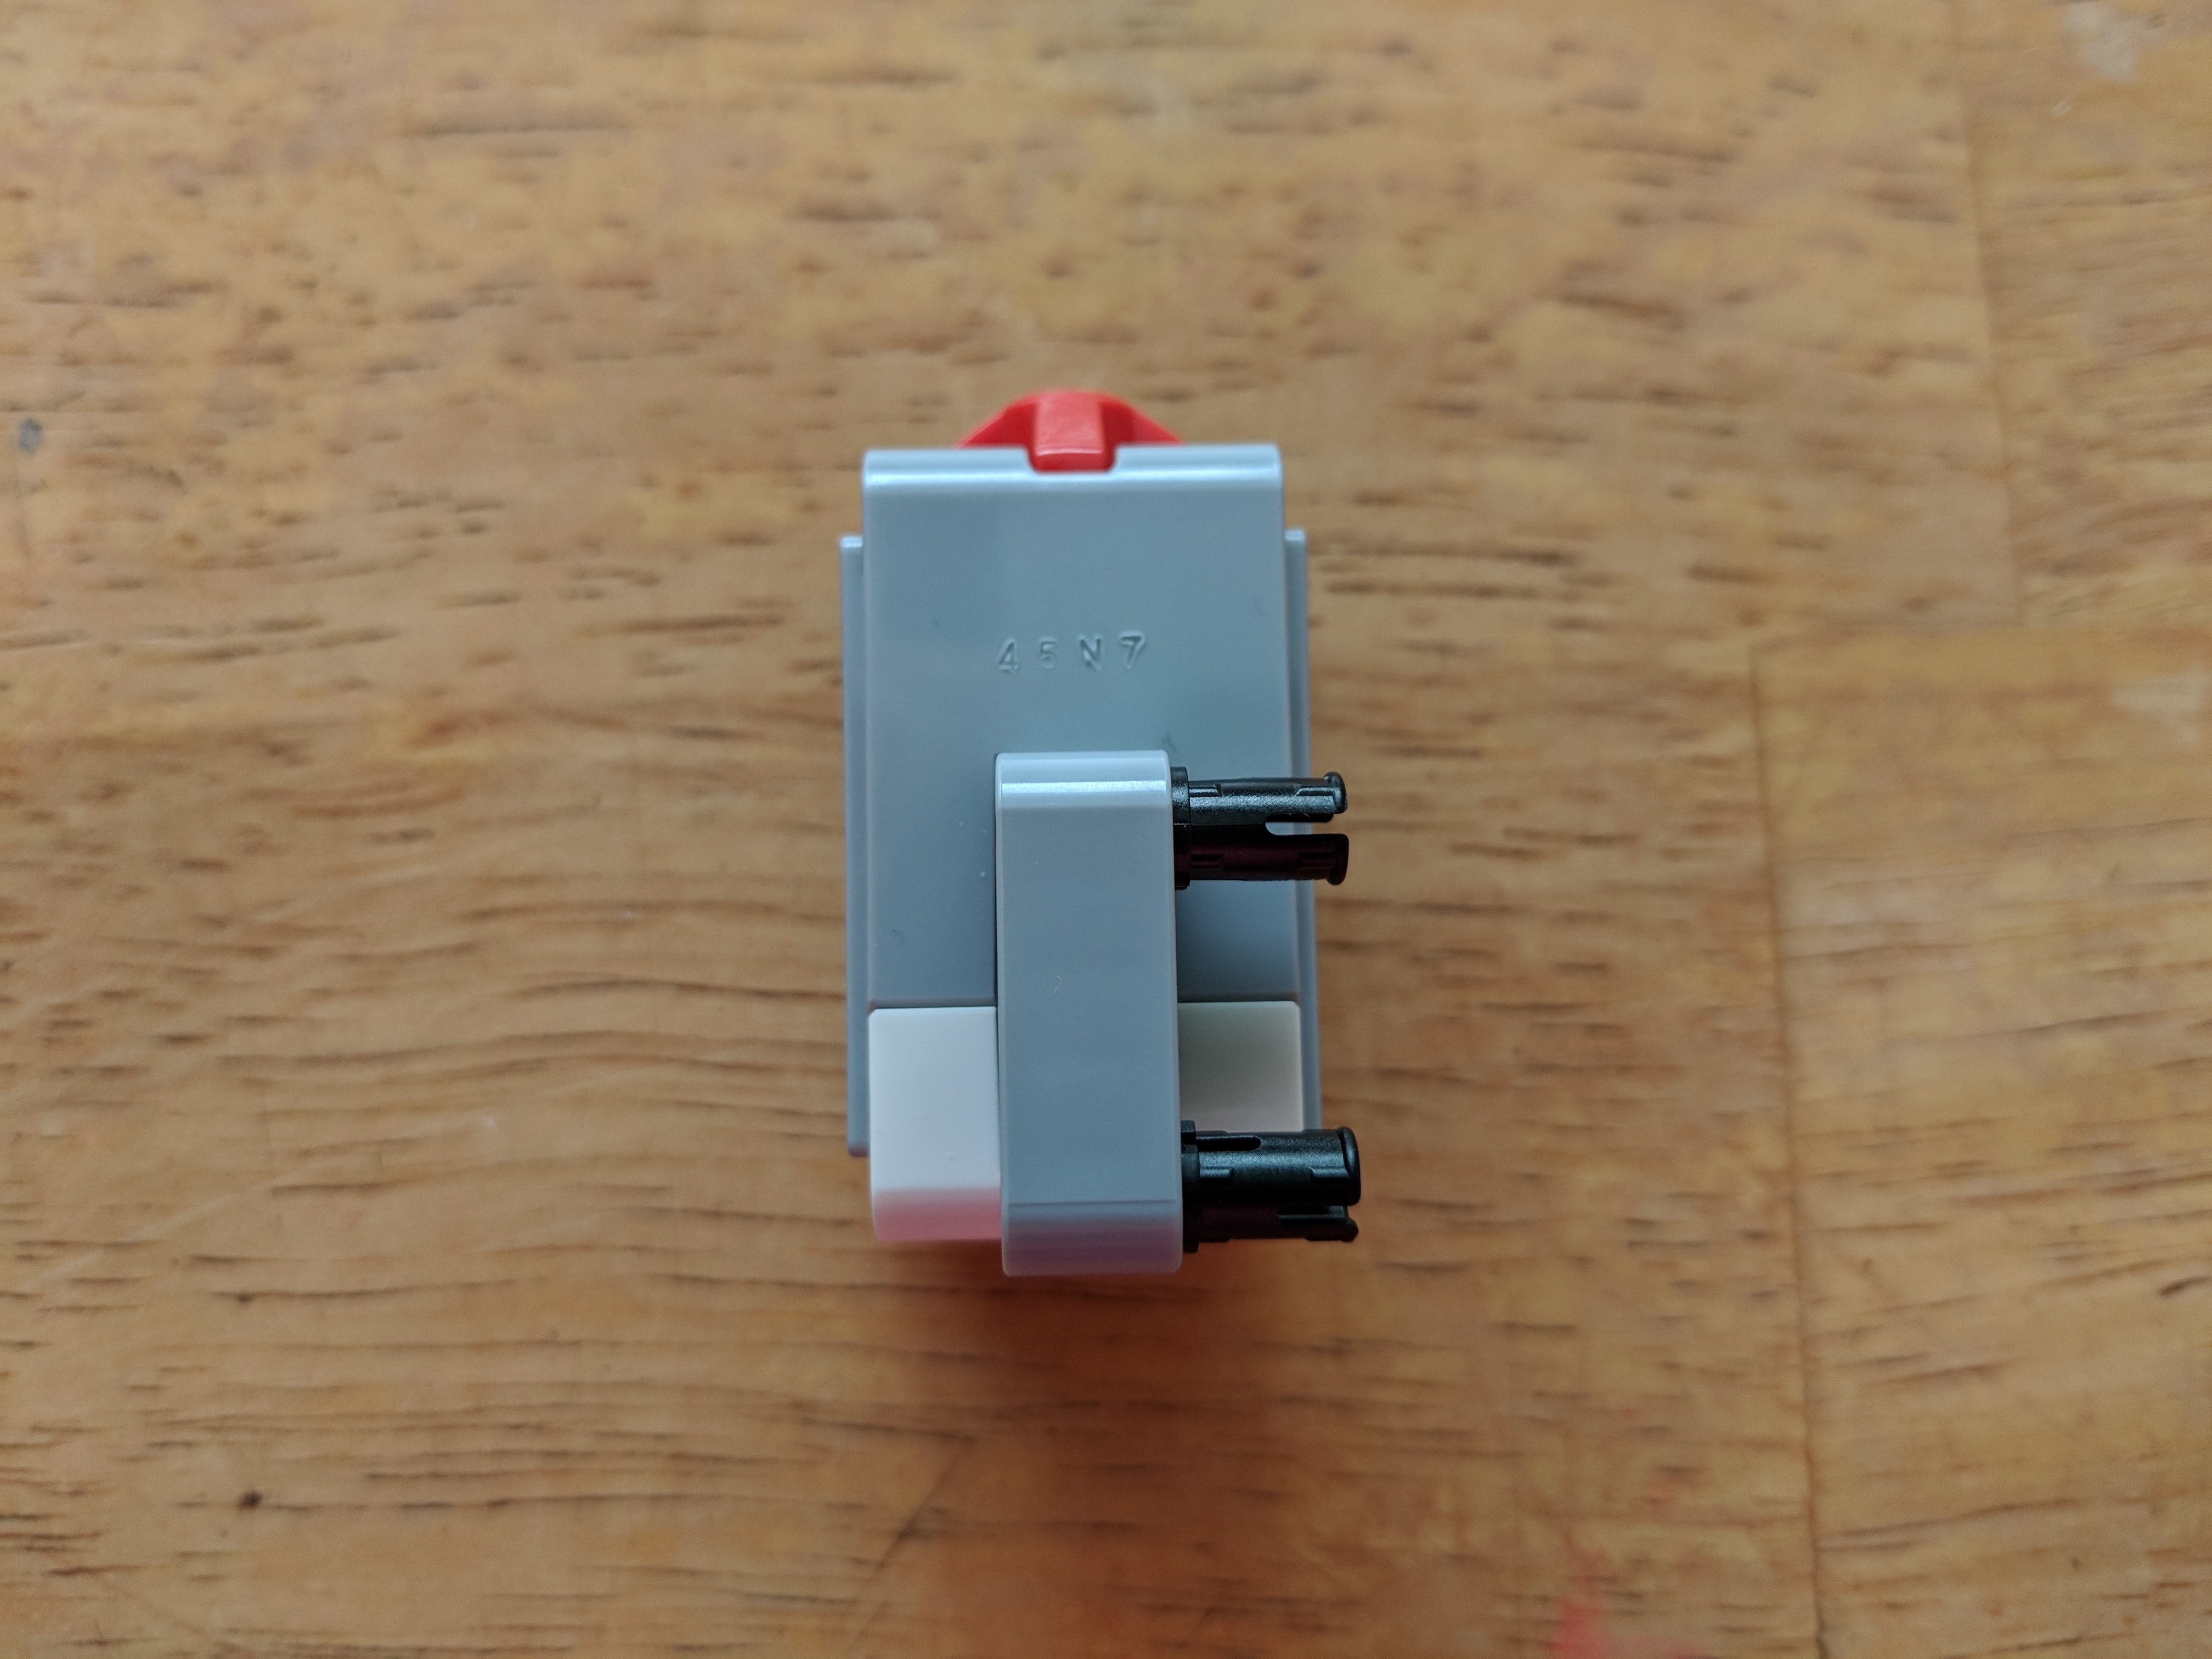
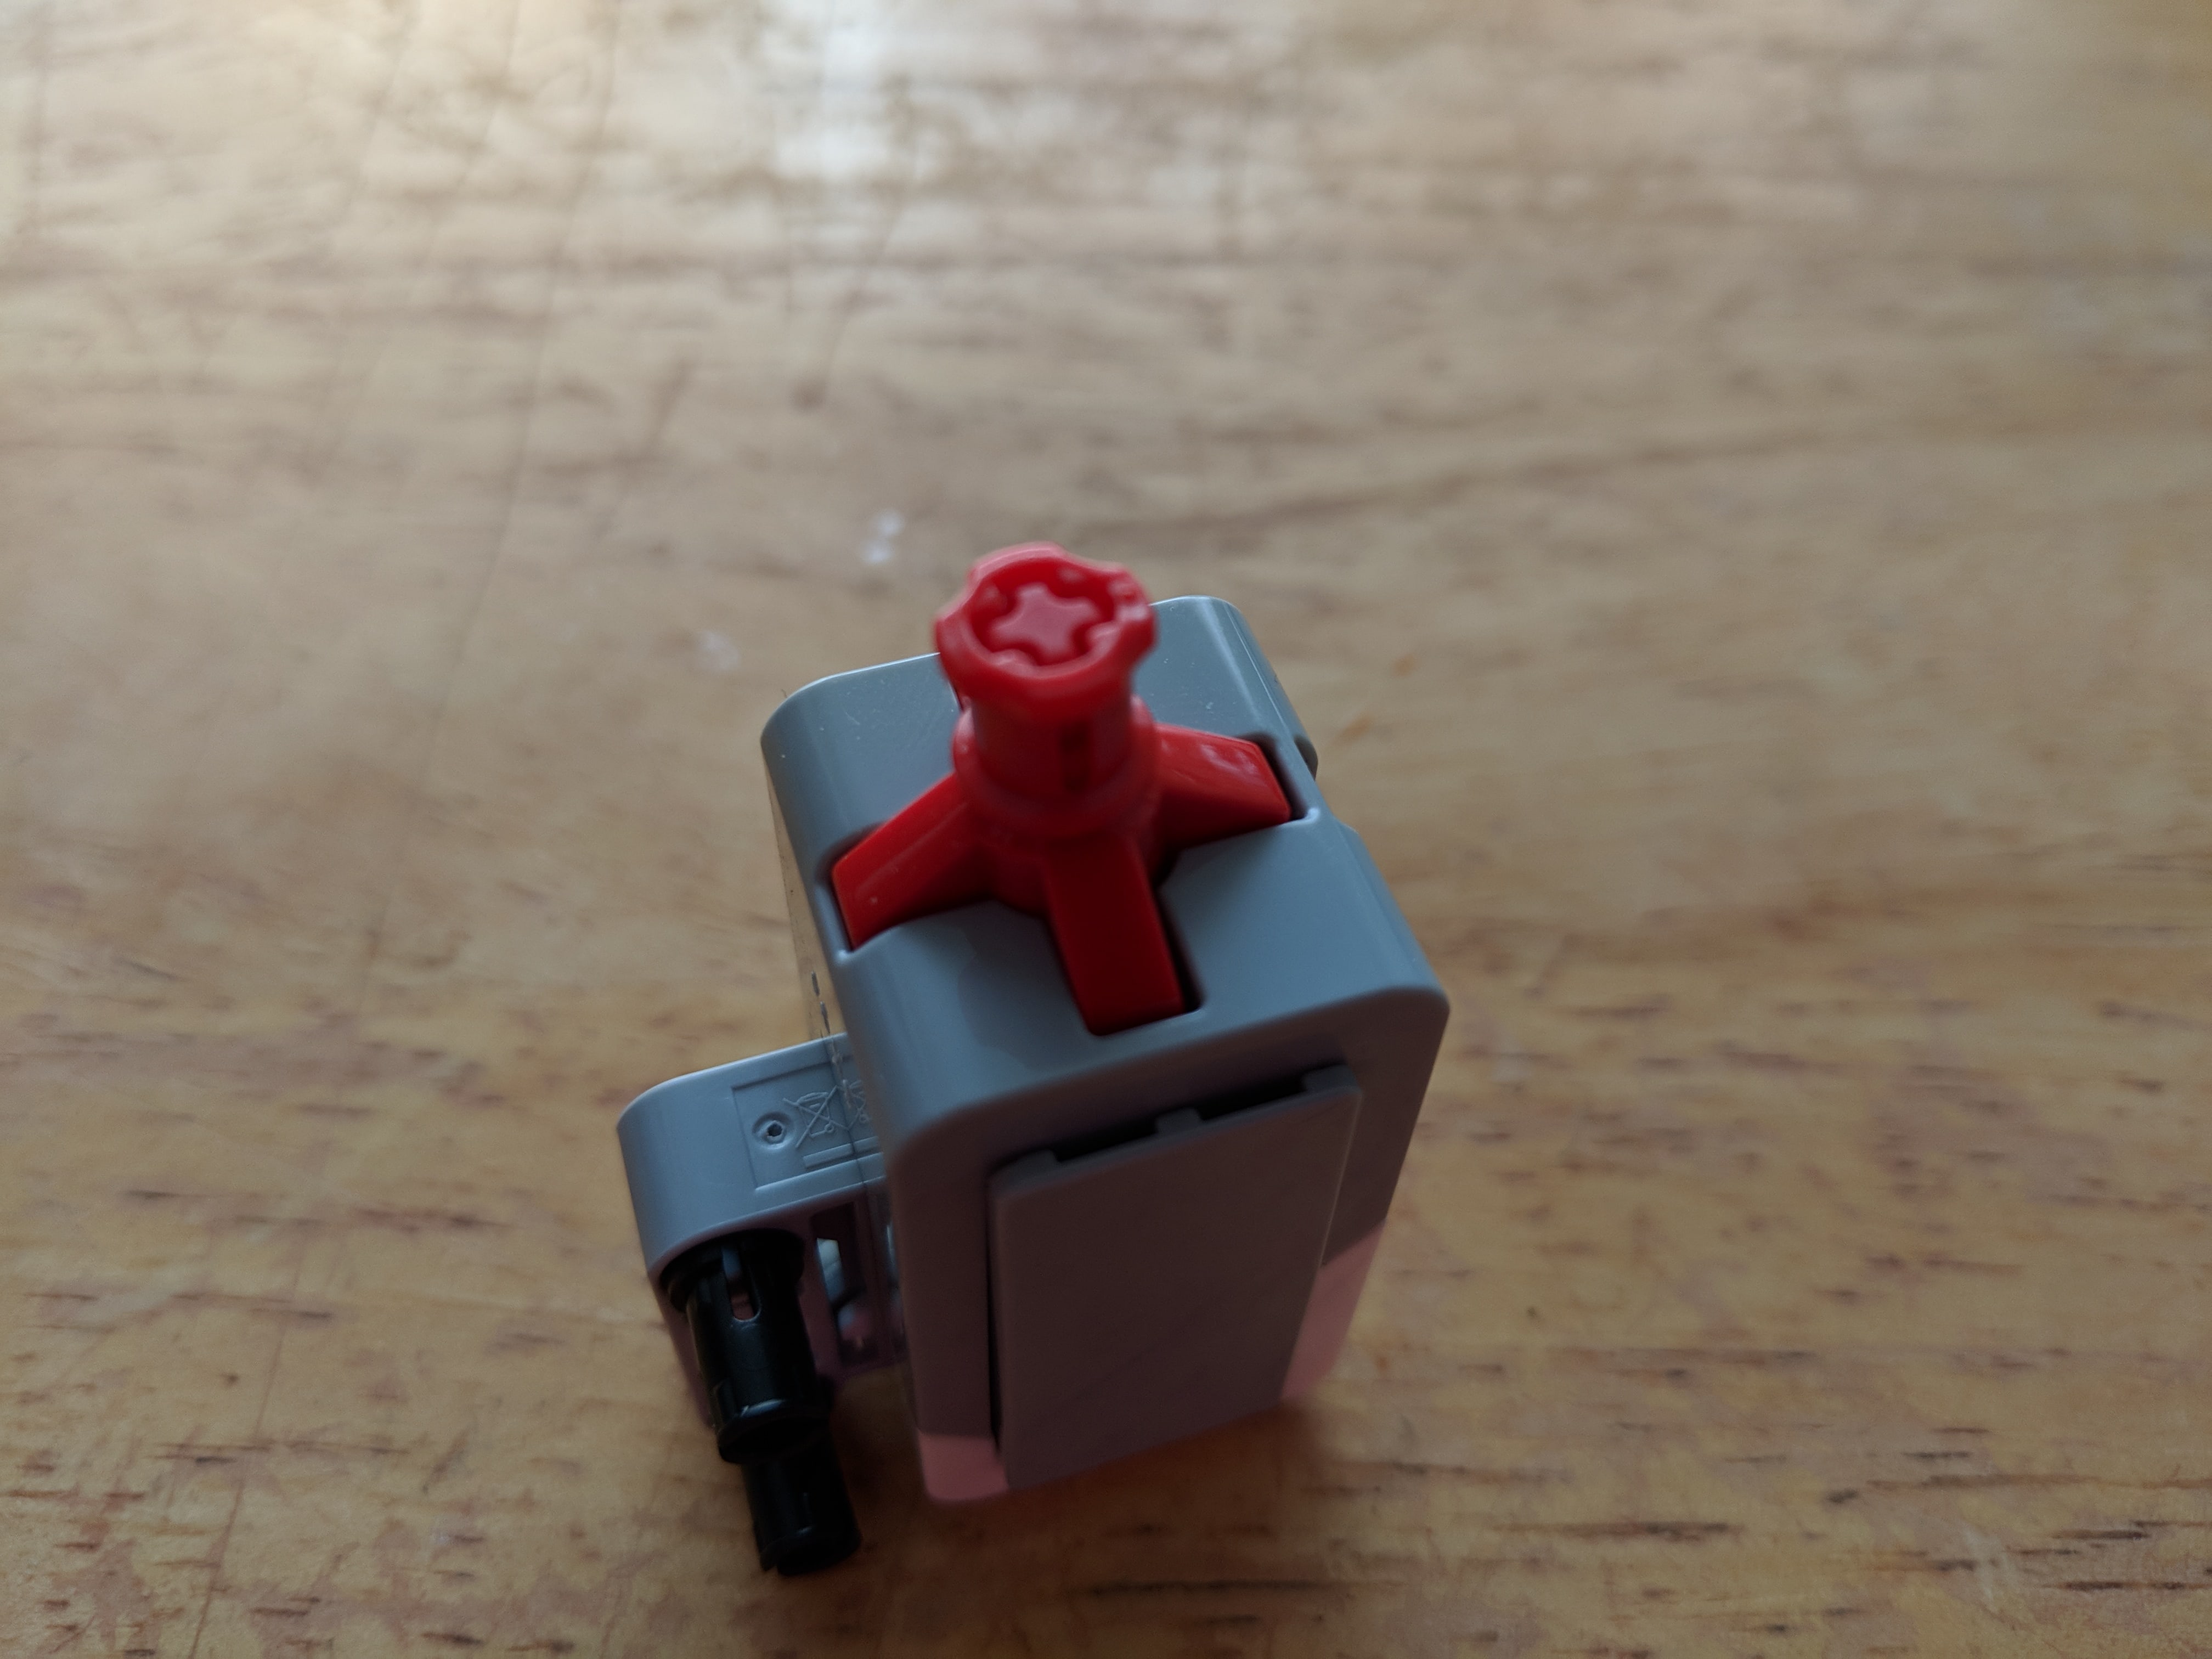
Second Touch Sensor
Build a second touch sensor module as a mirror image of the first.
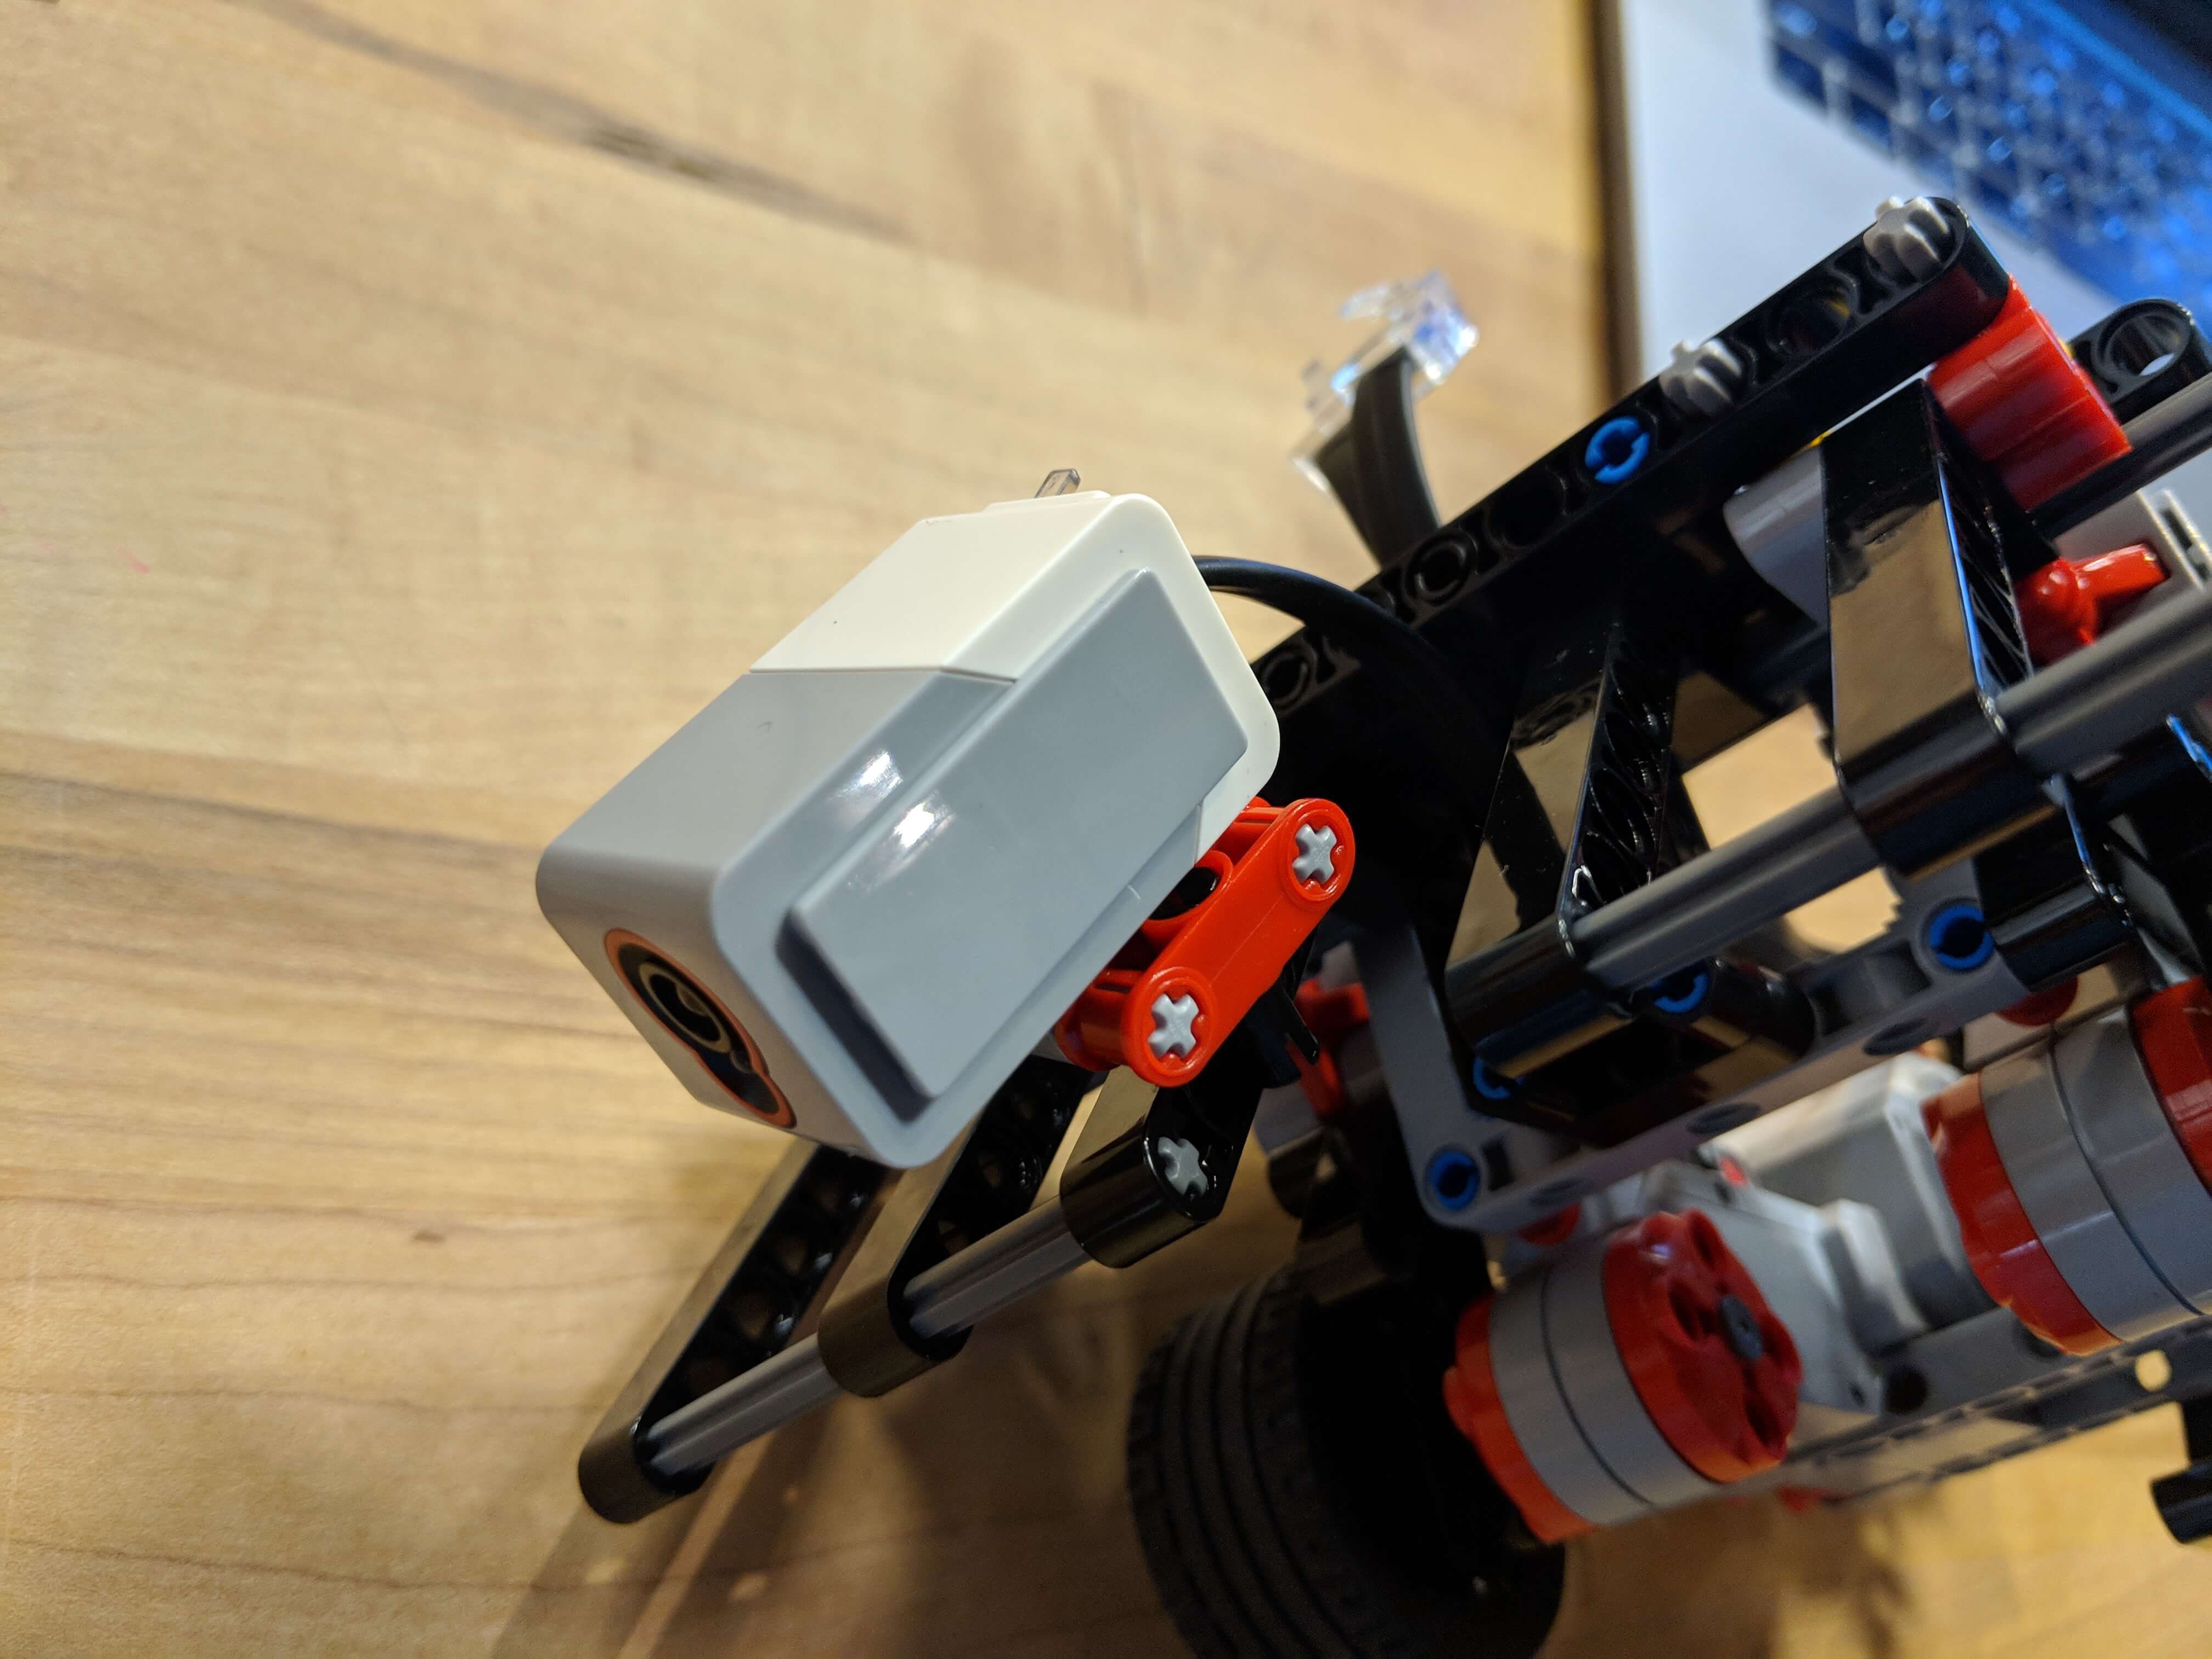
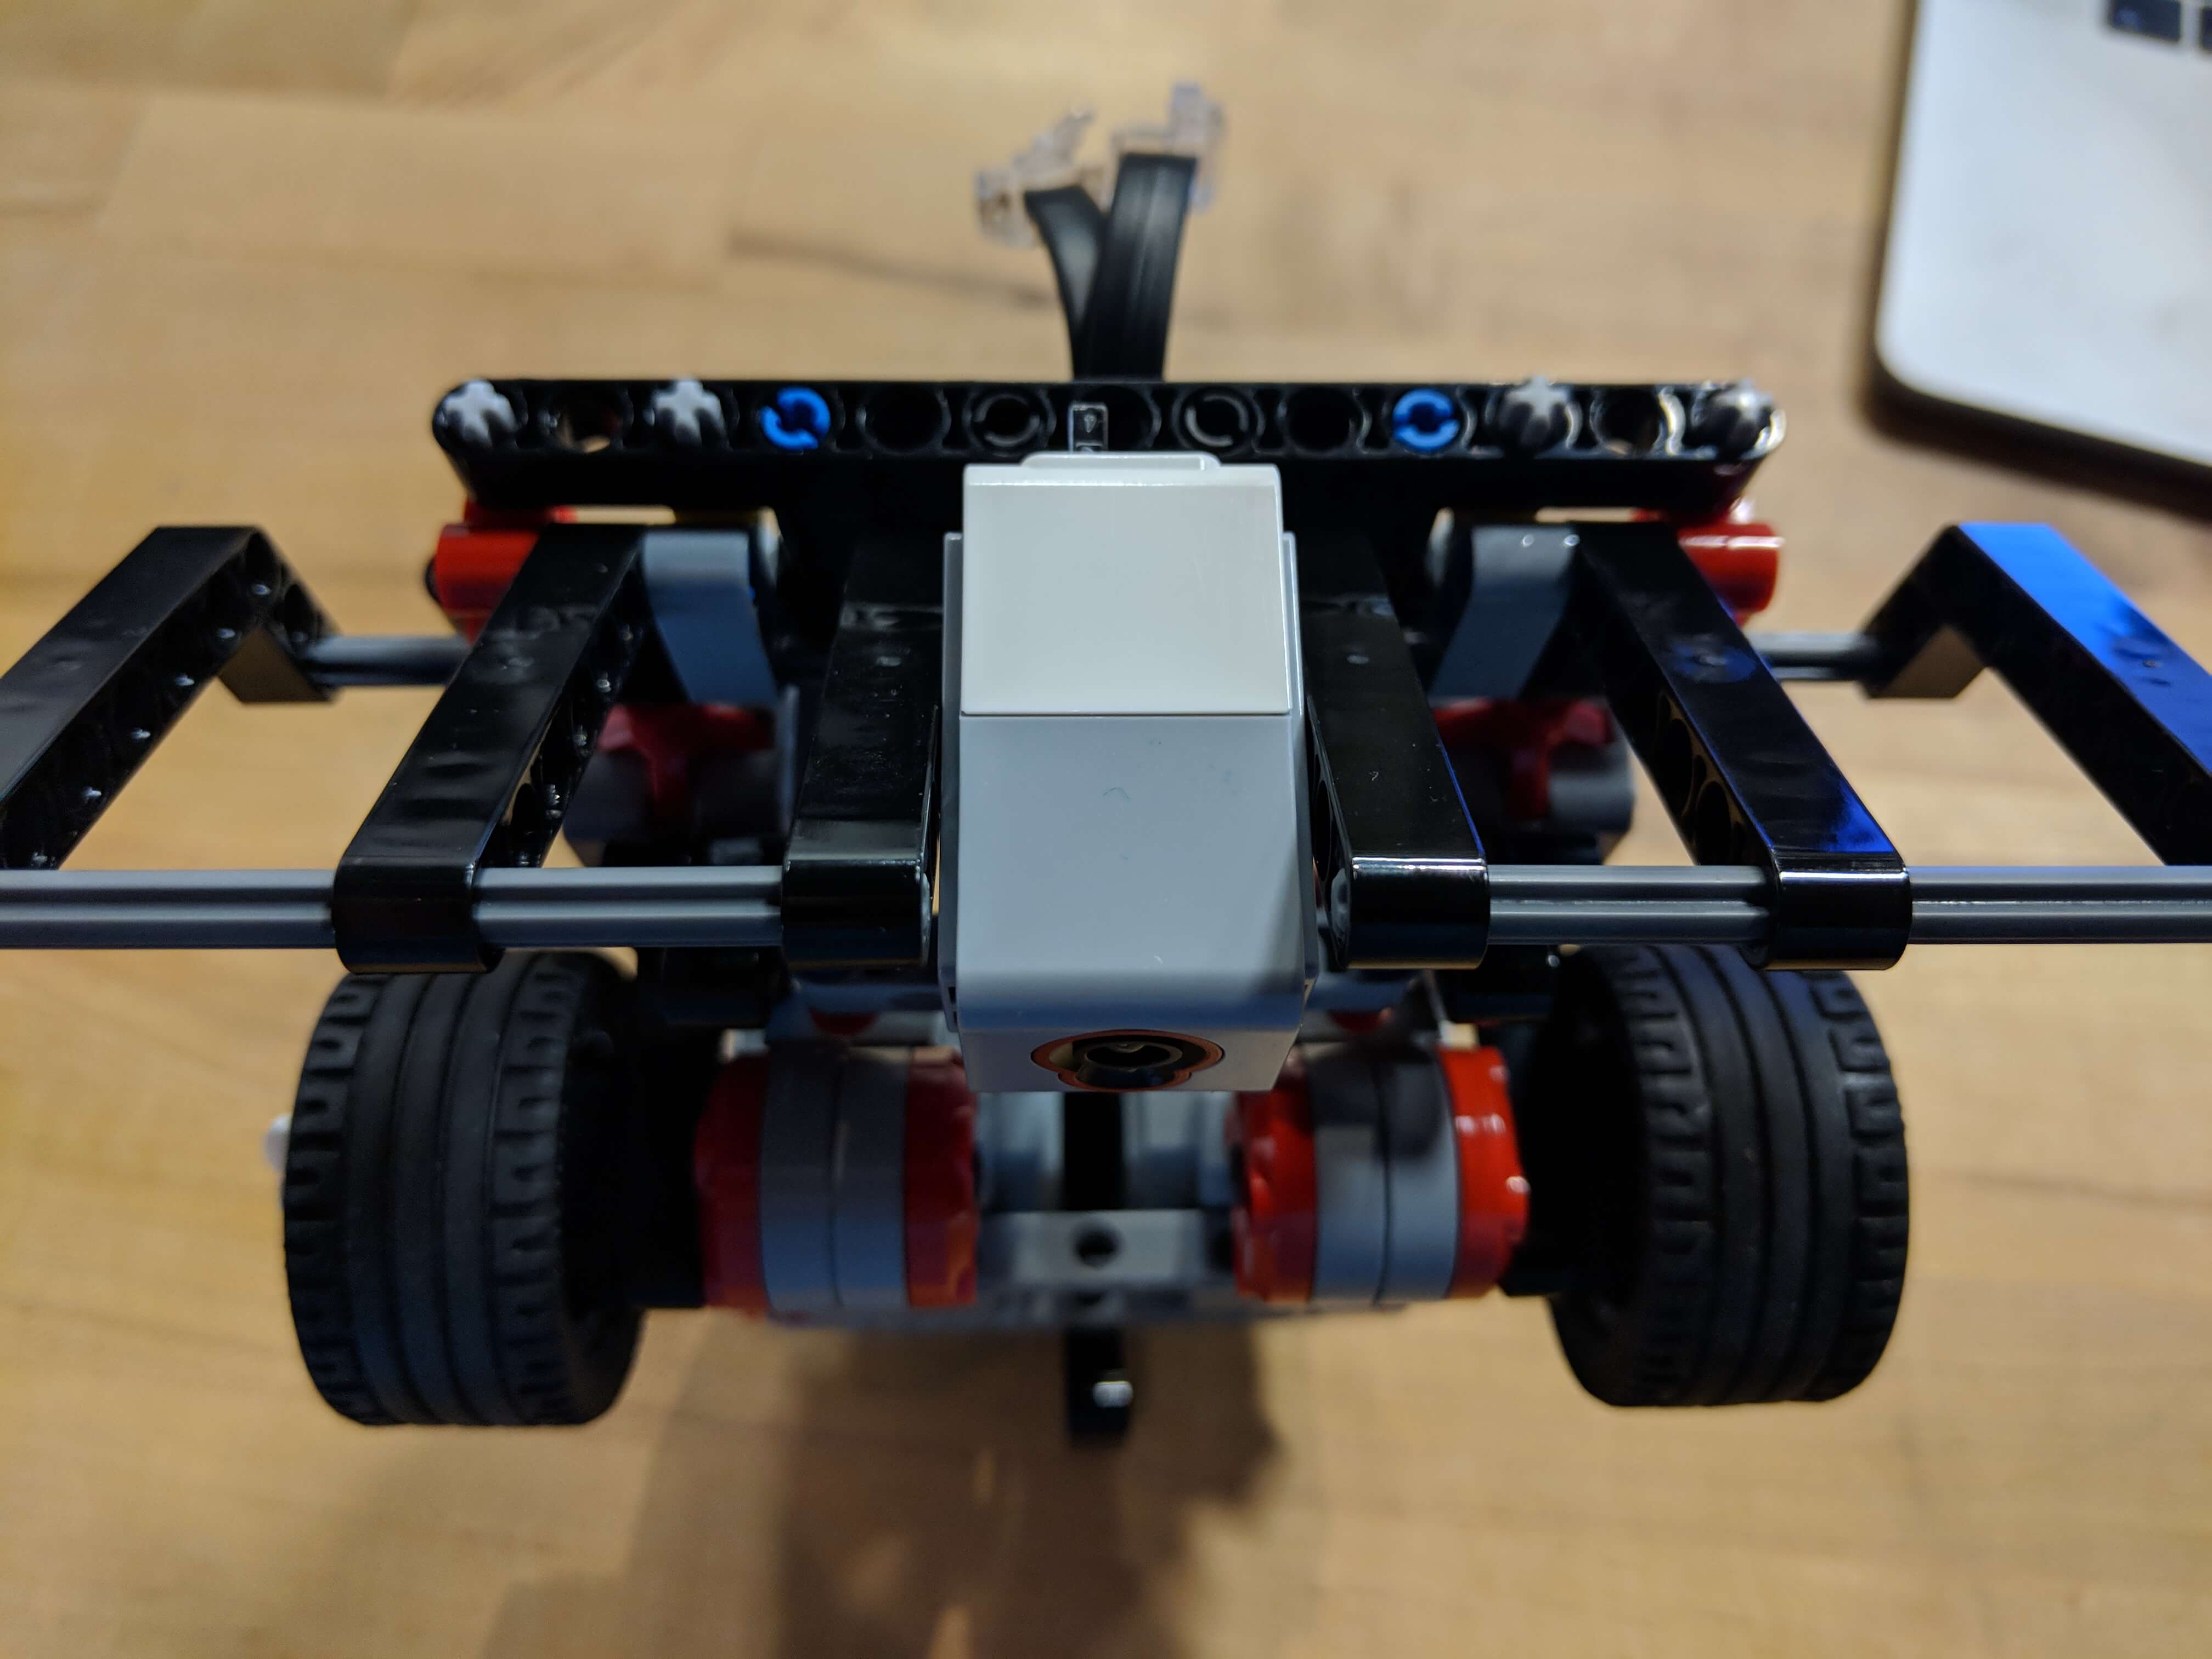
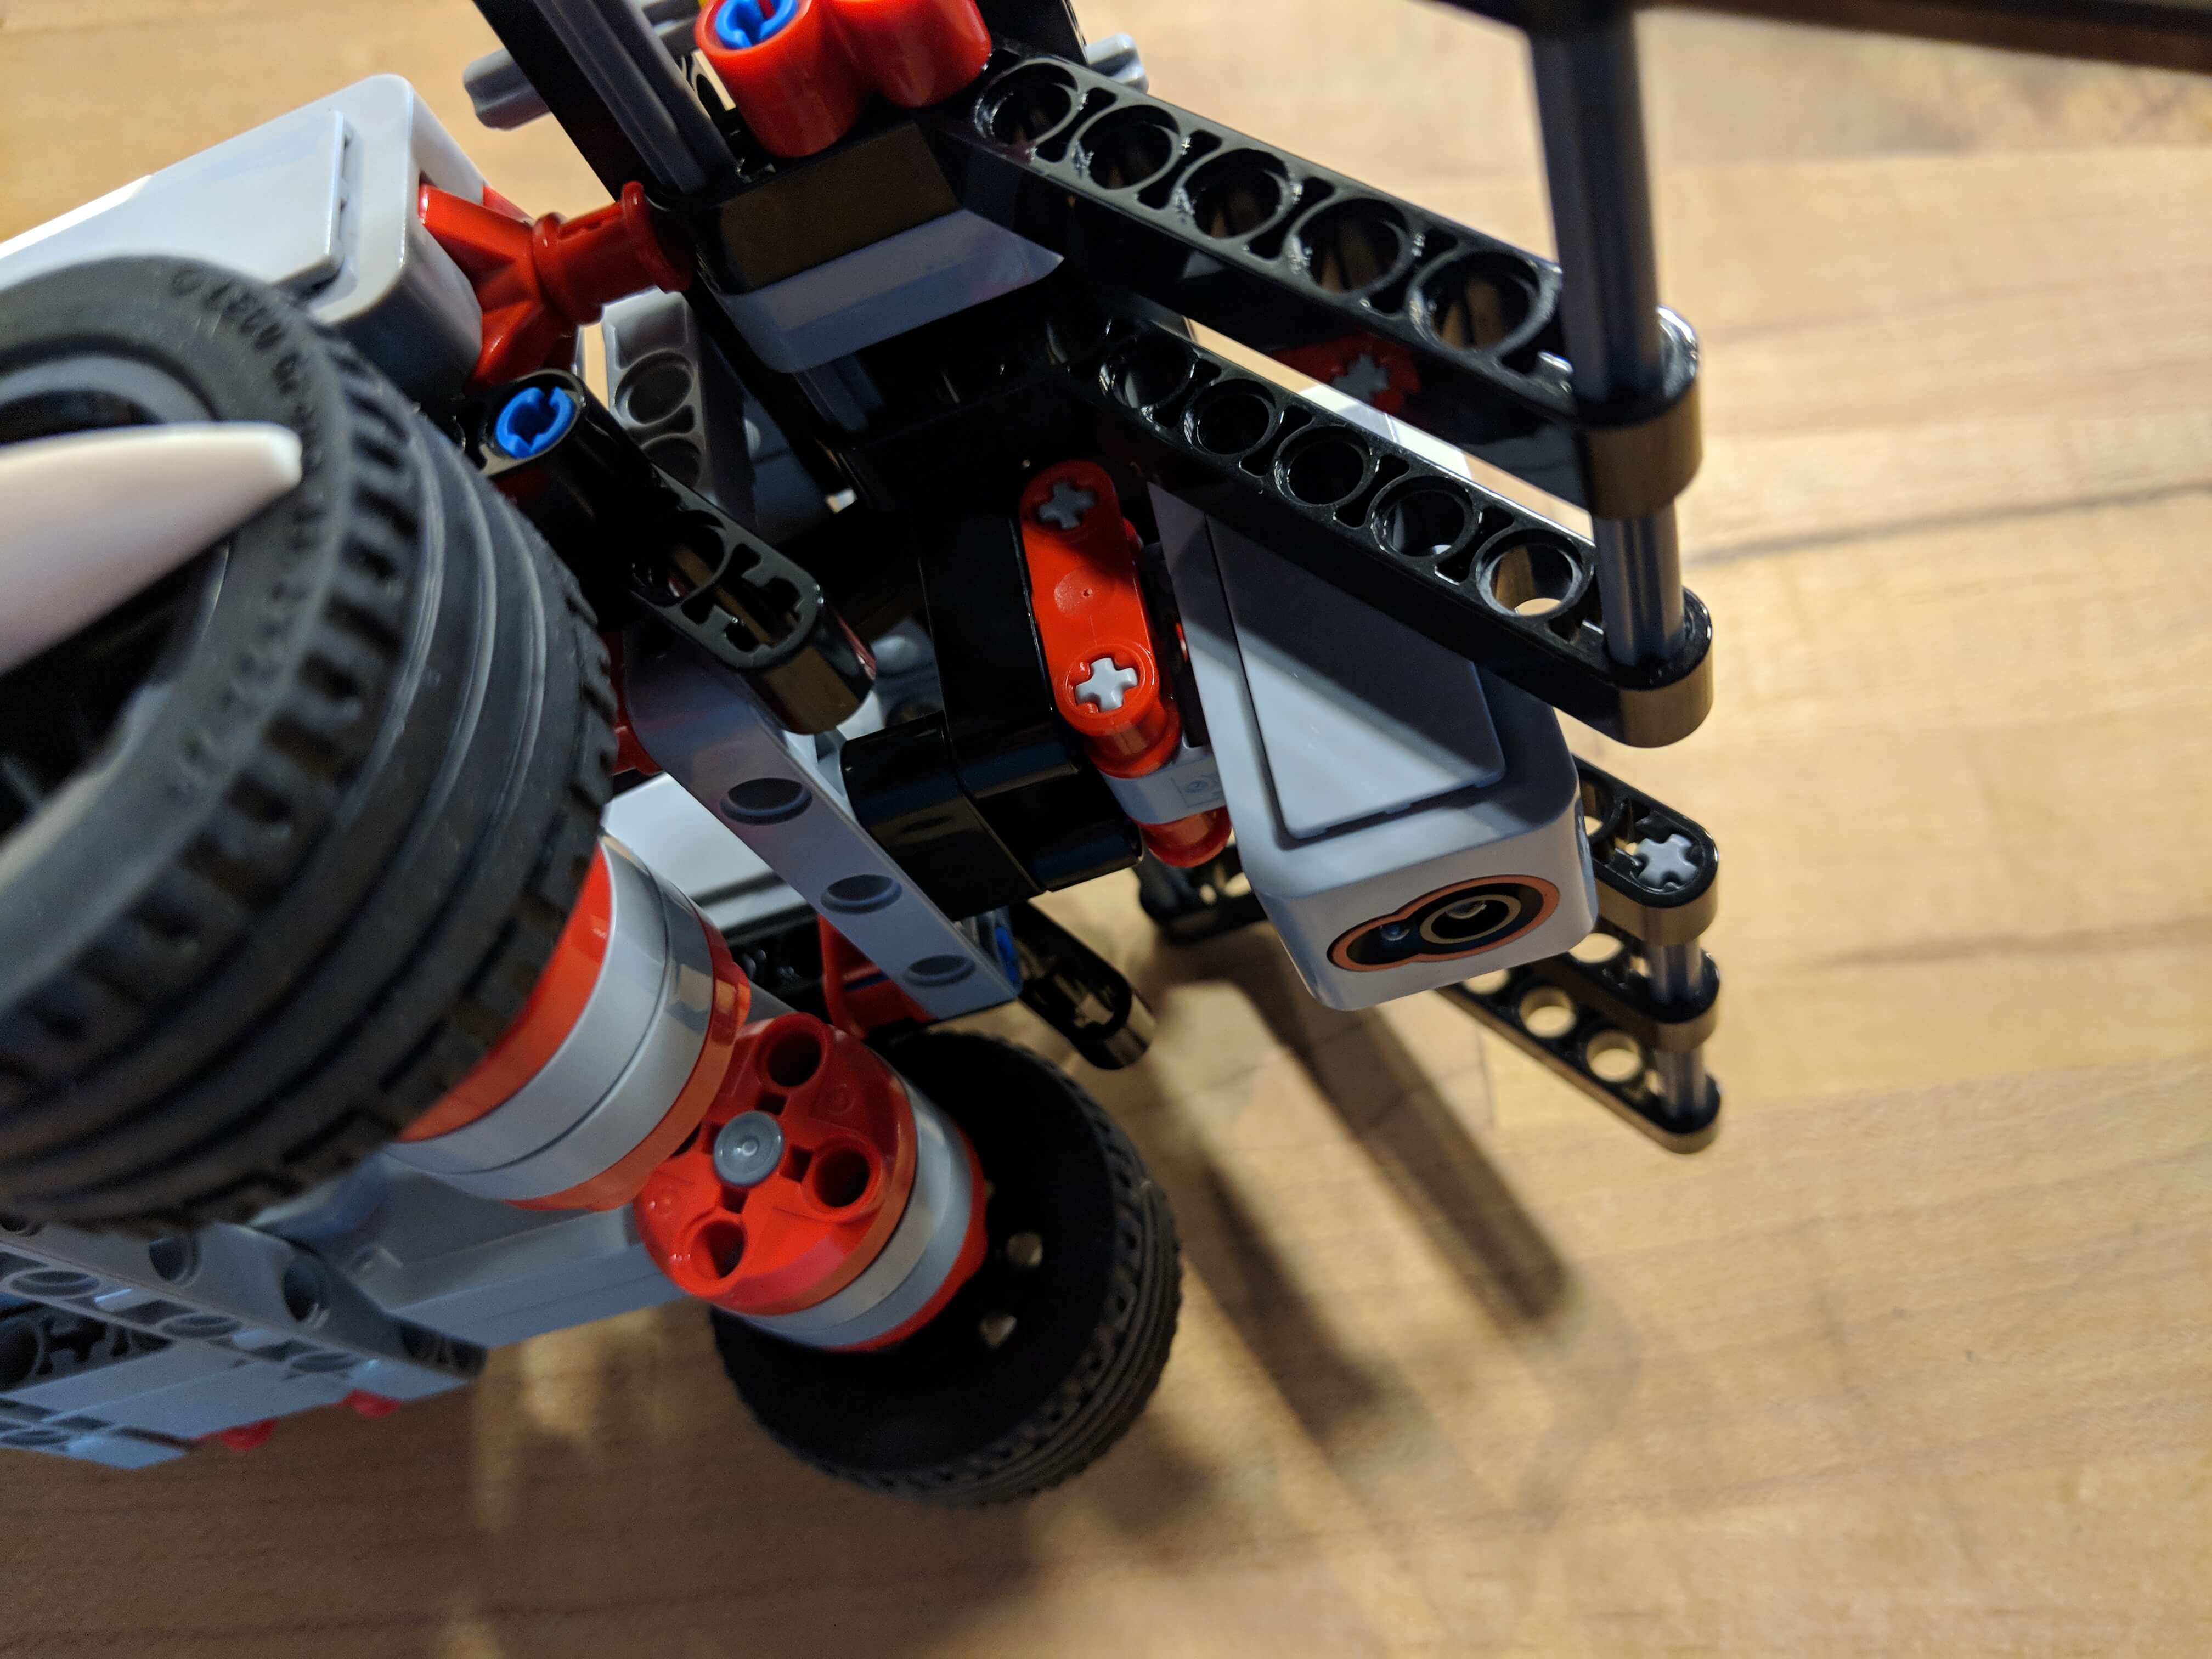
Light Sensor Module
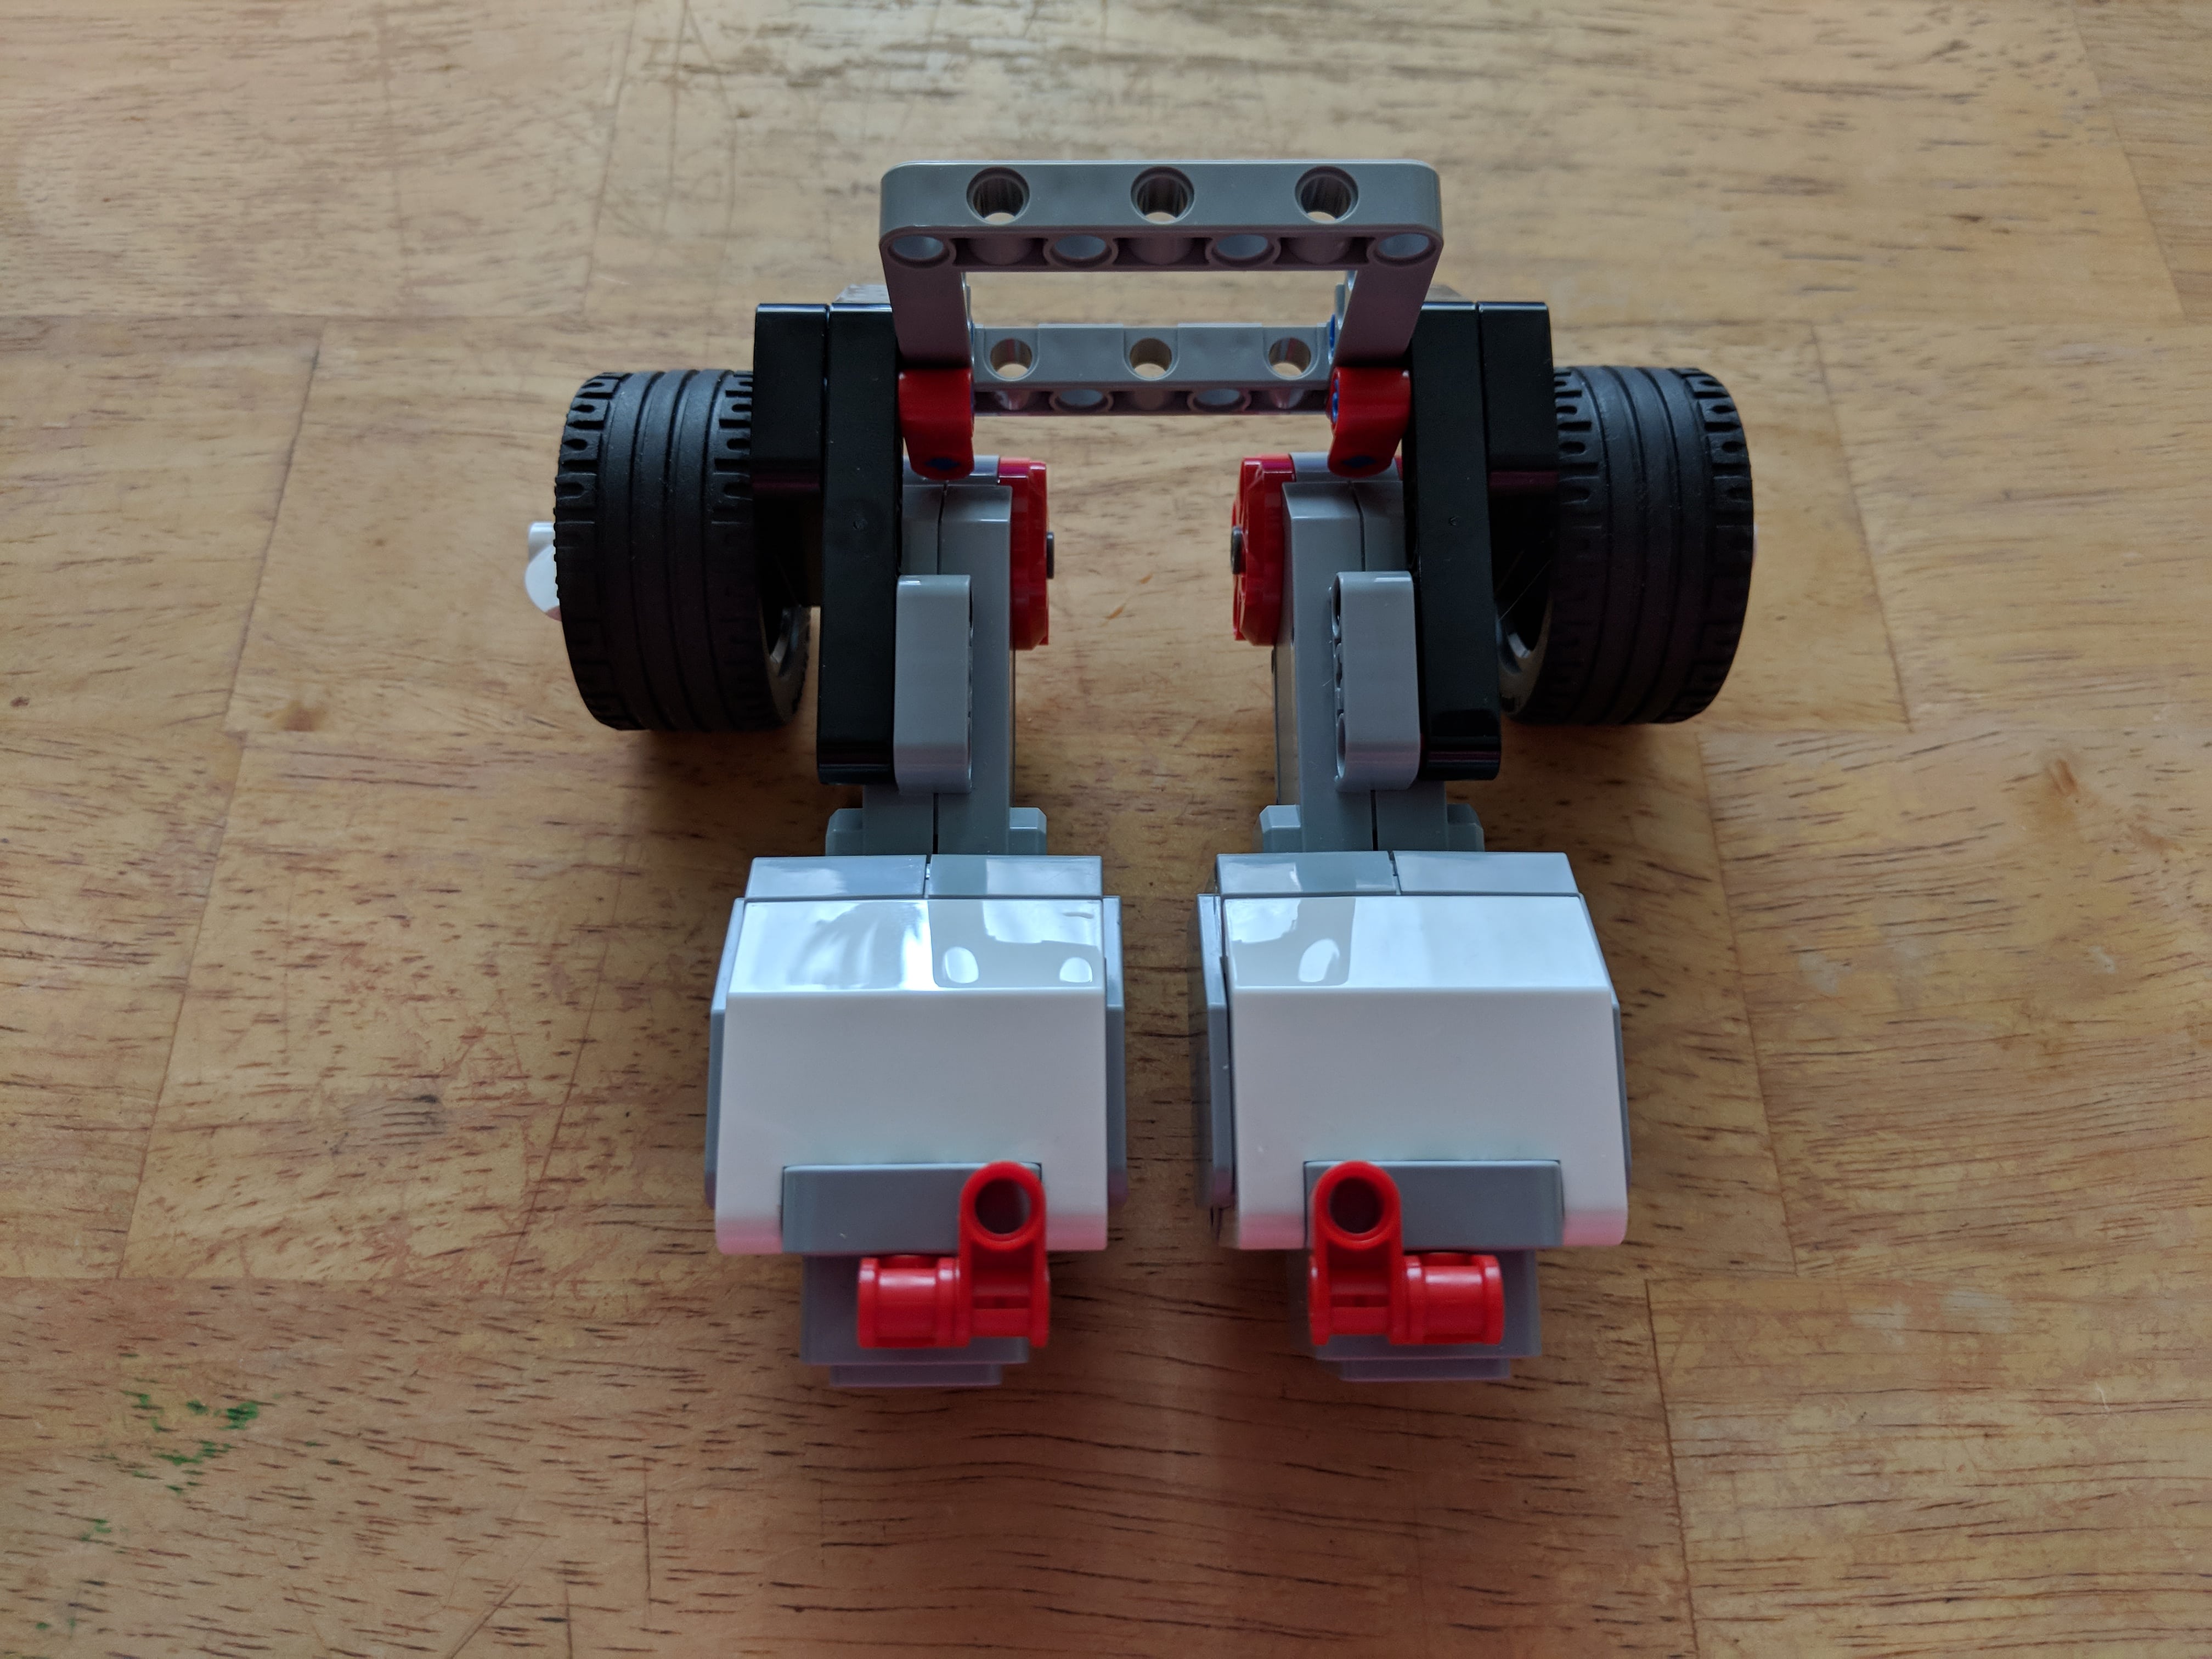
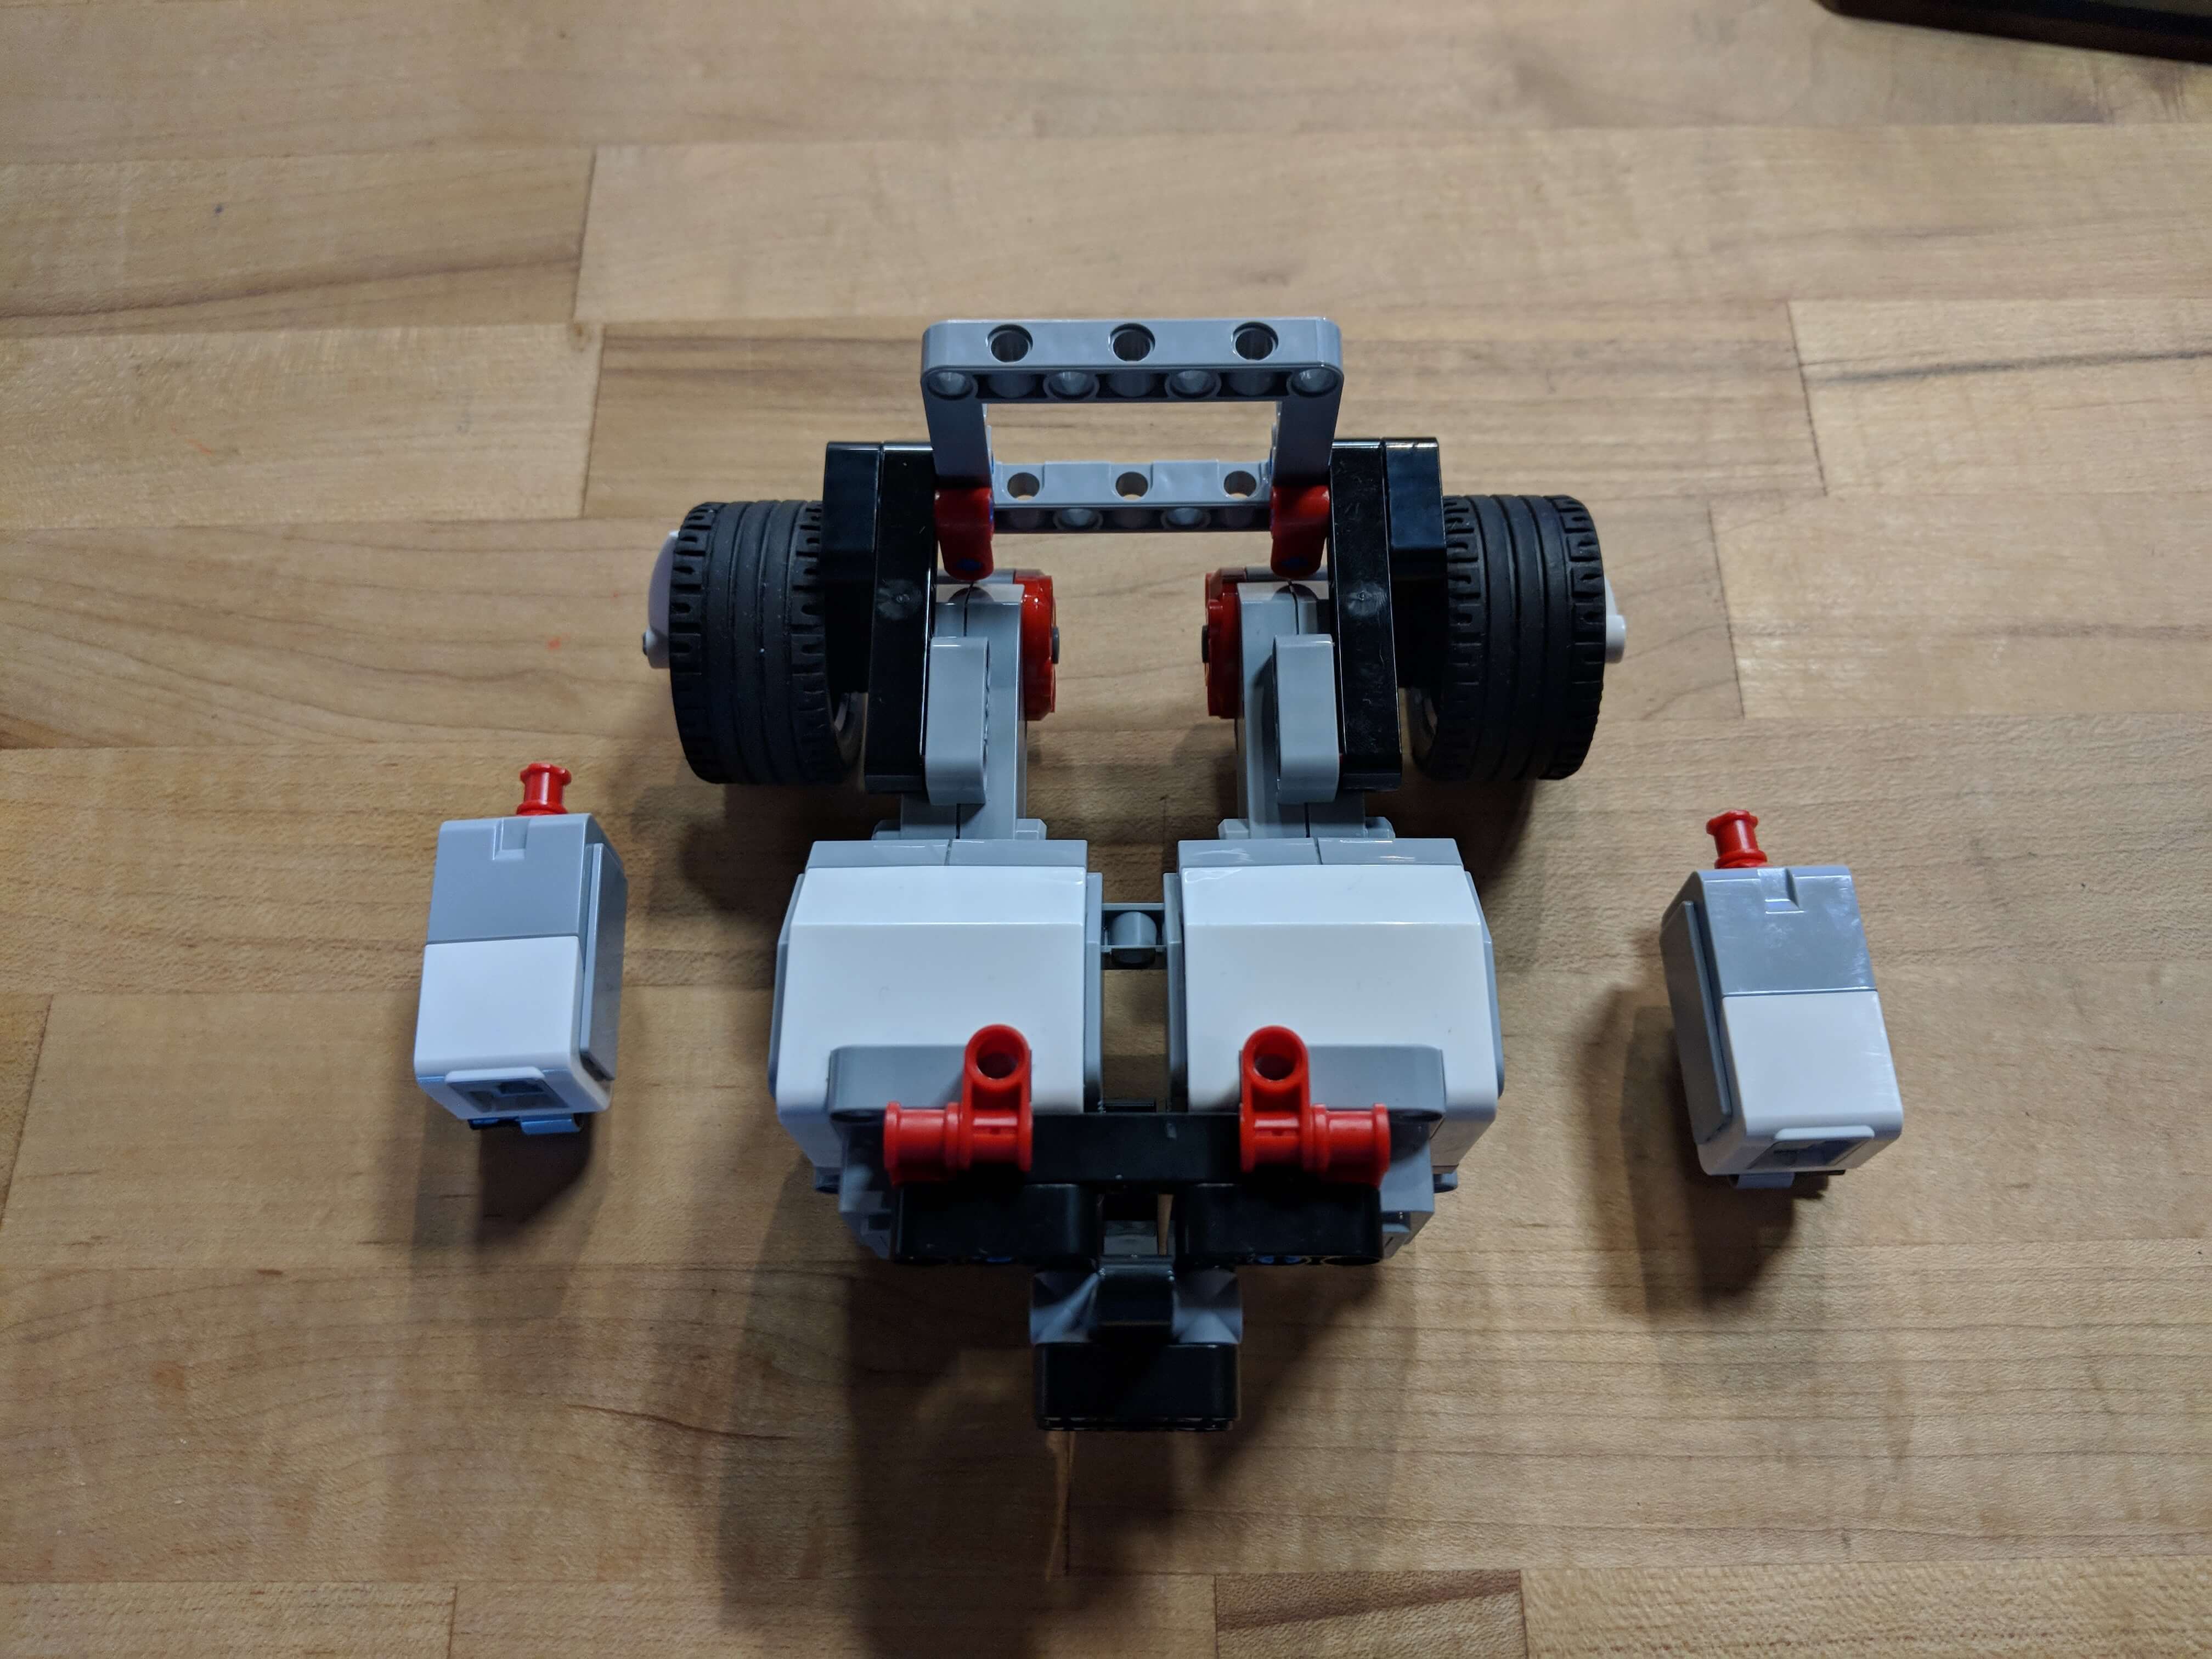
Complete Assembly
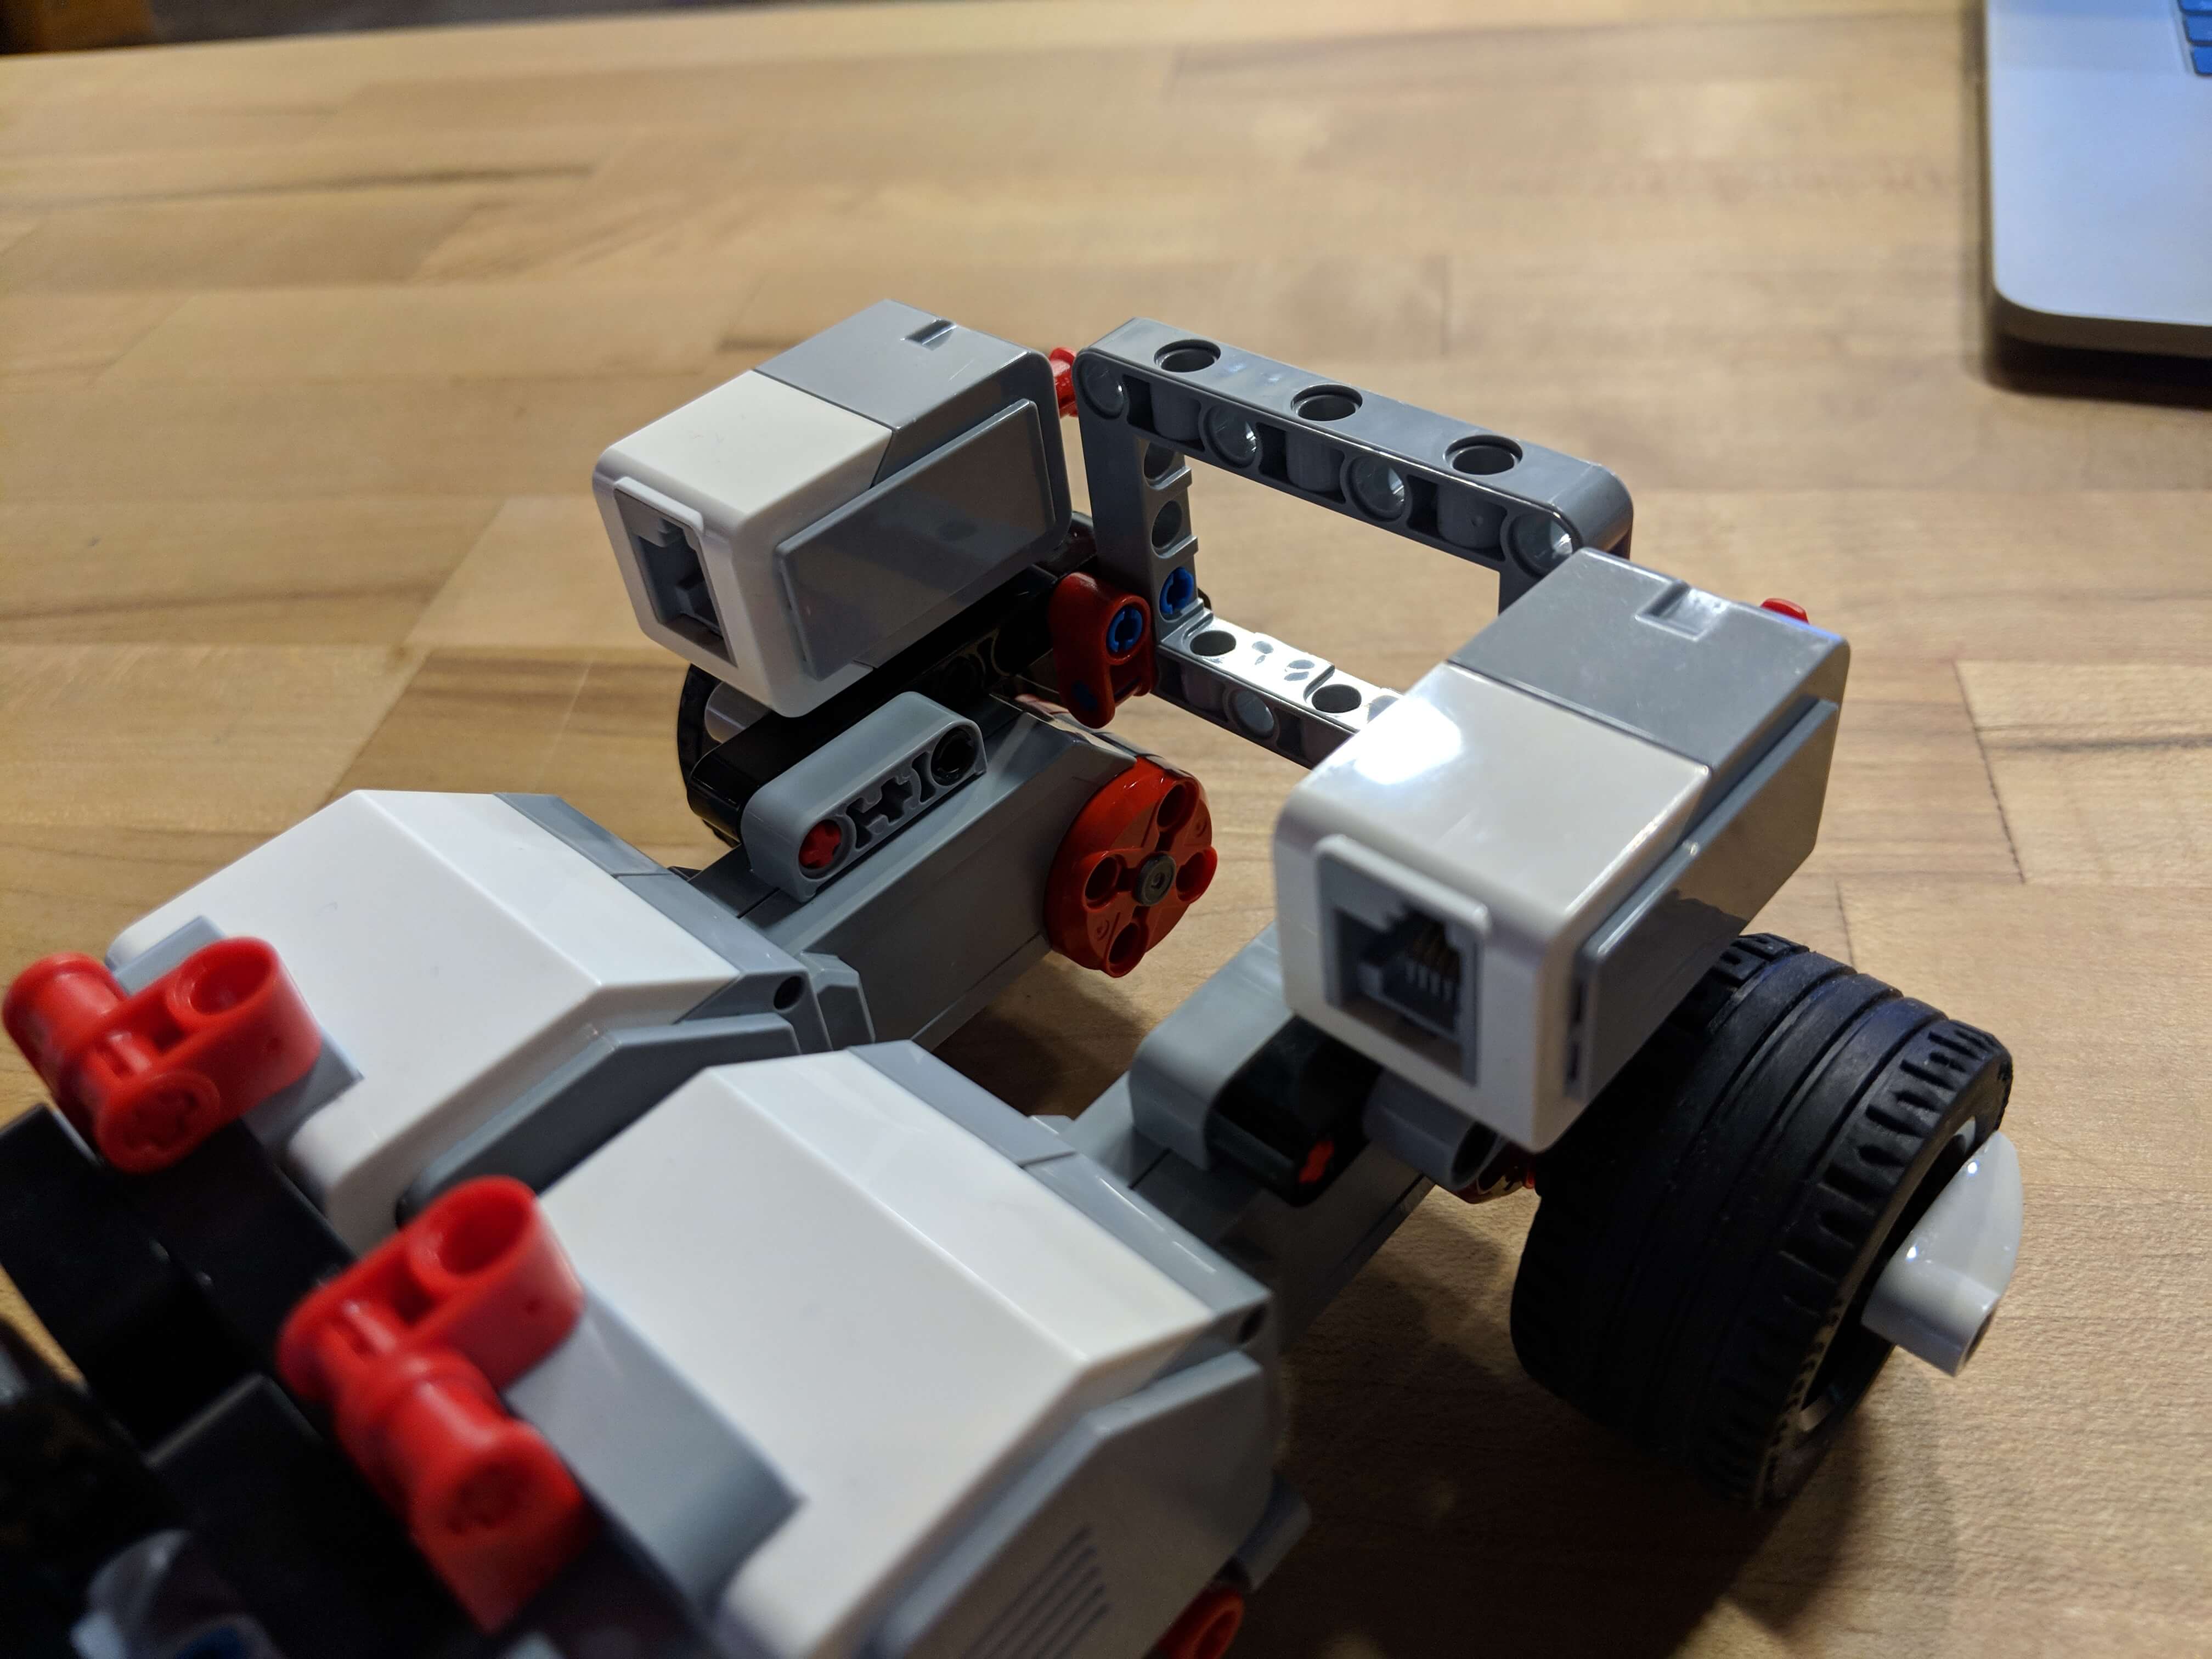
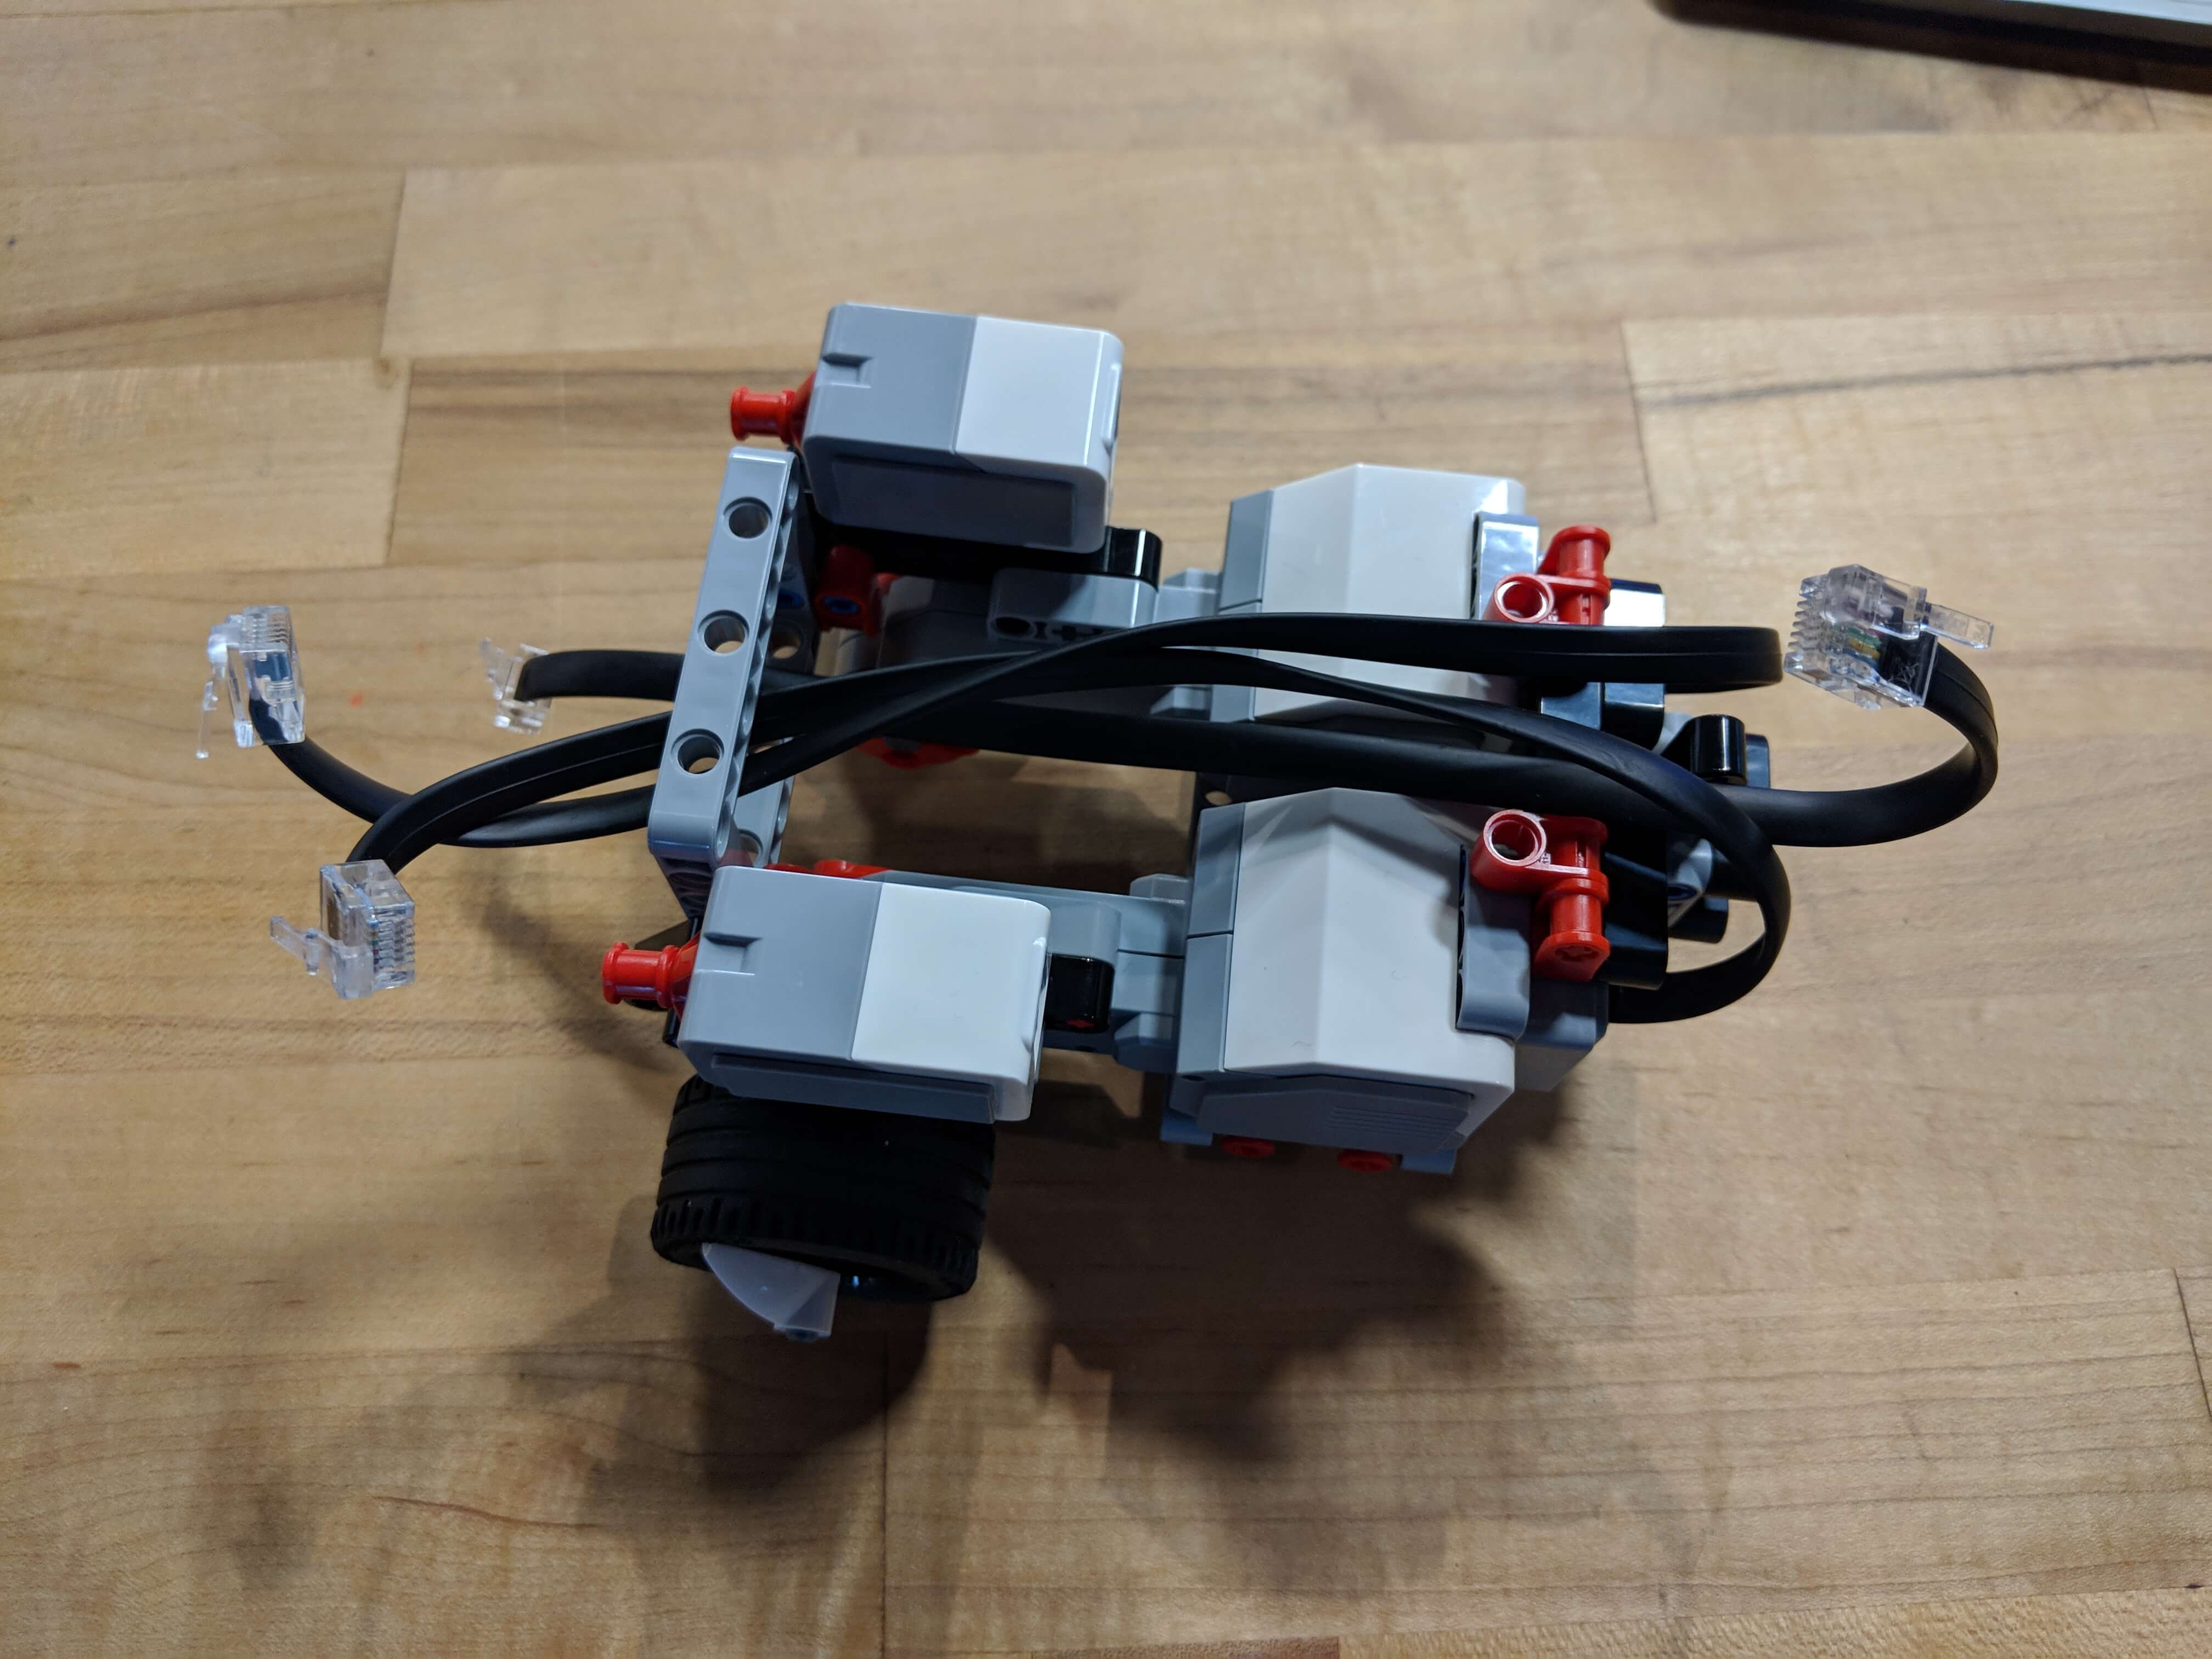
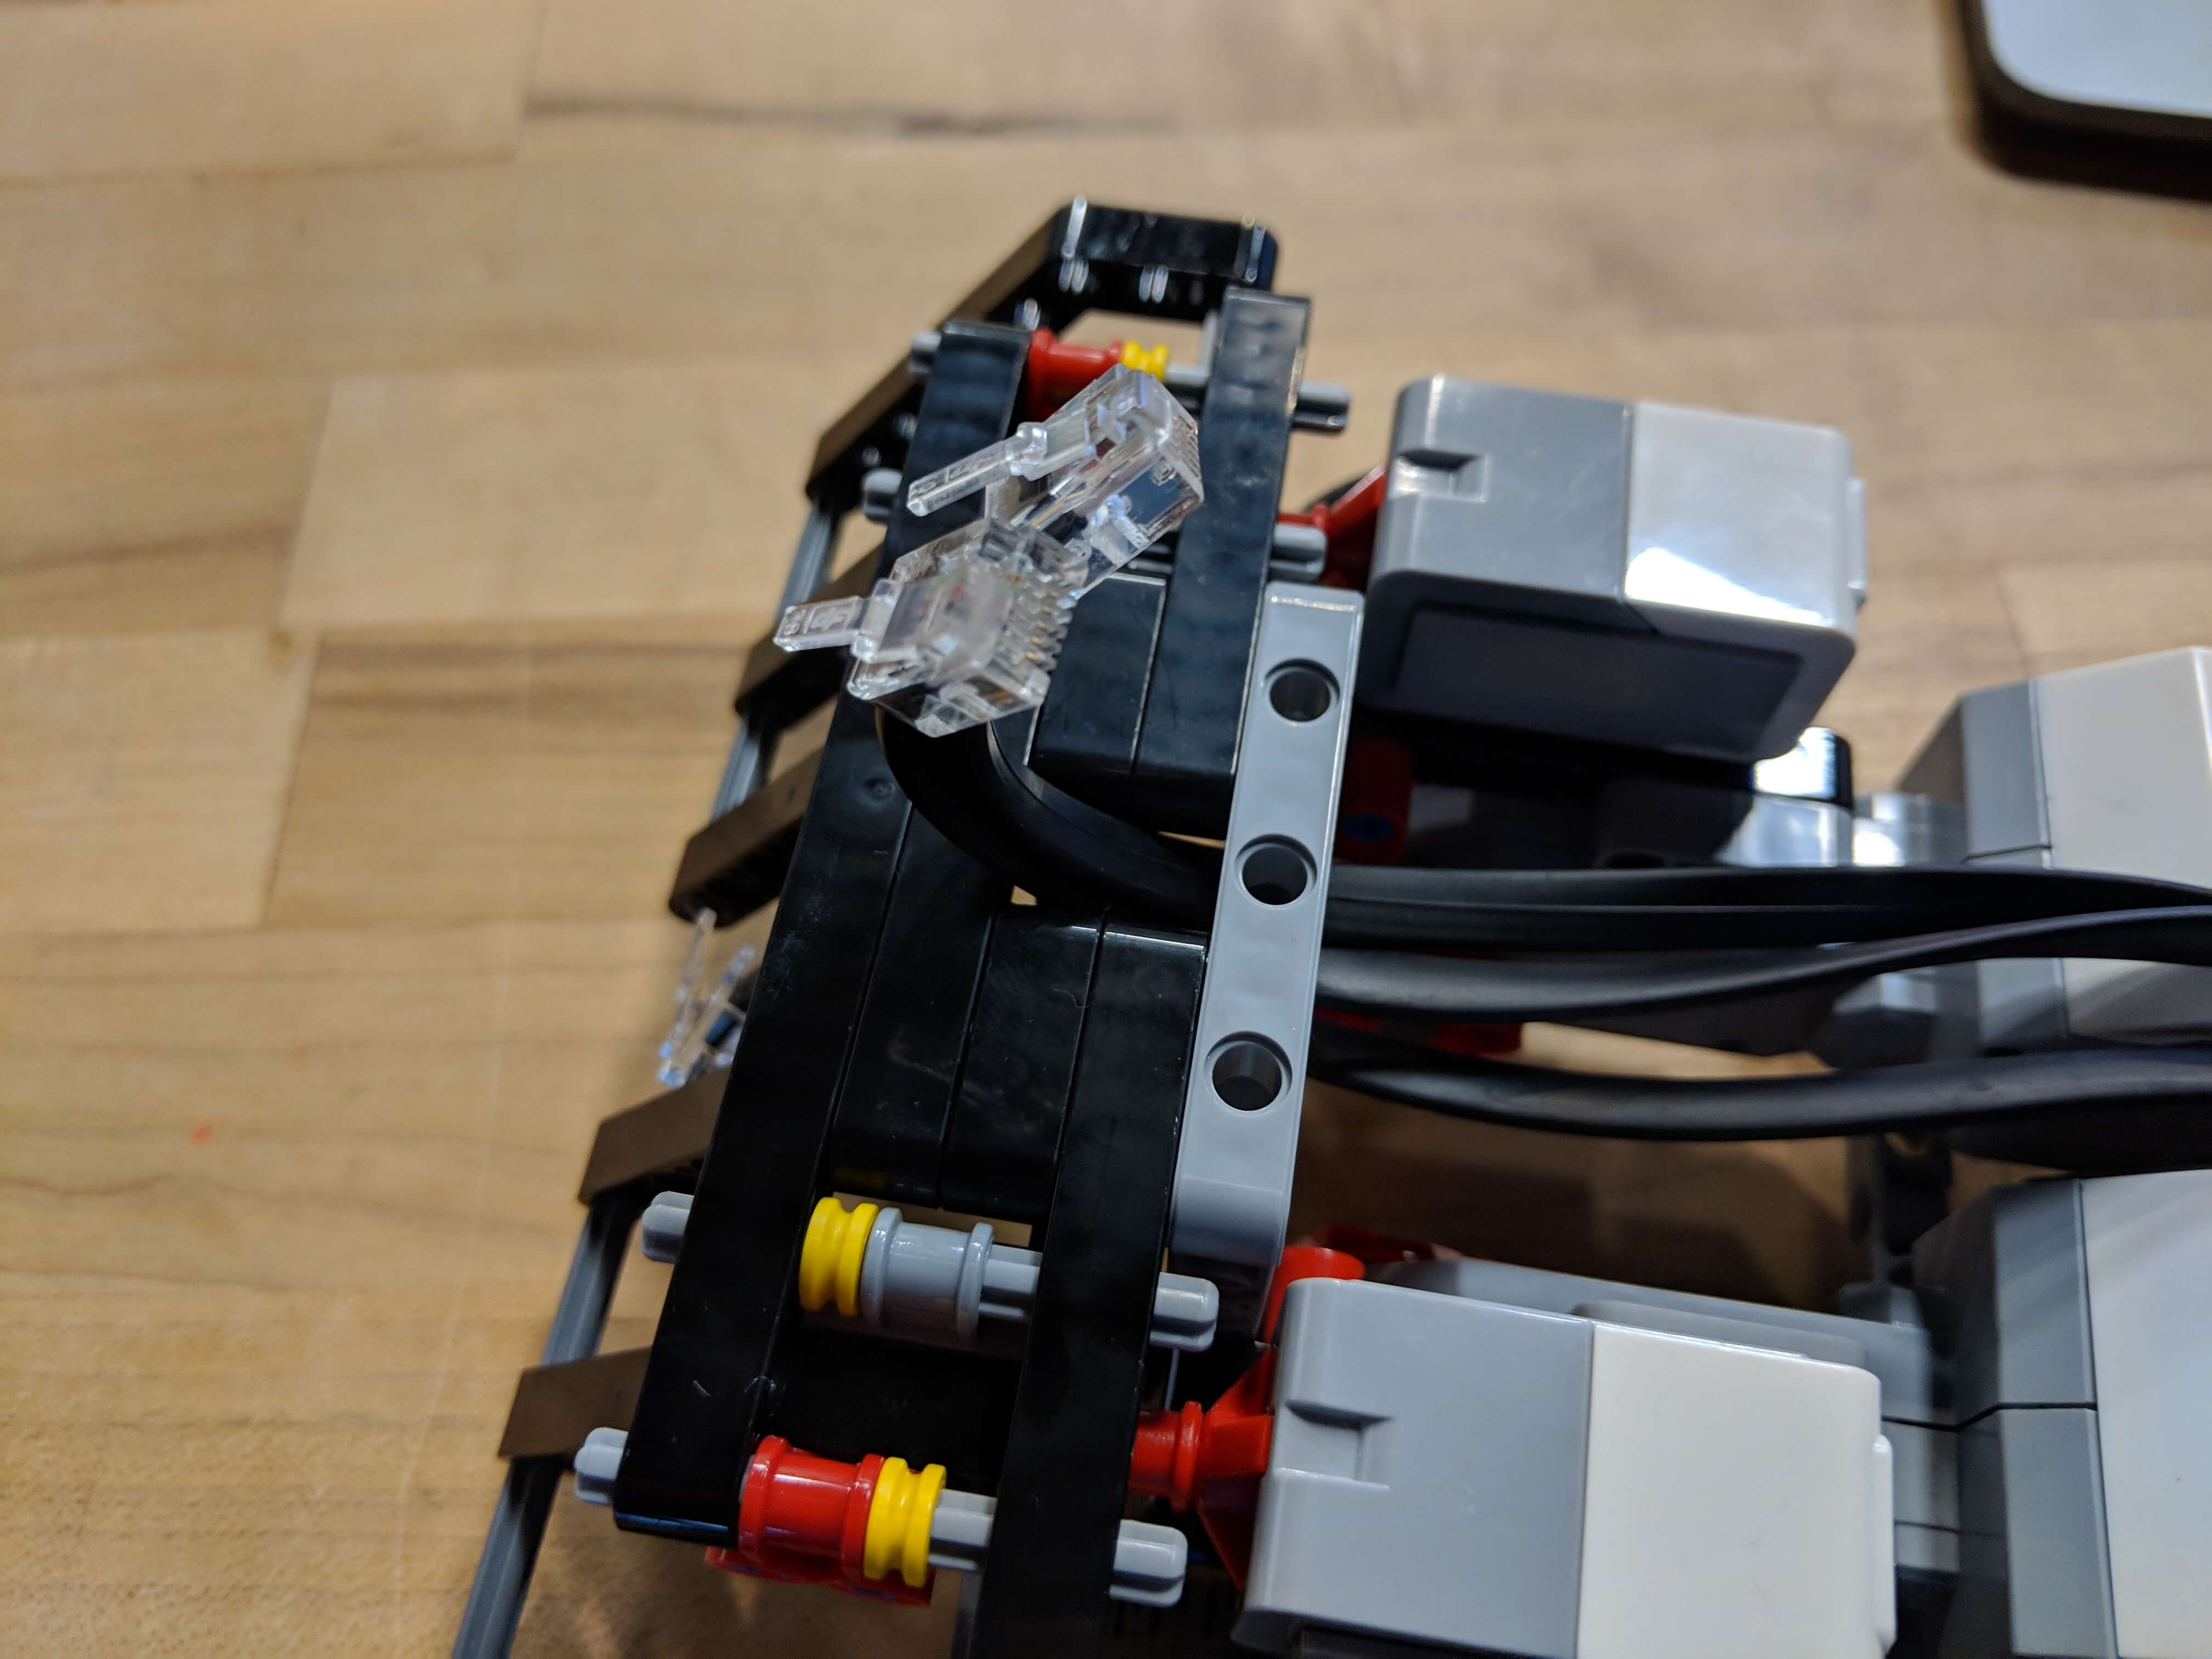
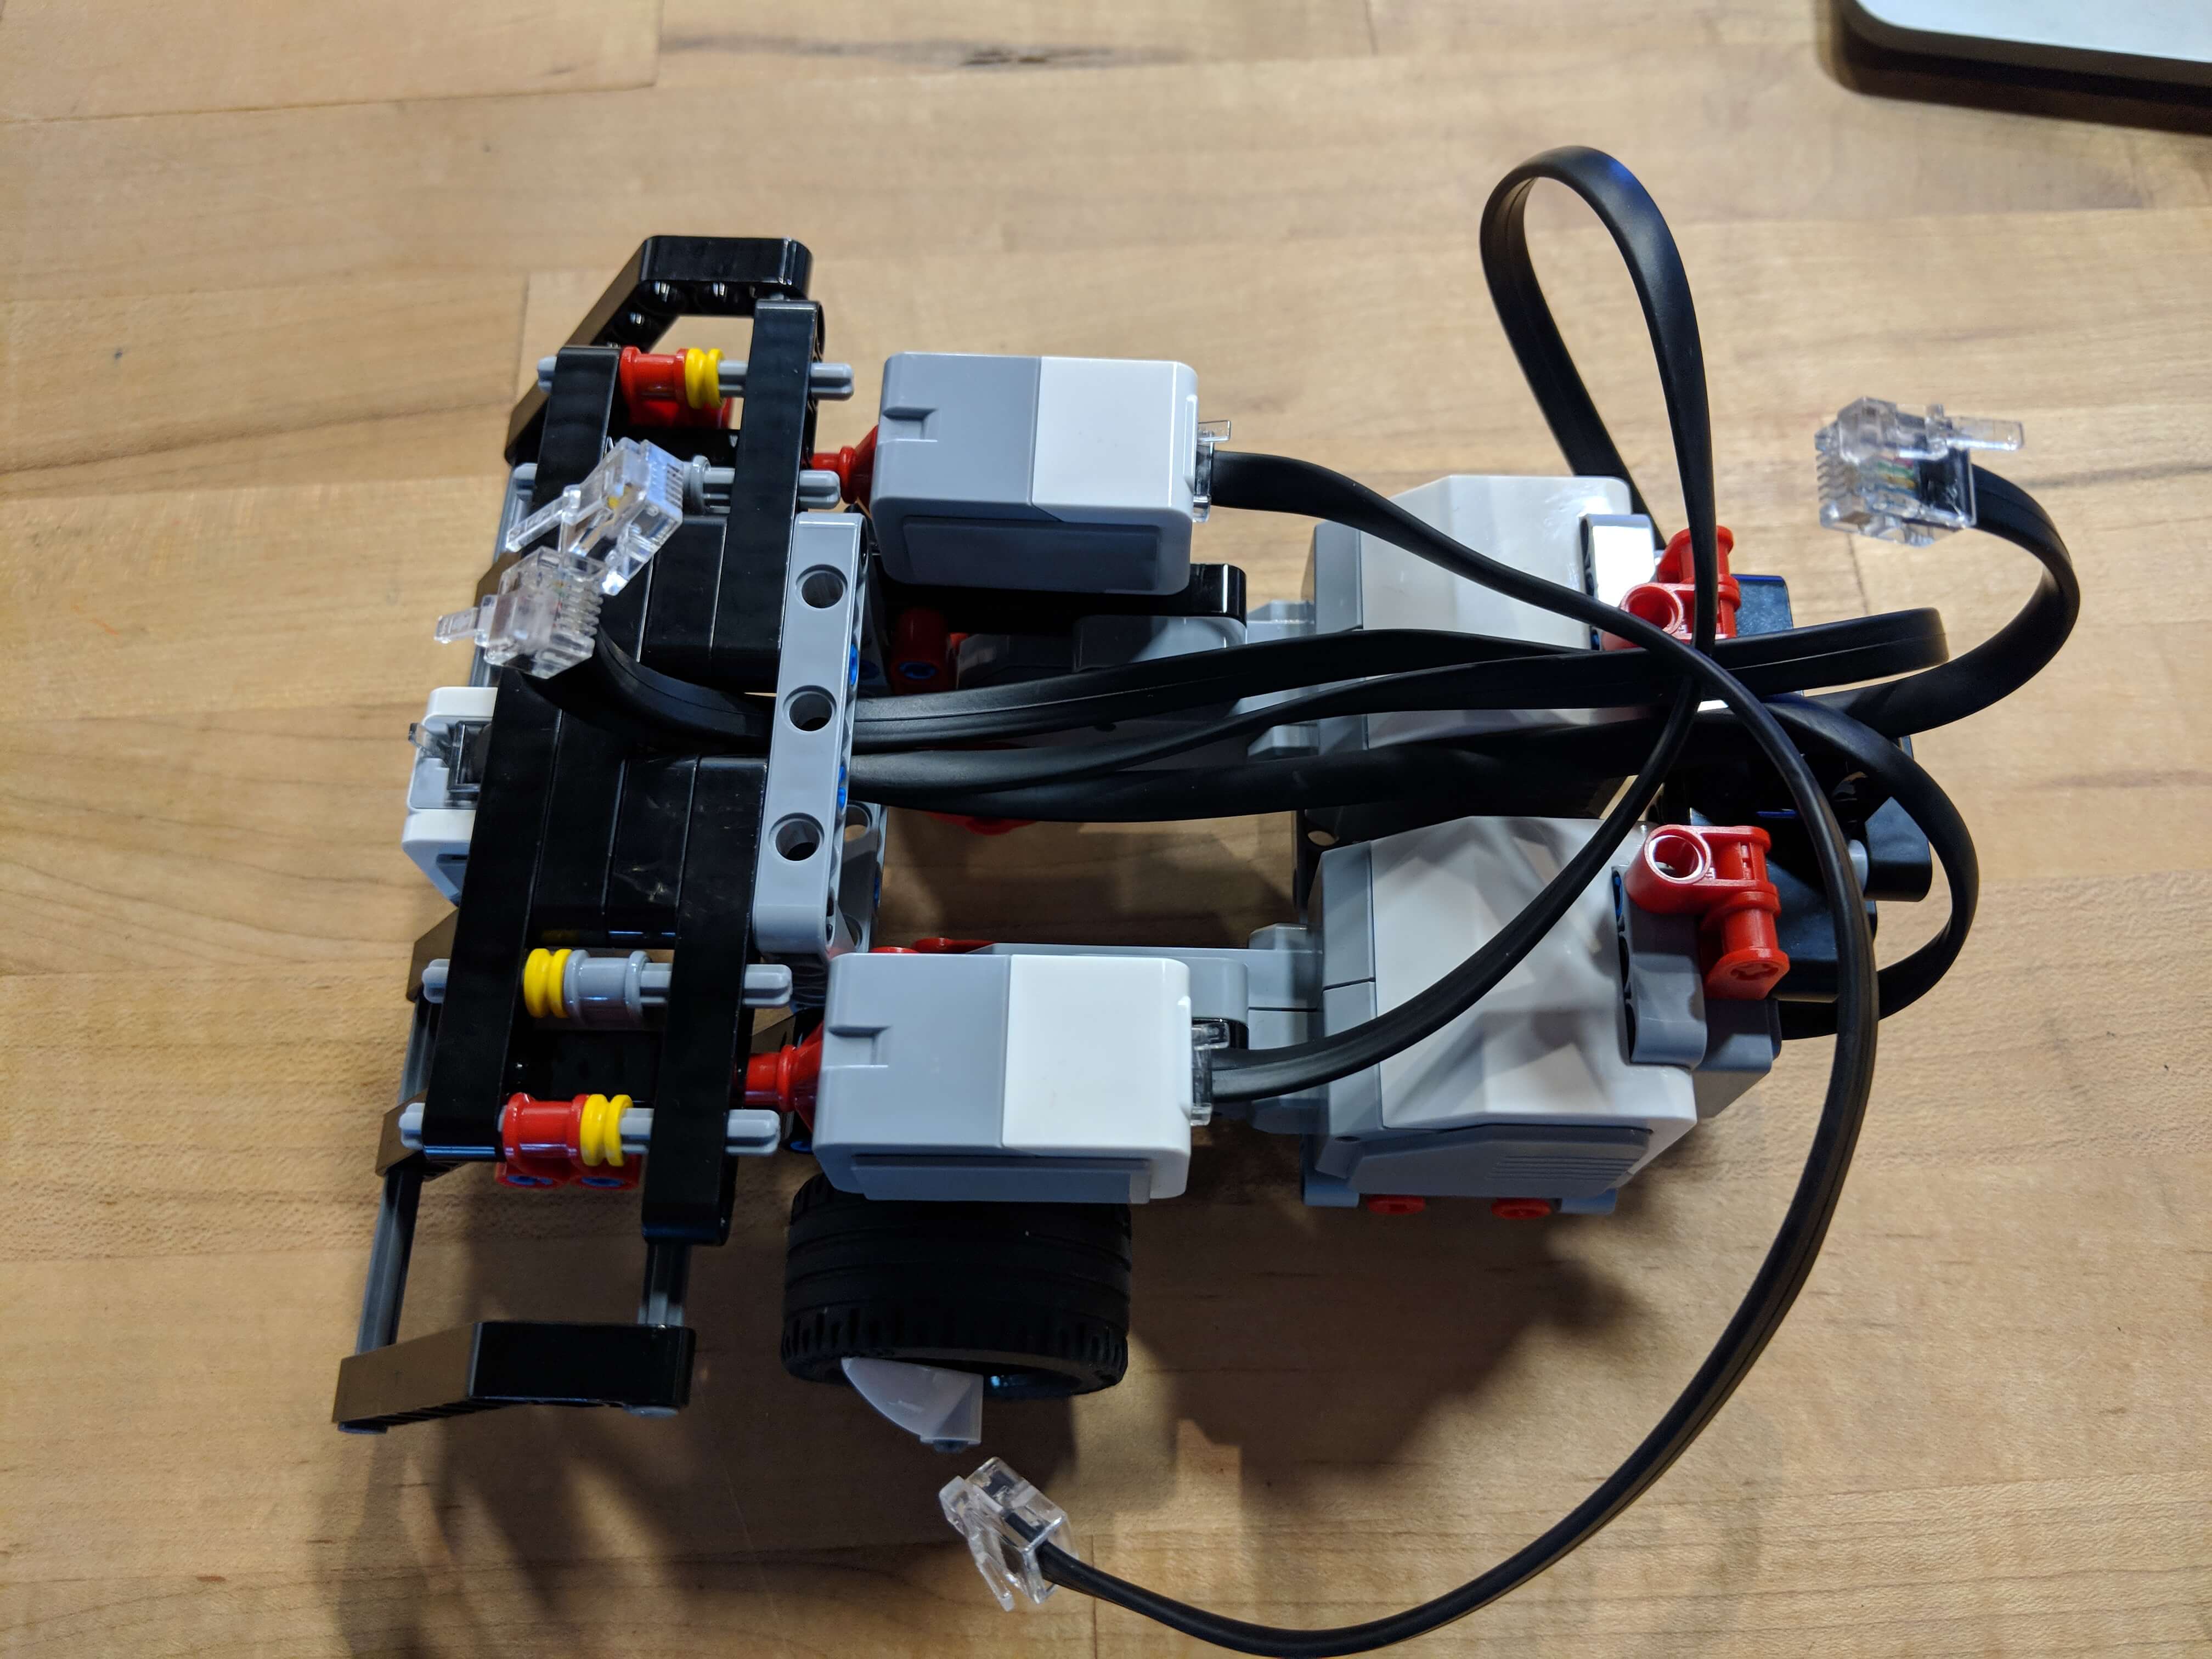

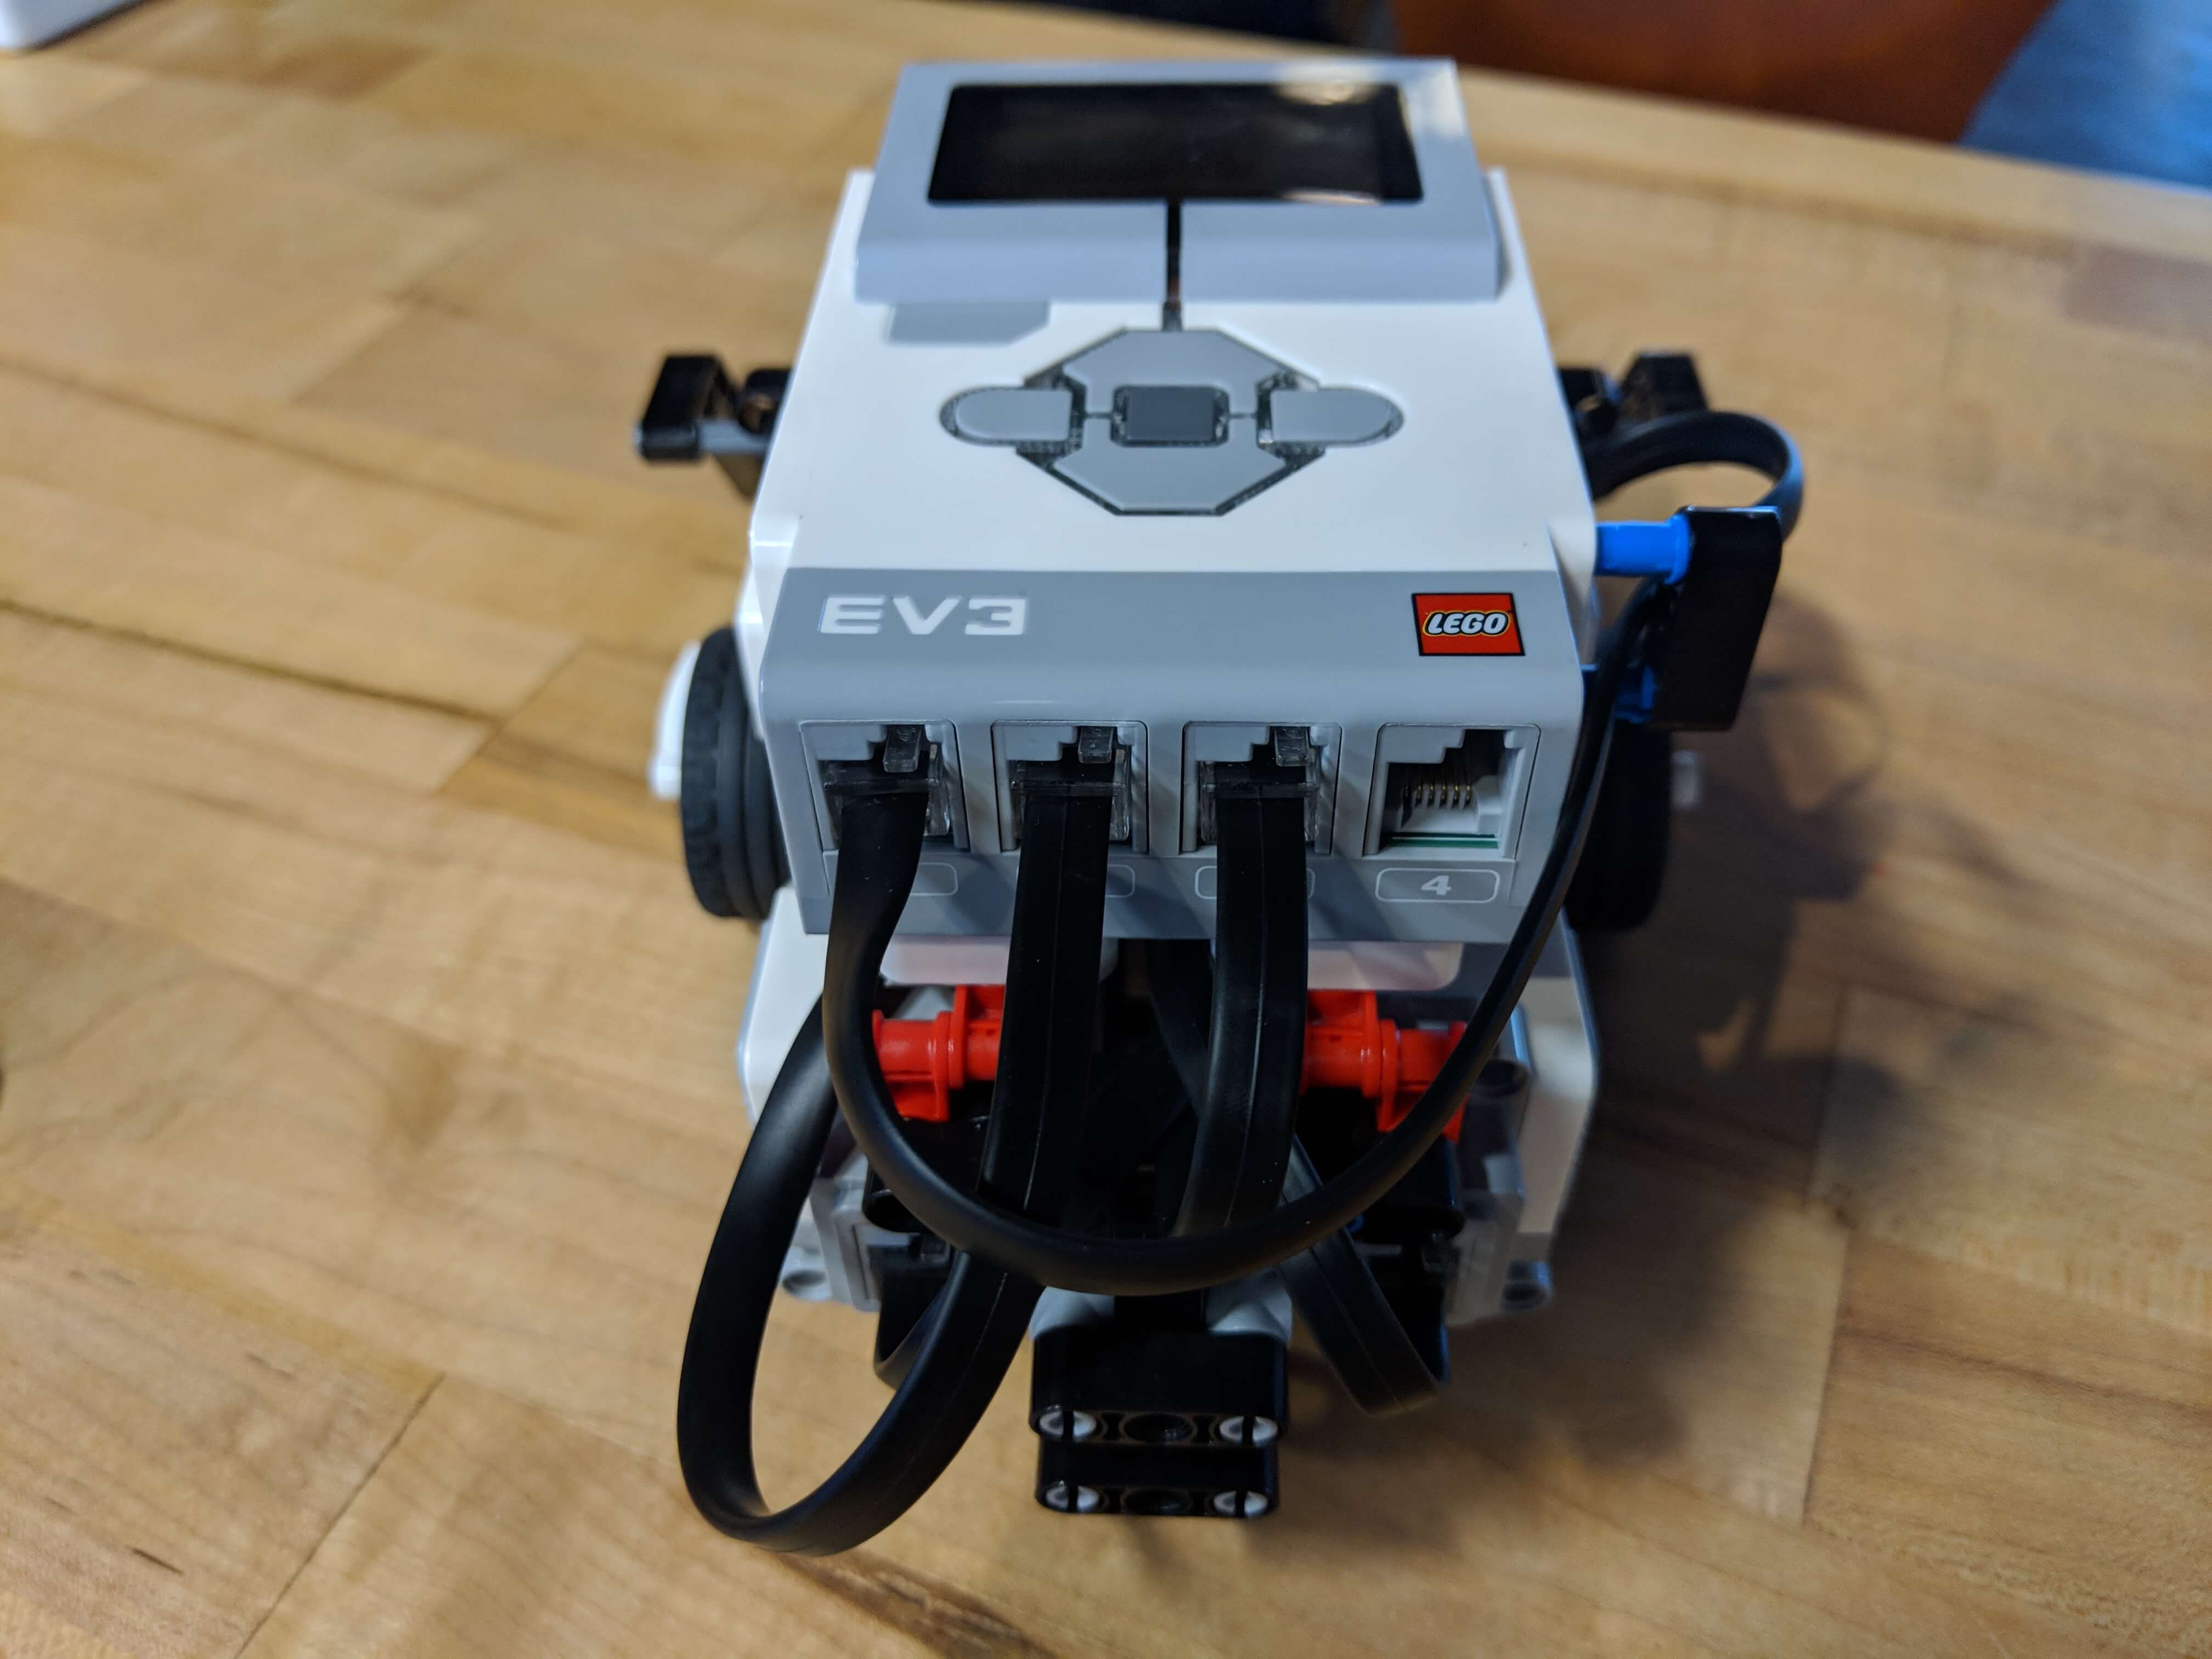
Connect the left touch sensor to port 1 and the right touch sensor to port 2. Note that the wires cross underneath the EV3 brick.
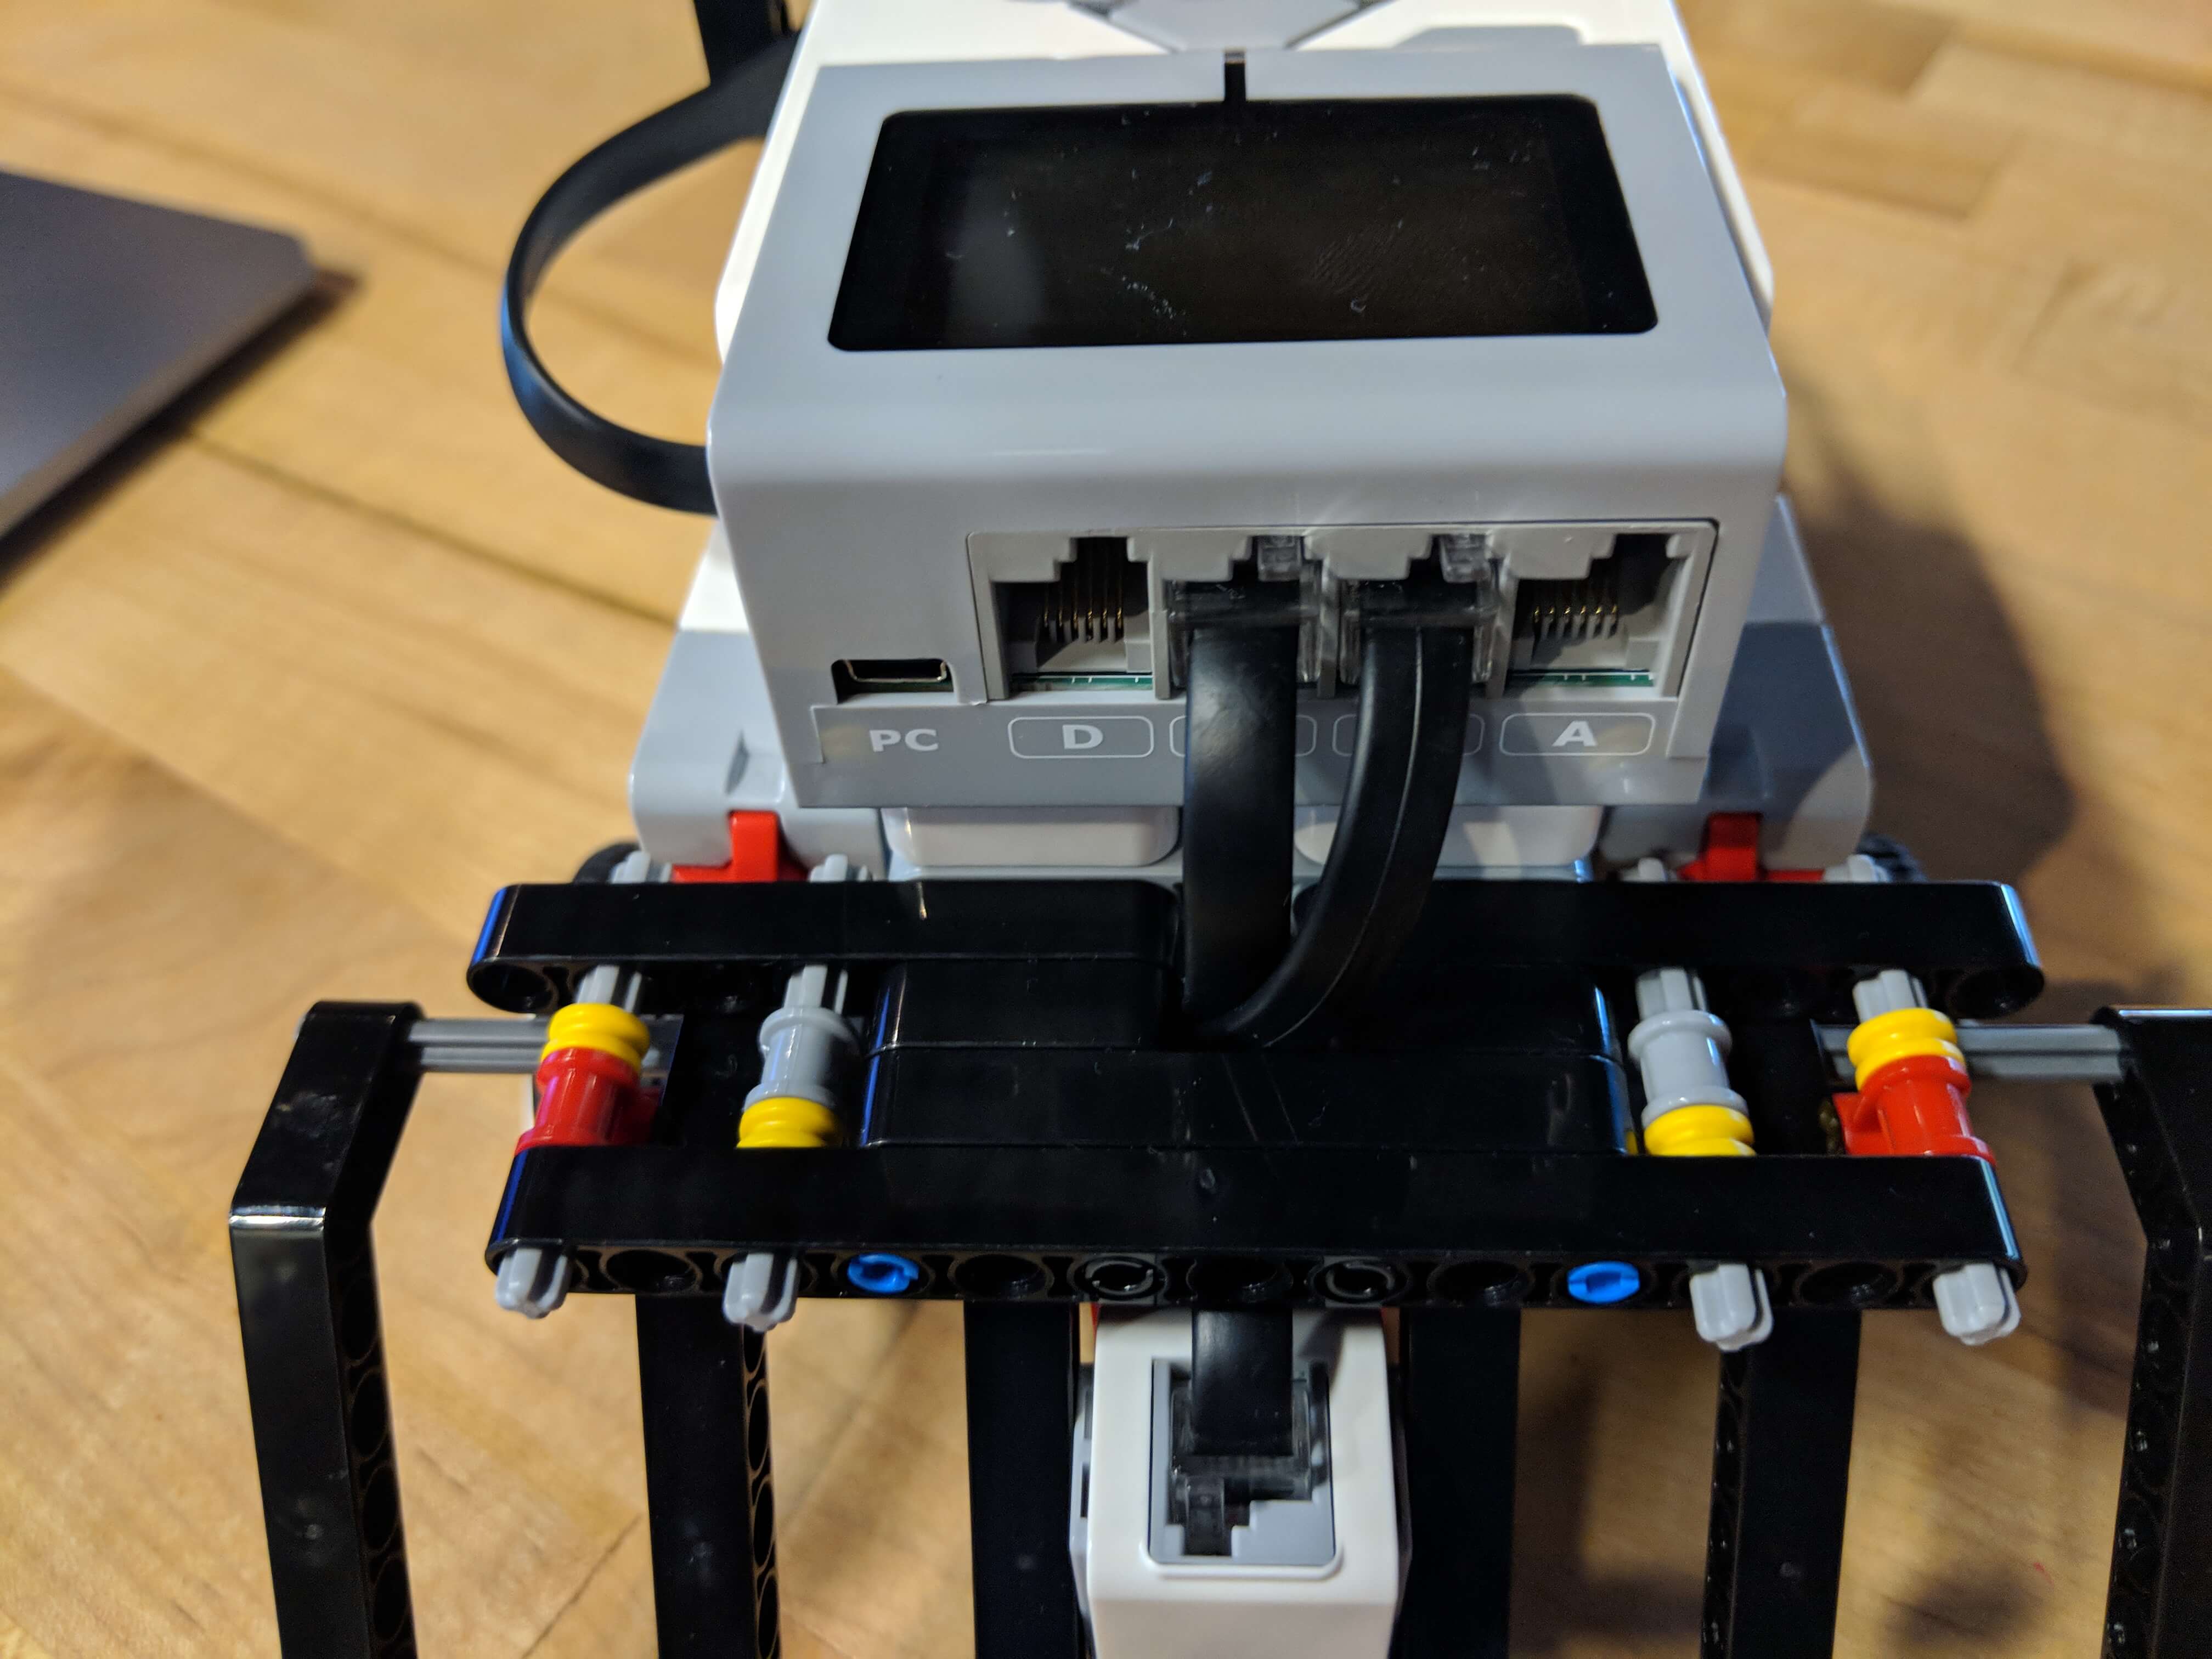
Connect the left motor to port C and the right motor to port B.
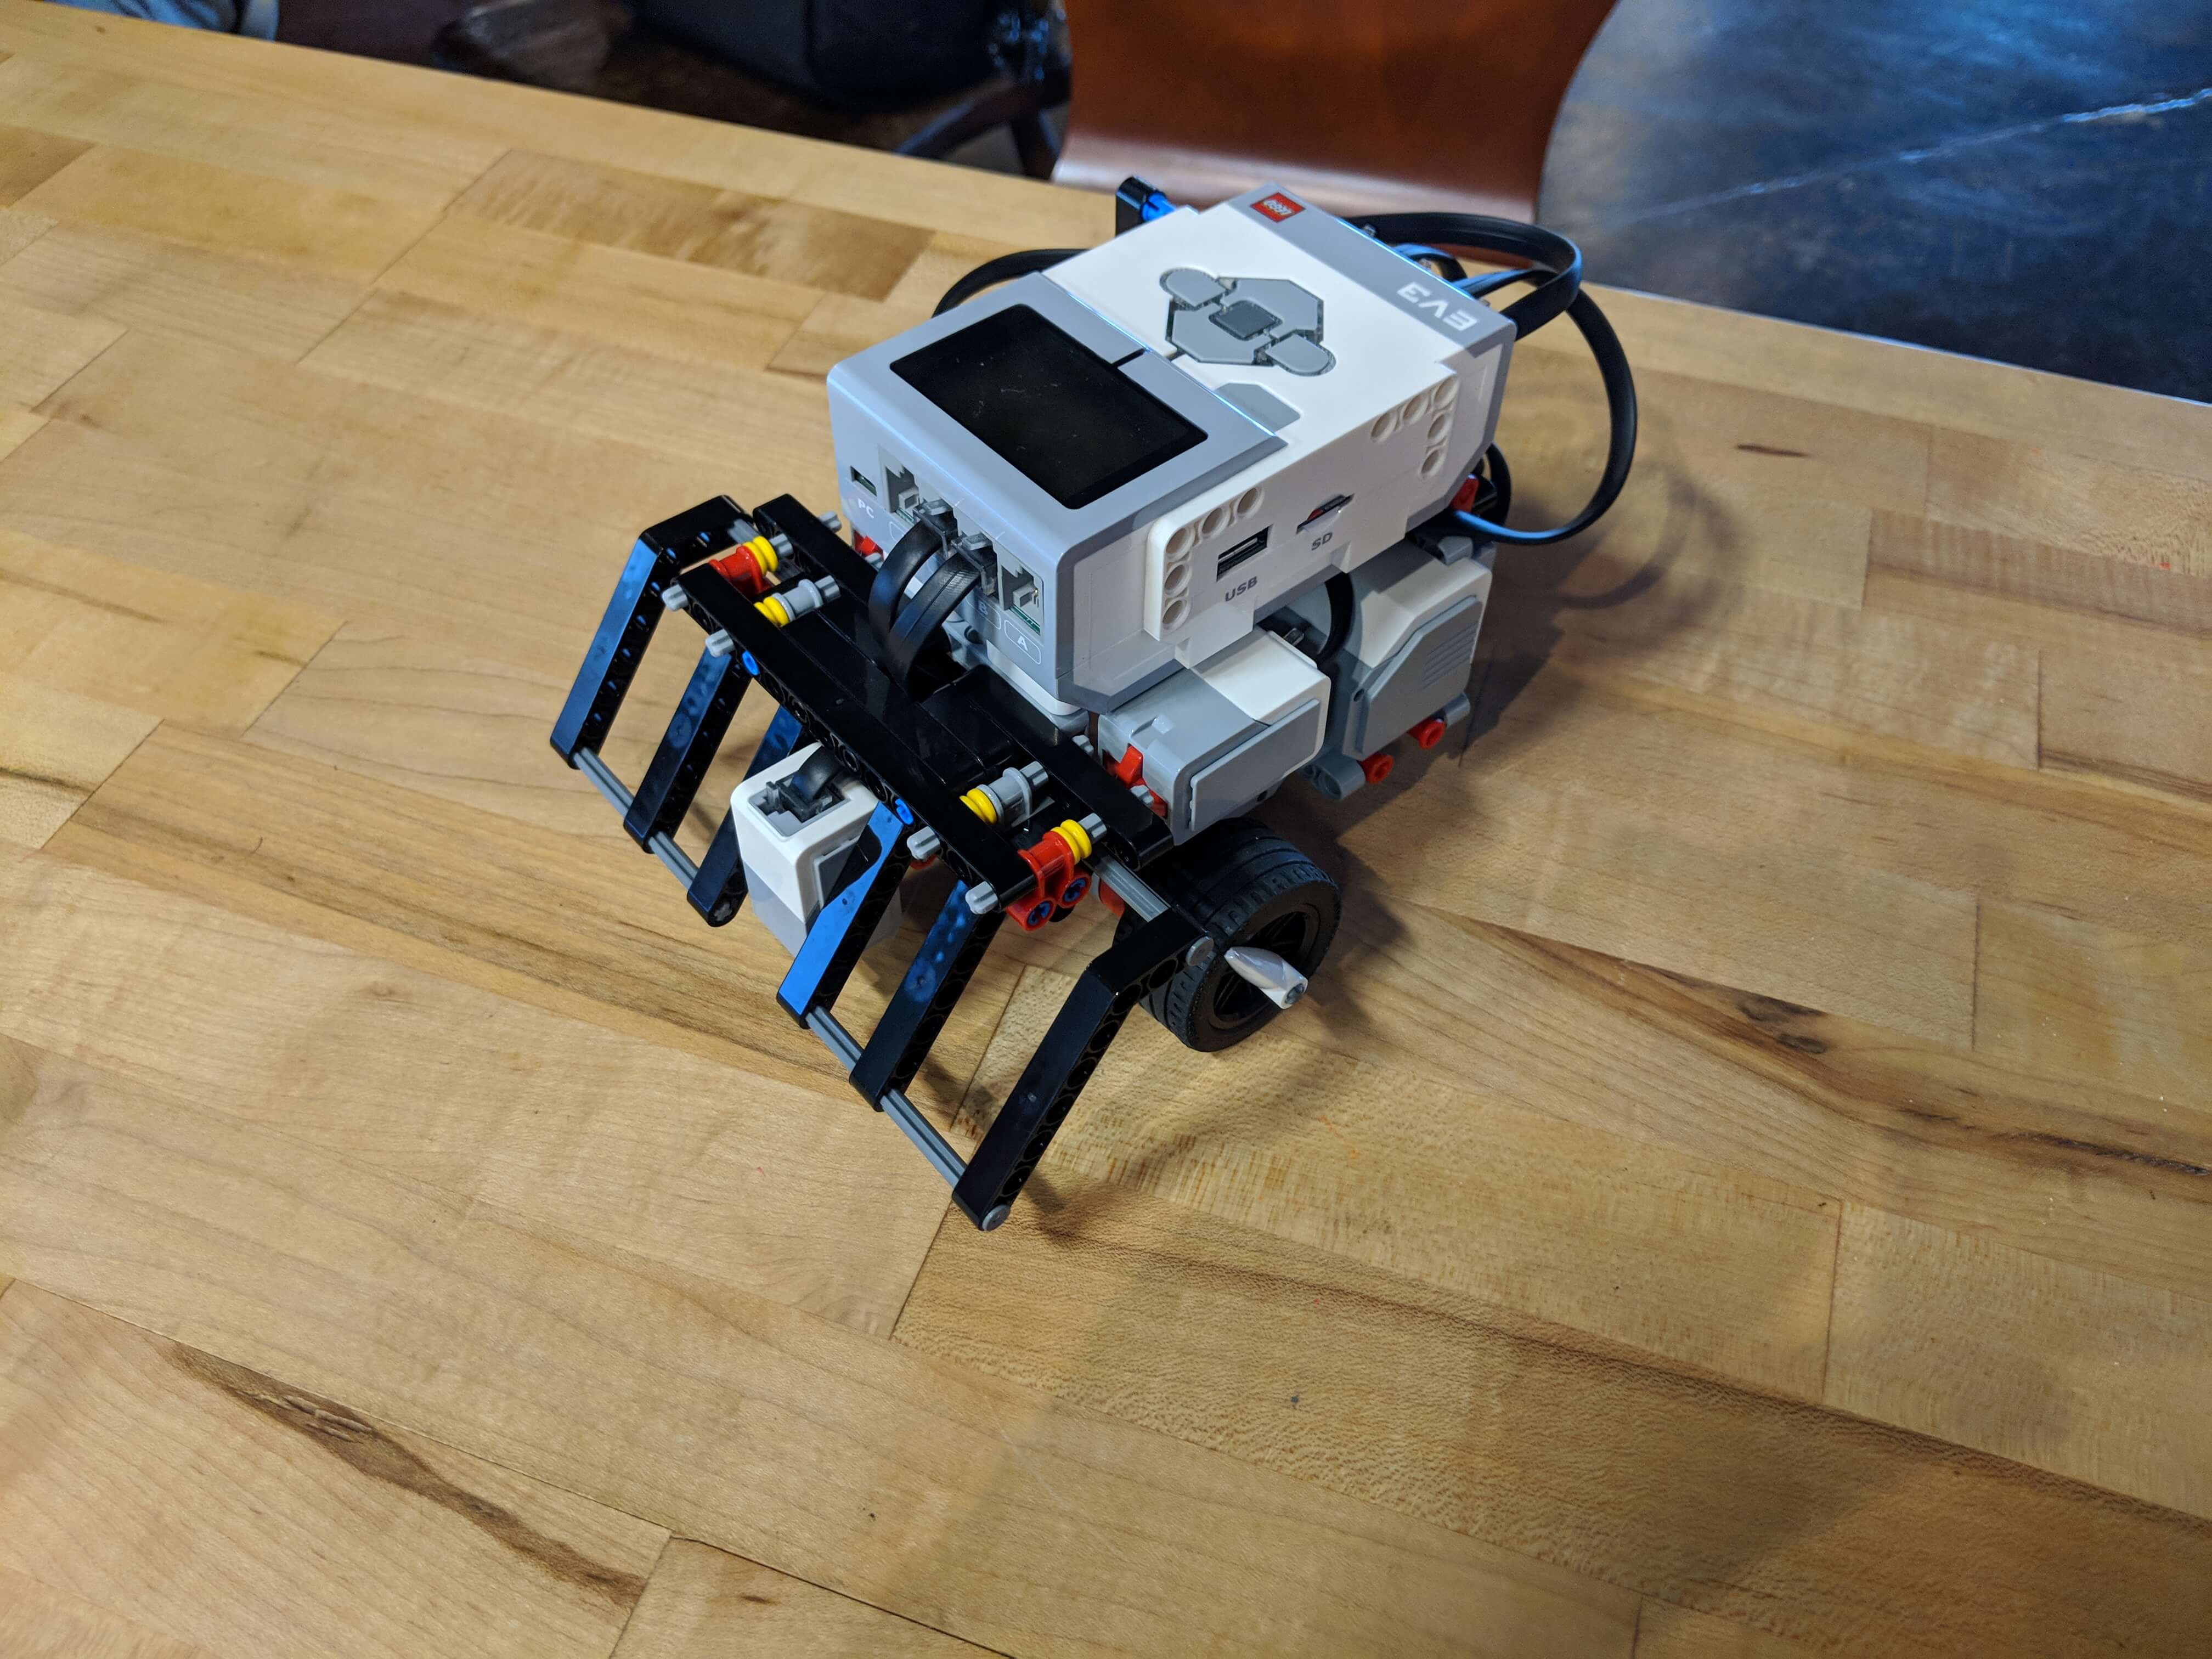
Congratulations
You have completed your EV3 sumo robot.