These instructions describe the steps to set up a shared folder while connecting to the VM and logging in.
Advanced Login Steps
-
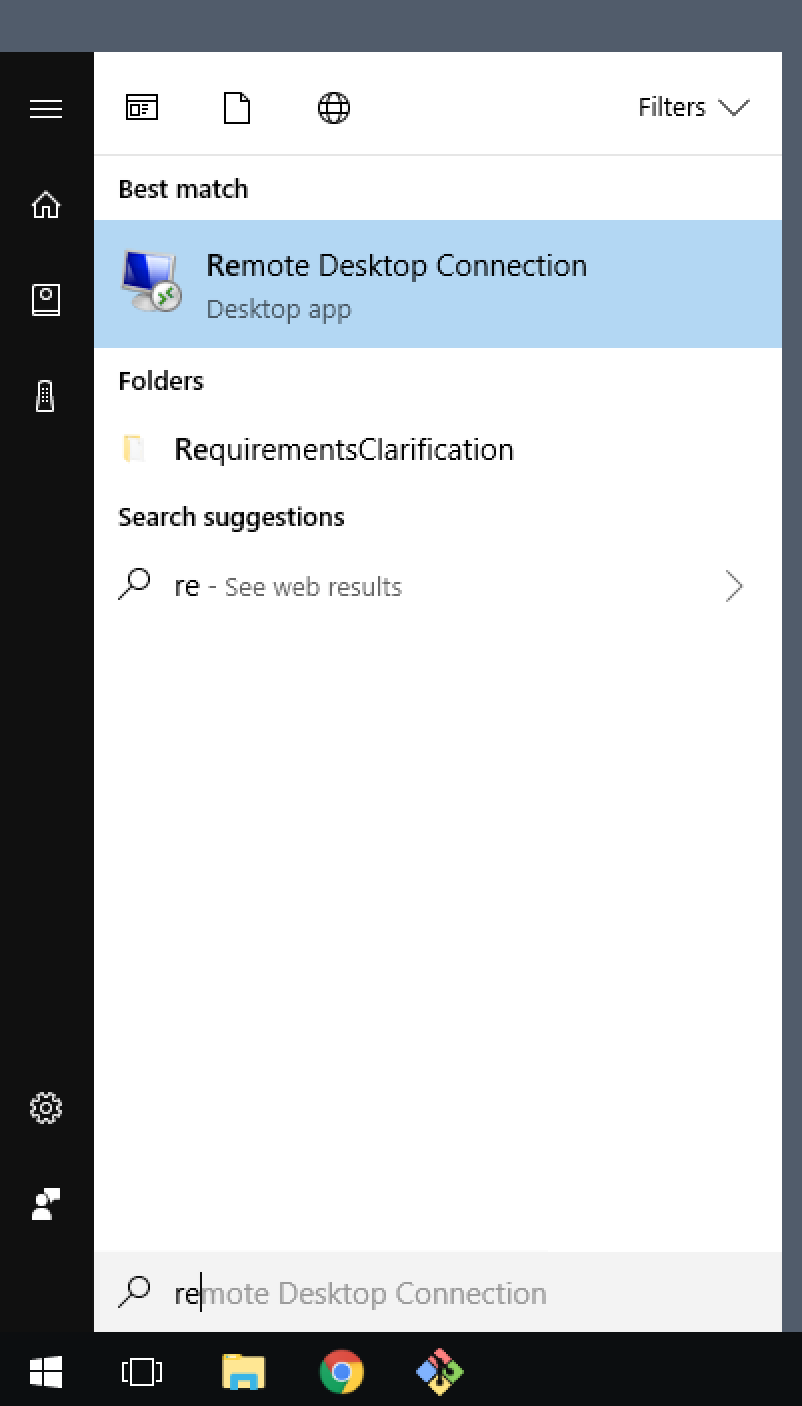
Launch Remote Desktop Connection
-
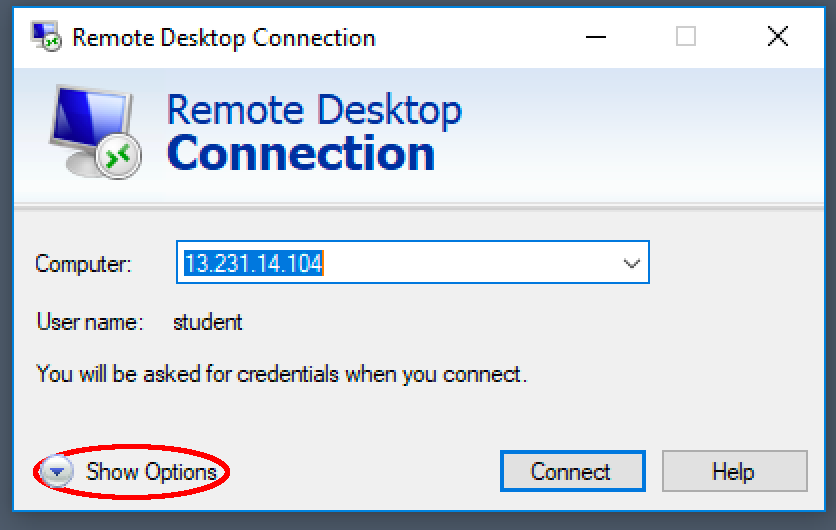
Enter one of the available IP Addresses: 13.115.34.116, 18.179.35.212. Click "Show Options"
-
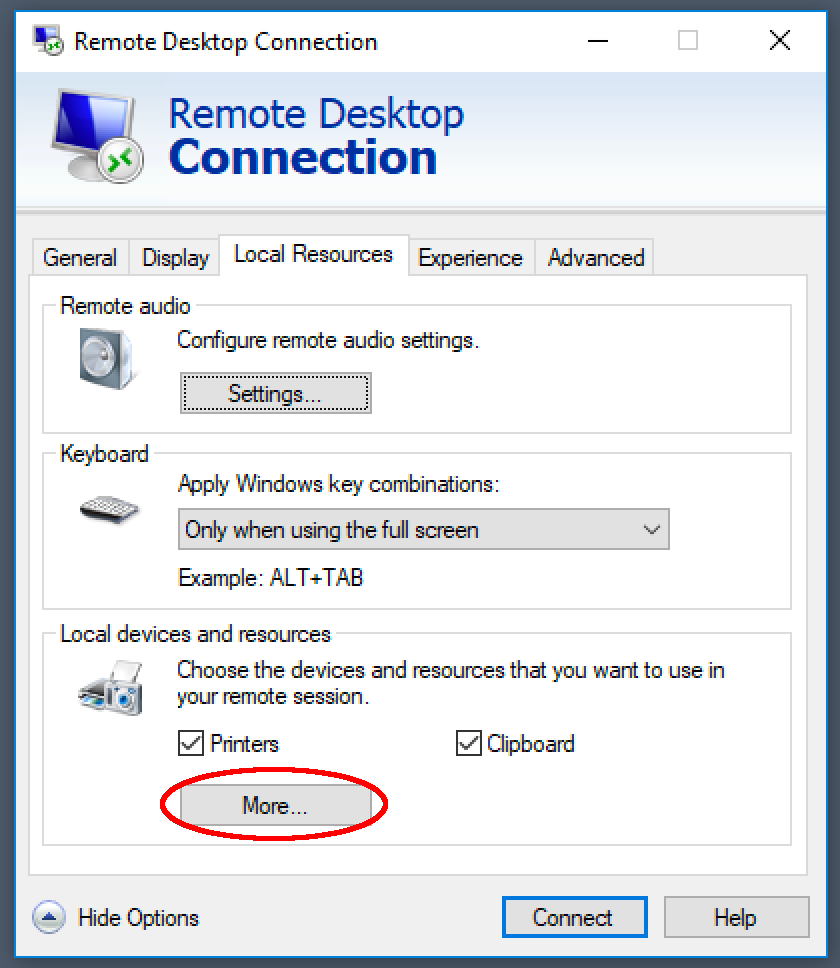
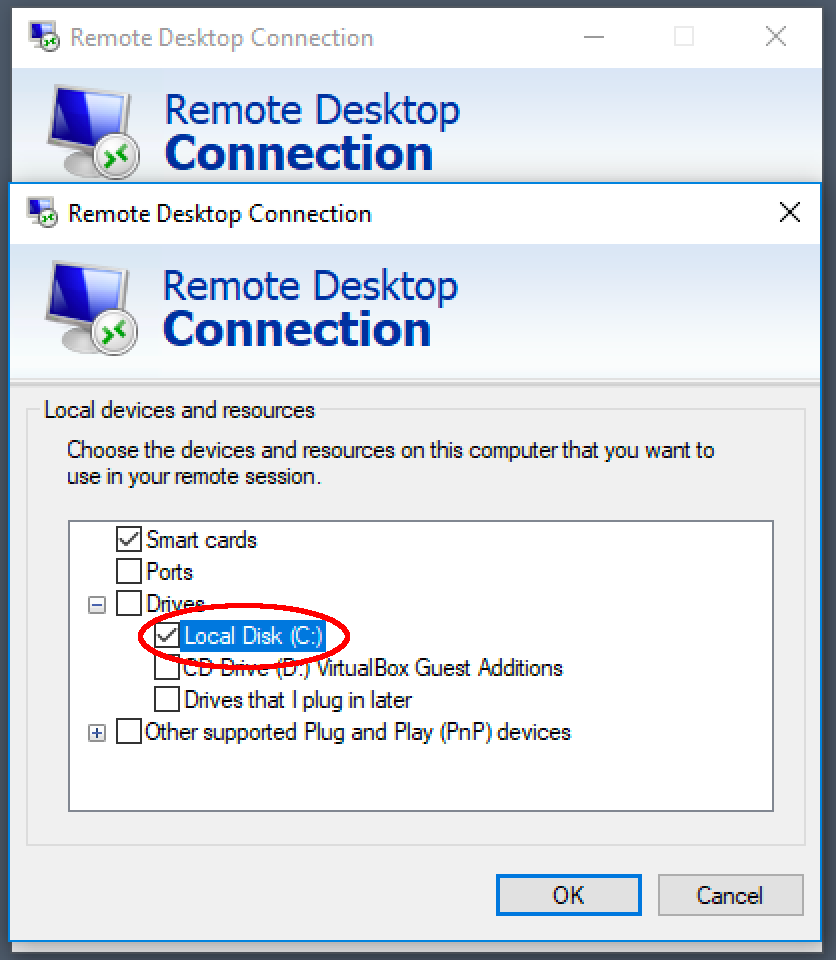
Click "Local Resources"

-
Click the "More…" button
-
Expand "Drives" and check the "C:" drive
-
Click "OK"
-
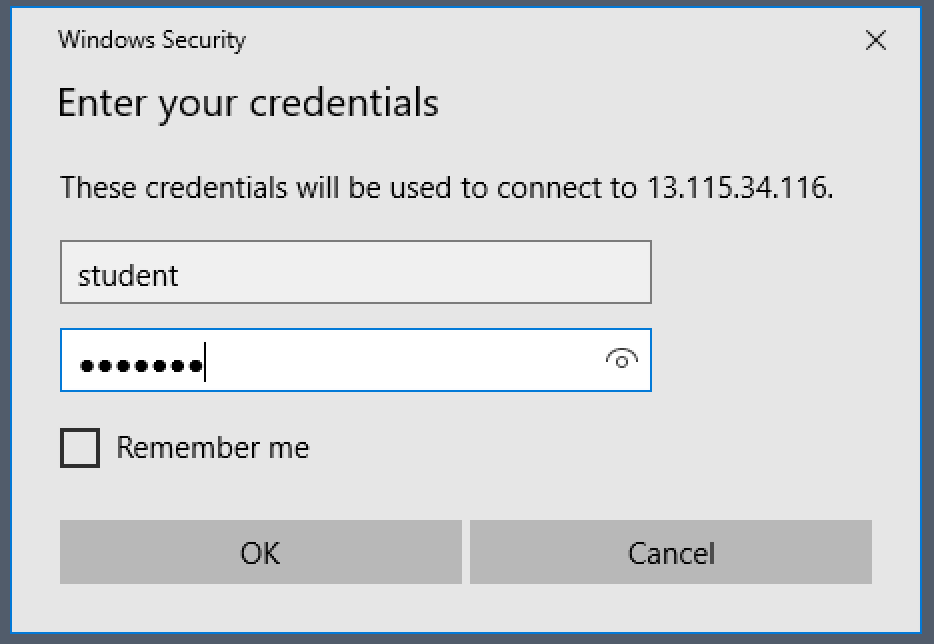
Click "Connect"
-
Enter login info (user, password): student, Robots1
-
Click "Yes" to the Certificate Warning dialog
-
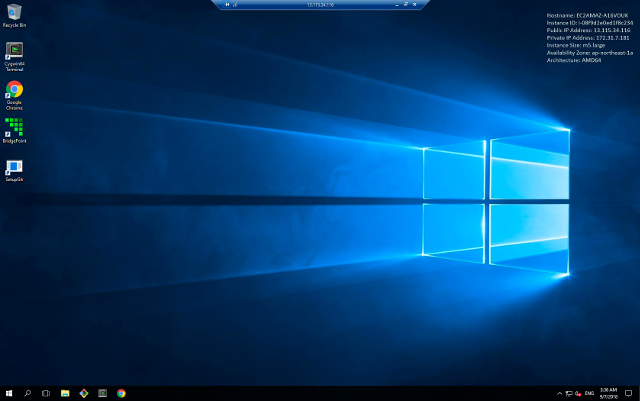
Windows desktop is shown
-
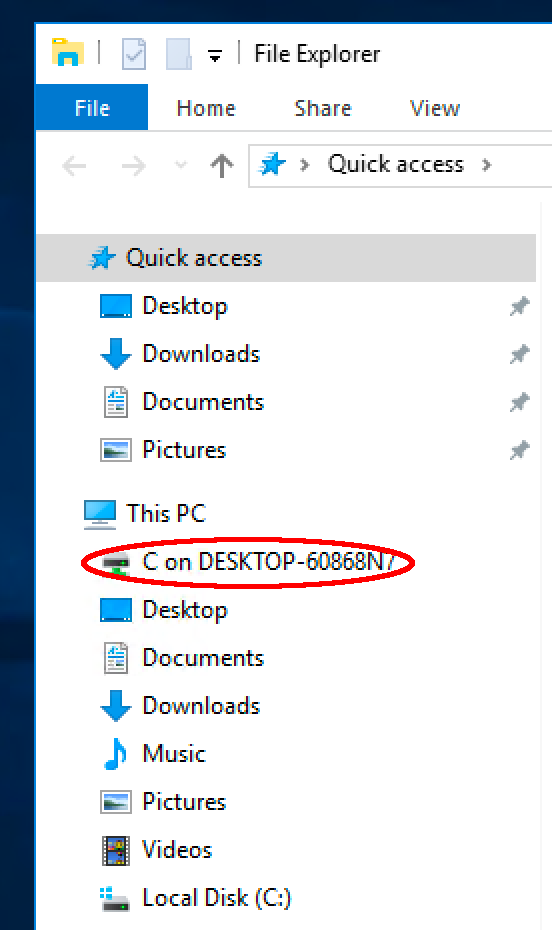
The local C drive is available in Explorer to transfer files